Homemade gluten-free waffles don’t have to be dense or heavy. This recipe has an exceptional, light texture, perfectly crisp on the outside and airy on the inside. Using a 1:1 gluten-free flour blend tested in my kitchen, and a single bowl, this batter comes together in minutes for a foolproof family breakfast.
Mistakes to Avoid for Crisp Gluten-Free Waffles
Even with a simple batter, minor technique adjustments make a massive difference in the final texture. Avoid these three common pitfalls:
Overmixing the Batter: Stir strictly until the ingredients are just combined. Leaving a few small lumps is completely fine. Overmixing over-activates the starches in gluten-free flour blends, turning the waffles dense and chewy.
Incorrect Consistency: The batter should be thick yet pourable. If it is too thick, the waffles will turn out heavy and dry, if it is too runny, they won’t crisp up. Adjust with a tiny splash of milk or a tablespoon of flour if needed.
An Underheated Waffle Iron: A cold iron guarantees soggy waffles. Ensure your iron is fully preheated and piping hot before pouring in your first scoop of batter. Here are some of the best waffle irons to check out.
3 Kitchen Tested Tips for Waffle Success
Bring Ingredients to Room Temperature: Cold milk and eggs will shock the oil, causing clumps. Room-temperature liquids blend smoothly, ensuring a much lighter texture.
Never Skip the Resting Time: Allow the batter to rest for 10 minutes before cooking. This crucial window gives the rice flours and starches time to fully hydrate, eliminating any grittiness. Give it a quick, gentle stir right before pouring.
Keep Mix-Ins to a Minimum: Limit any fold-ins (like chocolate chips or fruit) to 1/2 cup total per batch of four waffles. Adding too much moisture or weight will cause the waffles to tear and break apart in the iron.
Plant-Based & Dietary Substitutions
You can easily adapt this base recipe to fit your family’s dietary sensitivities using these clean swaps:
Milk: Swap dairy milk for unsweetened almond or oat milk for a light texture, or light canned coconut milk for a richer flavor.
Oil:Use neutral avocado oil, or melted coconut oil if you prefer a subtle sweetness.
Eggs:Use your preferred standard liquid or flax egg substitute, here is my list of egg substitutes.
Creative Flavor Variations & Mix-Ins
Customize your waffle base with these easy flavors:
1. Sweet Additions & Infusions
Warm Spices: Sift 1/2 to 1 teaspoon of ground cinnamon and a tiny pinch of nutmeg into the dry ingredients.
Fresh Fruit: Gently fold 1/4 cup of fresh, tossed blueberries or finely chopped strawberries directly into the batter just before cooking.
Doughnut Style: Immediately after cooking, brush the warm waffle lightly with melted butter and dust with cinnamon sugar.
Savory Twists
Cheese & Herbs: Fold 1/4 cup of grated sharp cheddar or parmesan and a tablespoon of minced fresh chives into the batter.
Bacon & Avocado: Top a plain waffle with crisp, crumbled bacon, sliced avocado, and a light drizzle of hot sauce for a quick brunch sandwich.
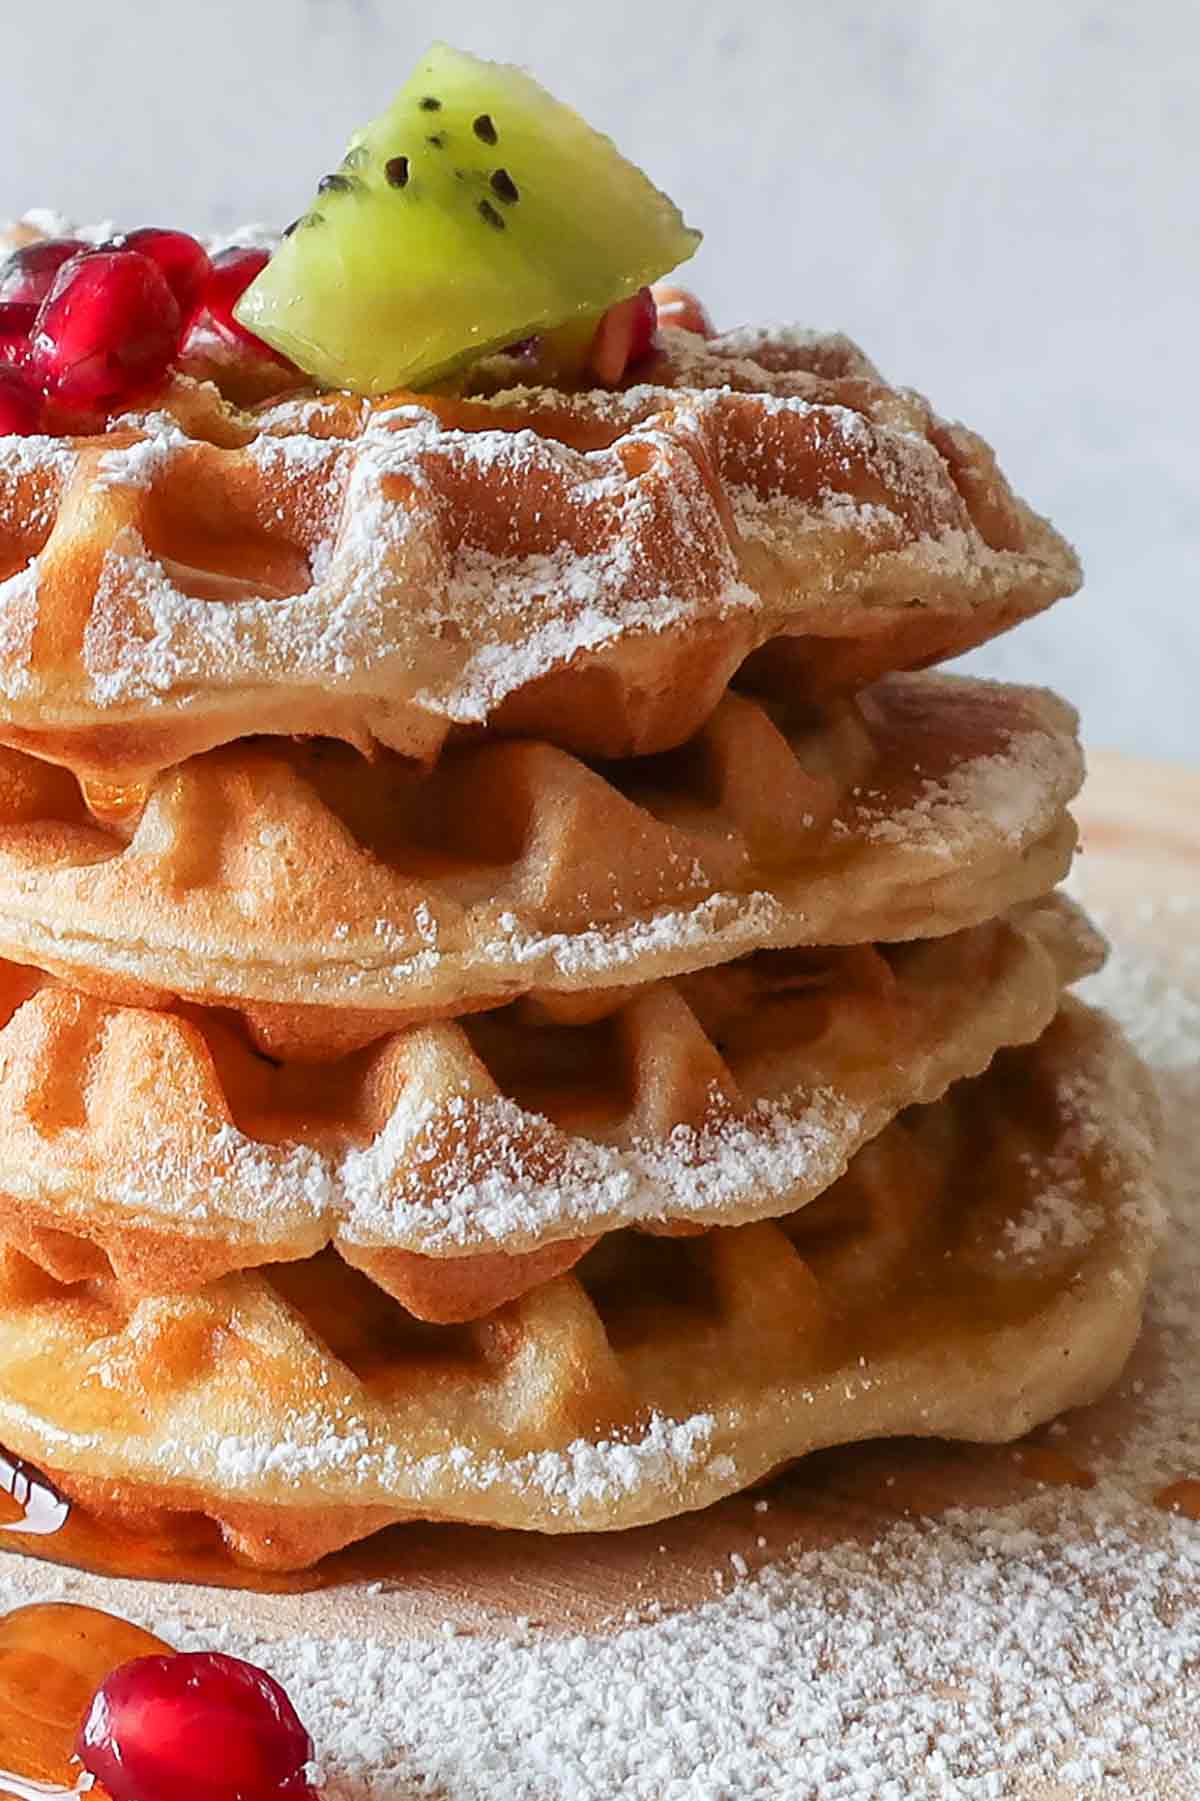
Smart Toppings (Beyond Maple Syrup)
Warm Fruit Compotes: Sauté fresh apple or banana slices in a pan with a touch of butter and a splash of maple syrup until tender.
Nut Butters: Warm a spoonful of almond, peanut, or cashew butter and drizzle it across the top for extra richness.
Dairy-Free Cream: Top with a dollop of chilled, whipped coconut cream dusted with toasted coconut flakes.
How to Store and Reheat Leftovers
To ensure your leftover waffles stay beautifully crisp rather than soggy, follow these quick storage steps:
Cool Completely: Let the waffles cool to room temperature on a wire cooling rack. Stacking them while warm traps steam and creates a soft, gummy texture.
Refrigerate or Freeze: Store in an airtight container in the fridge for up to 3 days. For longer storage, flash-freeze them in a single layer on a baking sheet for 1 hour, then transfer them to a freezer-safe bag for up to 2 months.
The Reheating Secret: Skip the microwave. To completely restore that signature crisp exterior, reheat your waffles directly in a standard toaster or toaster oven.
Hi, I’m Kristina I’m a professional gluten-free recipe developer, and every recipe on this site is created and personally tested in my kitchen. If you love this recipe, please leave a ⭐ star rating and a quick review below, it helps other readers find my recipes!
Want more gluten-free inspiration? Sign up for the Newsletter so you never miss a recipe, or join our community on Pinterest and Facebook.
3/4 cup whole milk, at room temperature (or adjust as needed) all flour blends absorb moisture differently,
2 tbsp extra virgin olive oil
2 tbsp pure maple syrup
1 large egg, at room temperature
1 tsp pure vanilla extract
Instructions
In a bowl whisk milk, olive oil, egg, maple syrup, and vanilla. Add flour, baking powder, and salt, and briefly whisk together. Don’t overmix – a few lumps are okay. Rest for 10 minutes. The flour will absorb moisture and become thick. If it is too thick add some milk. The batter should be thick but pourable.
Preheat your waffle iron and lightly coat it with oil or cooking spray. Pour the batter into the waffle iron (about 1/2 cup per waffle or 1/4 cup for a small waffle iron) and cook according to your waffle iron’s instructions (about 2 - 3 minutes, until golden brown).
Serve with your favorite toppings and enjoy!
Nutrition Info
Nutritional Value Per Serving Calories: 210-230 Cal | Protein: 4 g | Fat: 10 g | Carbohydrates: 28 g | Dietary Fiber: 2 g | Sugars: 7 g | Sodium: 300 mg | Calcium: 60 mg (varies based on milk type) Iron: 1.5 mg Vitamin A: 180 IU (from olive oil and egg) Allergens: Eggs: Contains egg Dairy: Contains milk (whole milk), but can be substituted with a dairy-free milk for a dairy-free version. Tree Nuts: If using a flour blend that contains almond or other nut flours, this may contain tree nuts. Soy: Depending on the specific 1:1 flour blend, it may contain soy (check the label). Note: These values are estimates and can vary based on specific brands and preparation methods.


Comments
No comments yet.