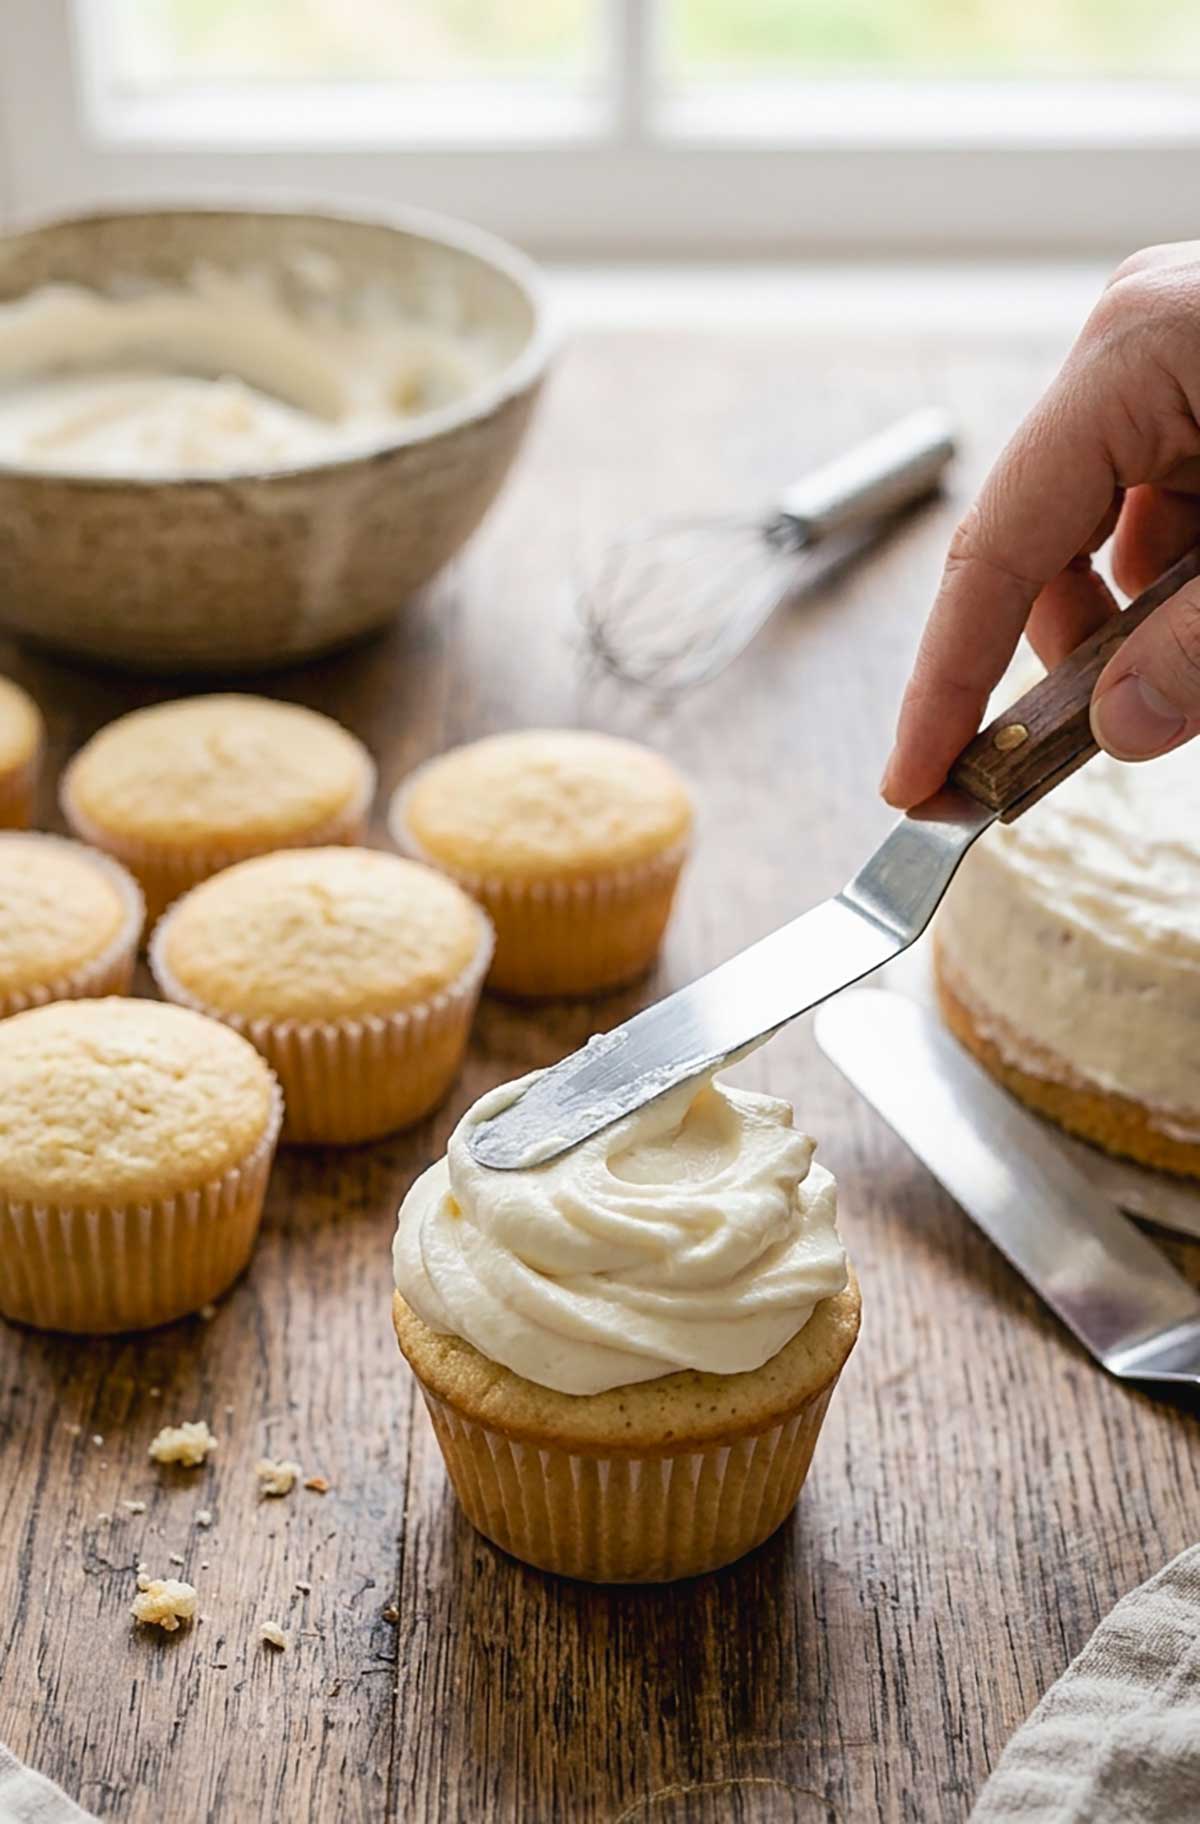
If you’re tired of modern, overly sweet powdered sugar frostings that overpower the flavor of your cakes, you’ll love this Gluten-Free Ermine Frosting. Light, silky, and perfectly balanced, it has a delicate buttery flavor with just the right amount of sweetness, creating a cloud-like frosting that tastes like a cross between fresh whipped cream and rich European buttercream.
Also passed down as cooked flour buttercream, boiled milk frosting, or simply “old-fashioned buttercream” in Eastern European homes, this heirloom recipe captures a taste of pure nostalgia. This ermine frosting is also much lower in calories and carbs, and I’ve given this time-tested classic a clean, gluten-free upgrade using arrowroot starch.
What is Ermine Frosting? (Texture & Flavor)
Unlike American buttercream, which relies on pounds of powdered sugar for structure, ermine frosting gets its stability from a cooked gluten-free milk base.
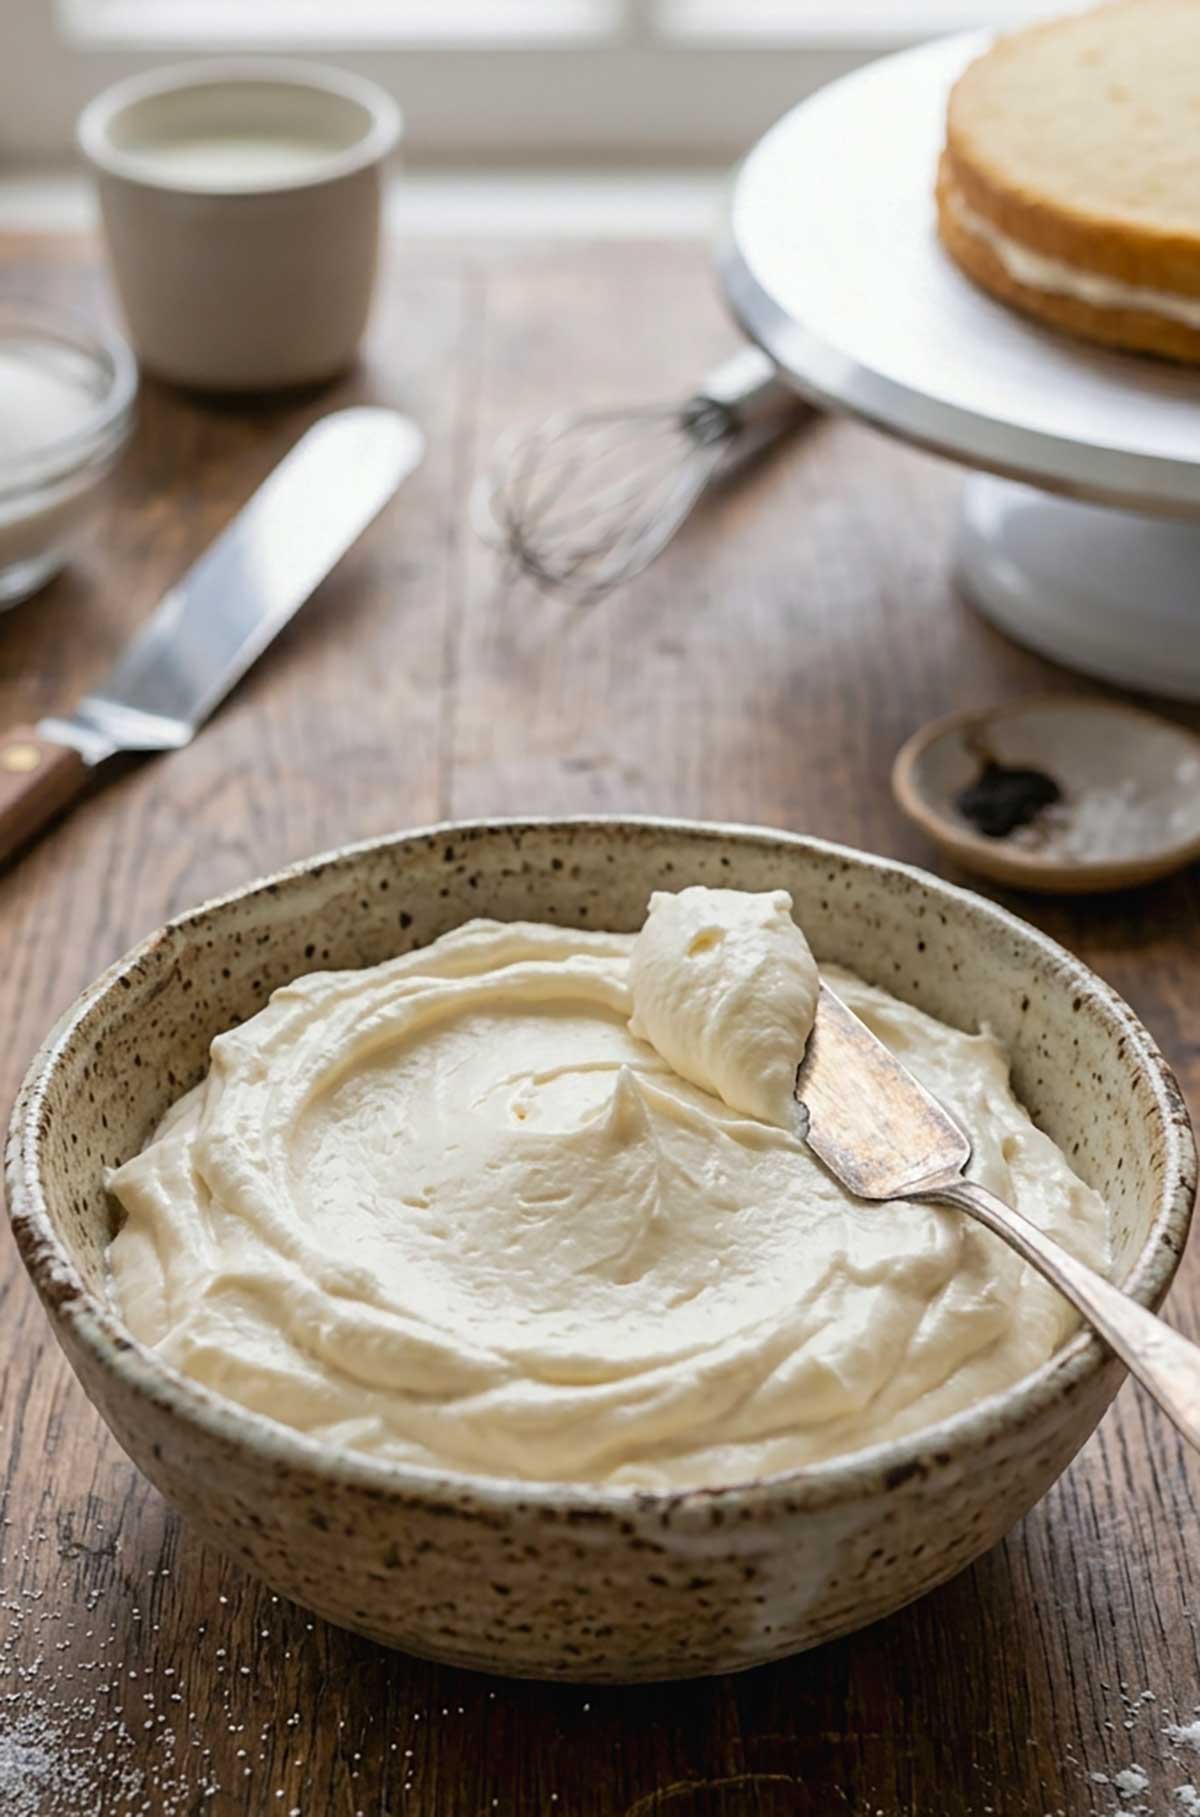
- The Texture: Incredibly silky, velvety, and light. It holds its shape beautifully for piping but melts in your mouth like whipped cream. (Someone told me it tastes like melted marshmallows)
- The Flavor: Decadent but not overpoweringly sweet. It has a deeply satisfying, milky vanilla flavor.
- The Sweetness: Perfectly balanced. Because it uses granulated sugar instead of powdered sugar, it mimics the sophisticated, less-sweet flavor of a European meringue buttercream, minus the fuss of tempering eggs.
Ermine Frosting vs. Traditional American Buttercream
A Vintage Heirloom Rediscovered
Why make the switch? Aside from its beautifully smooth texture, Ermine frosting is also a better option for those watching their sugar intake.
If you find traditional American buttercream too heavy or intensely sweet, Ermine frosting is the perfect alternative. Traditional buttercream relies on 4+ cups of unsifted powdered sugar (1867 kcal + 470 g carbs) creating a dense, high-carb topping that can easily overpower a cake or a cupcake.
In contrast, this old-fashioned Ermine frosting uses only 1 cup of granulated sugar (774 kcal + 200 g carbs) mixed with a milk base. This massive reduction in sugar cuts down the calories and carbs significantly, giving you a cloud-like, silky texture that mimics a high-end European meringue buttercream without the intense sugar rush.
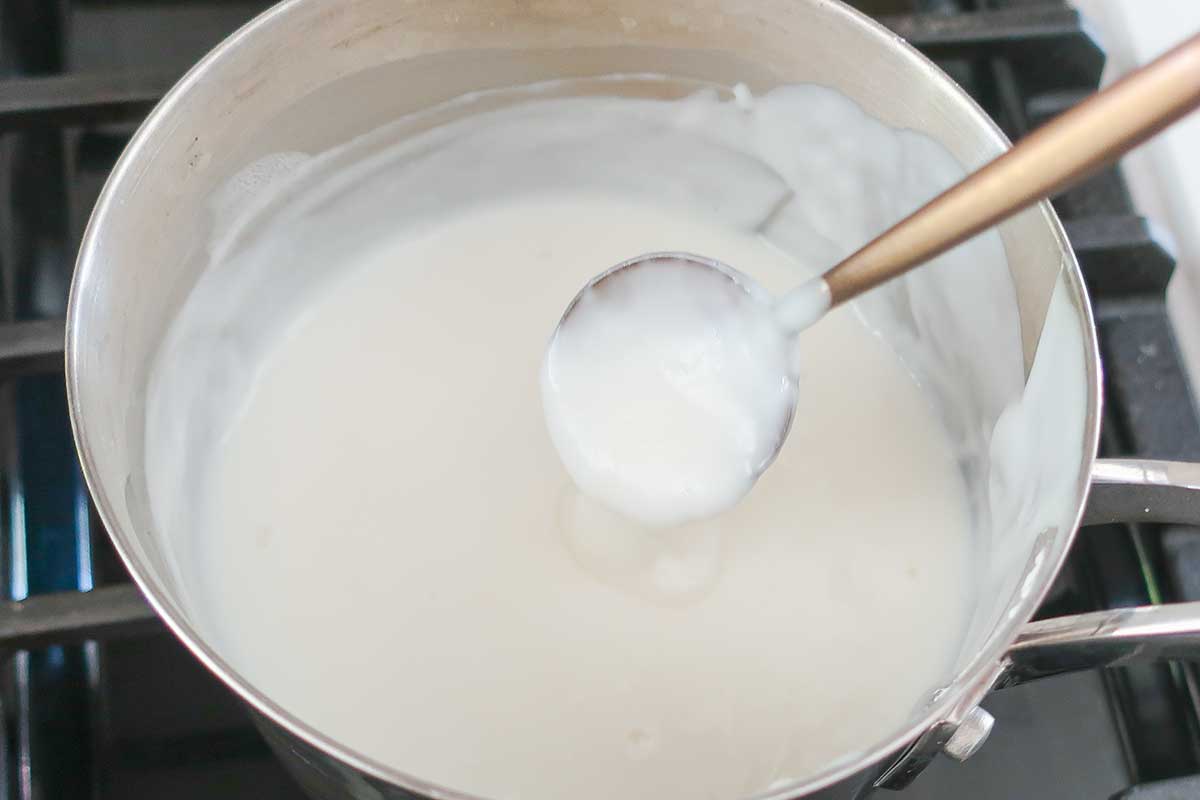
Step 1: Mastering the Cooked Base

To ensure a velvety result, you must cook the milk and arrowroot base until it transforms into a dense, heavy pudding that heavily coats the spoon.
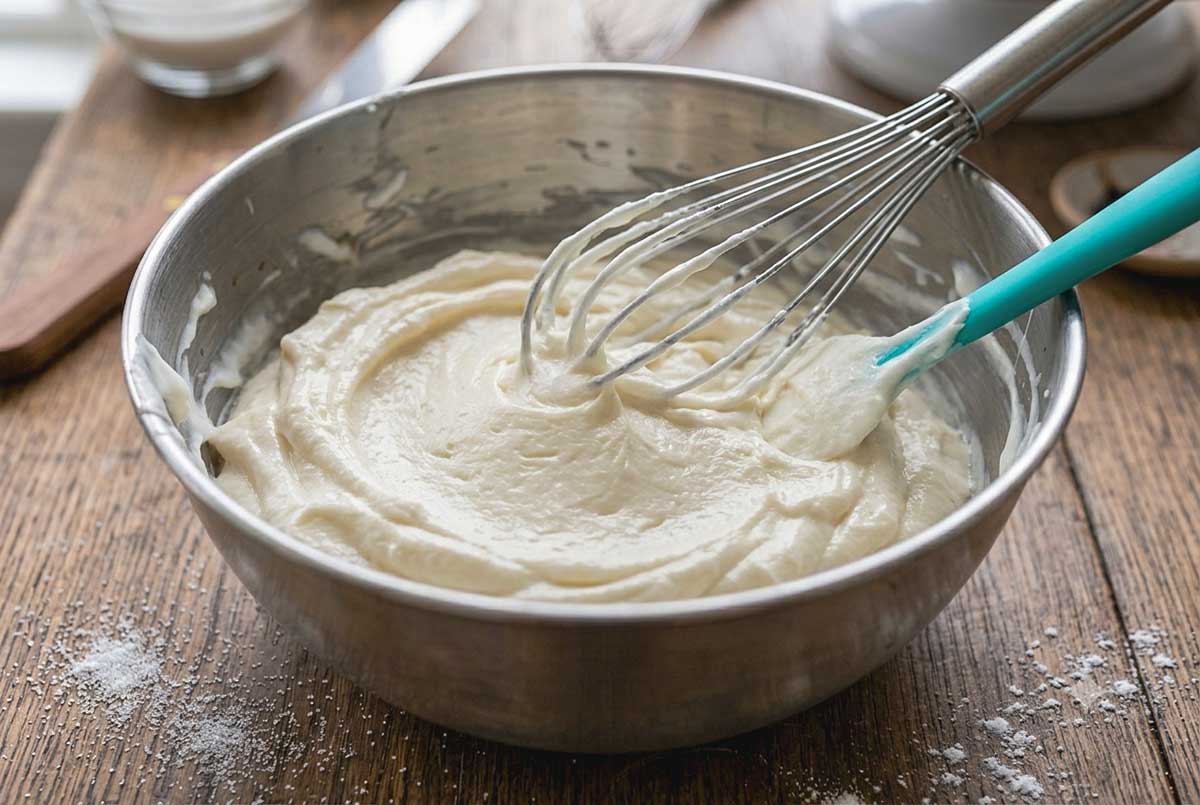
Step 2: Achieving Fluffy Perfection

After whipping the butter and sugar, incorporate the fully cooled base one spoonful at a time. The final frosting should be airy, rich, and glossy.
My Kitchen-Tested Tips for Perfect Gluten-Free Ermine Frosting

- Temperature Matchmaking: The biggest pitfall in making Ermine frosting is temperature. Your cooked base and your softened butter must both be at room temperature when combined. If the base is too hot, it will melt the butter. If it’s too cold, the frosting will curdle.
- Tapioca Starch: Do not use tapioca starch in this recipe. Tapioca tends to create a stretchy, slightly gummy texture when cooked in milk, which can affect the smooth, silky base that makes Ermine frosting so light and stable. You can use corn starch, it will give you similar texture.
- Fixing a Curdled Frosting: If your frosting looks separated or curdled after combining, don’t panic! It just means the ingredients were different temperatures. Wrap a warm, damp towel around the bottom of your mixing bowl and keep beating on high. It will come back together.
- The Birthday Cake Rule: If you’re making a birthday cake, this frosting actually tastes best after resting for 3–4 hours on the cake. As it settles, the sugar crystals completely dissolve into the moisture of the milk, making the texture impossibly silky.
- Can You Freeze Ermine Frosting? Yes! You can store this frosting in an airtight container or a freezer-safe bag in the freezer for up to 2 months. When you are ready to use it, let it thaw completely overnight in the refrigerator. Give it a quick 1–2 minute whip if needed with your mixer to restore its signature fluffy, silky texture before frosting your cake or cupcakes.
Flavor Variations
One of the best things about Ermine frosting is how easy it is to flavor. You can keep it classic with vanilla, or mix in pure cocoa powder (1/2 cup +) for a rich chocolate version.
It also works beautifully with fruit purées like strawberry or raspberry, a touch of espresso for a coffee twist, or even lemon zest for a fresh finish. The light, creamy base takes on flavors beautifully without becoming overly sweet. Or try my Royal Cream Cheese Frosting.
Dairy-Free Version
Ermine frosting can easily be made dairy-free. Simply replace the milk with an unsweetened non-dairy milk such as almond, oat, or soy milk, and use a good-quality dairy-free butter alternative in place of traditional butter. The texture stays light, creamy, and smooth, though the flavor will vary slightly depending on the substitutes used.
Perfect Cake Pairings for This Old-Fashioned Boiled Milk Frosting

Because of its unique whipped texture and subtle sweetness, this frosting pairs beautifully with:
- Traditional Red Velvet Cake: Ermine is actually the original, historical frosting paired with Red Velvet before cream cheese frosting took over!
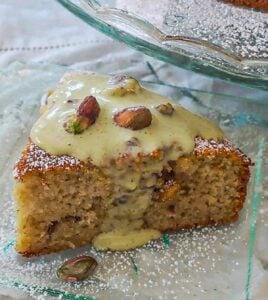
- Spiced or Nut Cakes: The optional splash of rum makes it incredible on gluten-free walnut, or carrot cakes.
- Light Sponges: It won’t weigh down delicate gluten-free chiffon, sponge cakes or cupcakes.
Hi, I’m Kristina I’m a professional gluten-free recipe developer, and every recipe on this site is created and personally tested in my kitchen. If you love this recipe, please leave a ⭐ star rating and a quick review below, it helps other readers find my recipes!
Want more gluten-free inspiration? Sign up for the Newsletter so you never miss a recipe, or join our community on Pinterest, Facebook, and Instagram.


Comments
No comments yet.