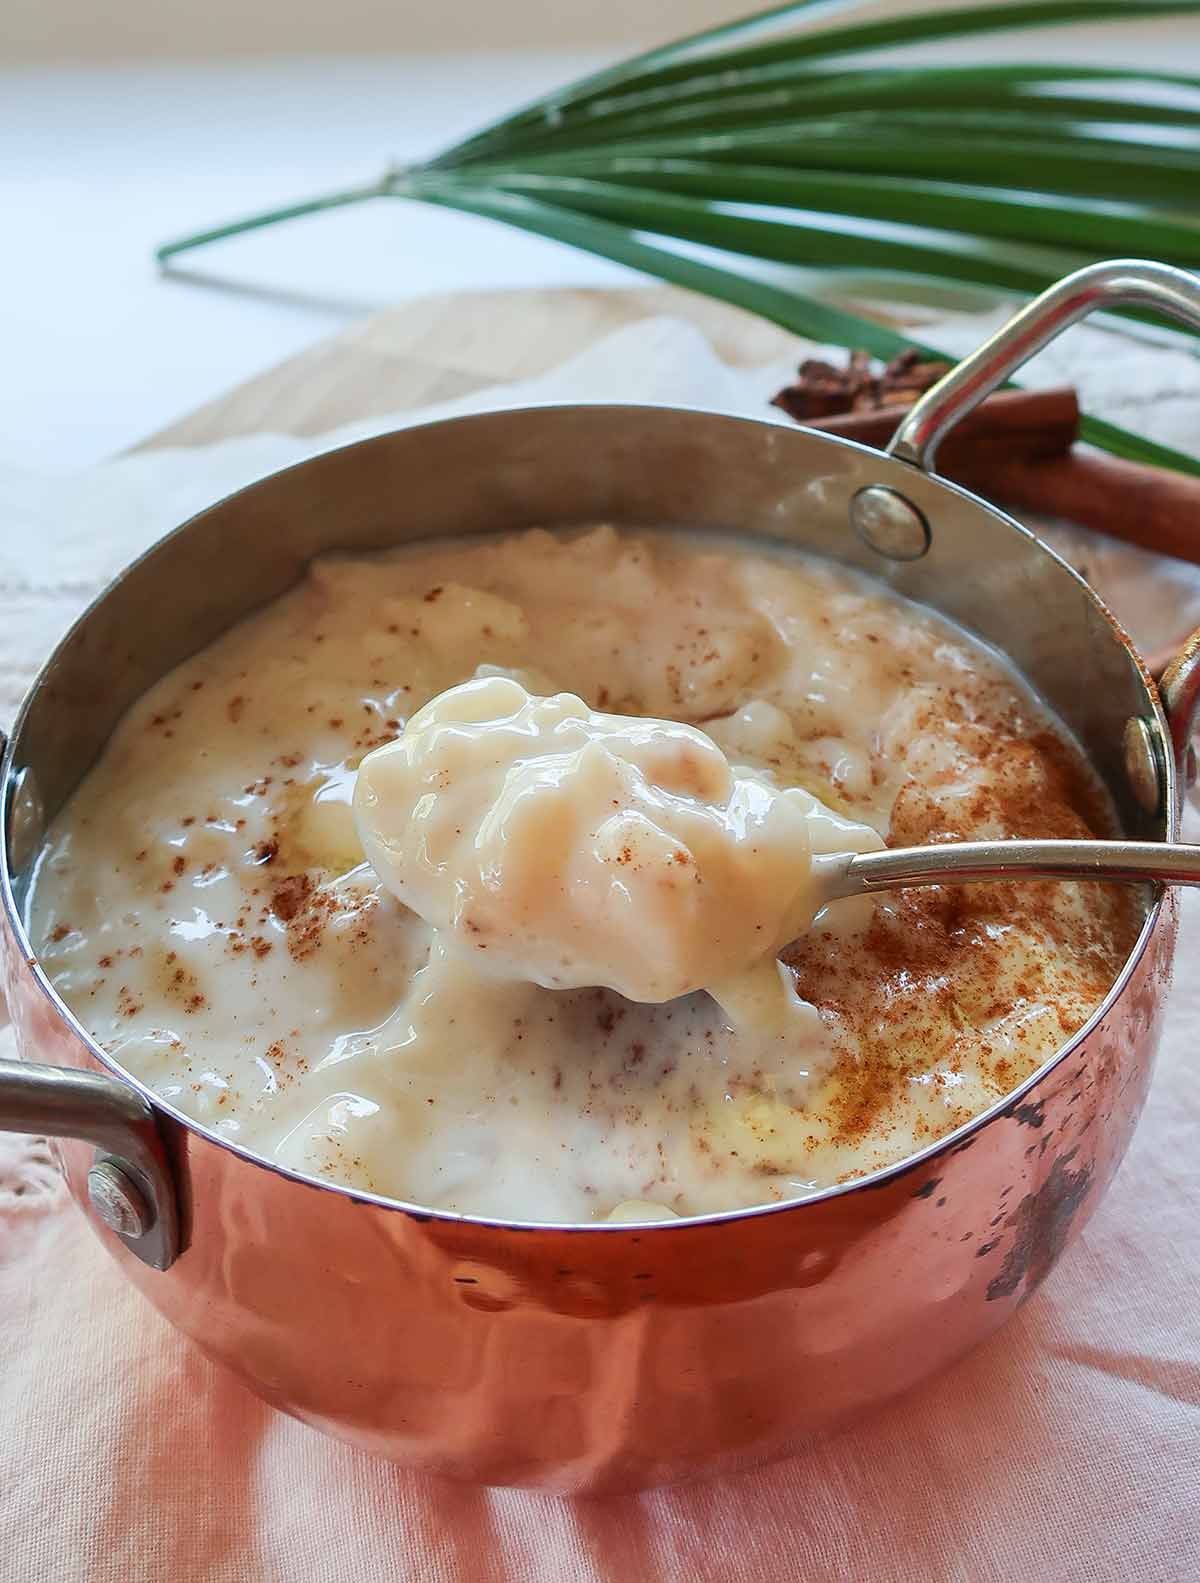
This Creamiest Rice Pudding has that old-fashioned comfort-food feeling, but the texture is next level. Cold from the fridge, slightly warm, topped with berries, caramelized sugar, or eaten straight from the spoon standing in the kitchen, it feels both nostalgic and exceptionally good.
A Perfect Texture, Every Time
Rice pudding is one of the most classic desserts to make at home, and this version will give you perfection every time. The first spoonful is deliciously creamy, rich, silky, and almost custard-like, without a single egg or drop of cream. And the best part? It stays soft and spoonable, even straight from the fridge.
The secret comes down to a few small details that create that perfect creamy pudding texture: sushi rice, an optimal milk ratio, sweetened condensed milk, and knowing exactly when to stop cooking it. The result is a luxurious gluten-free rice pudding made with everyday pantry ingredients in one pot.
Because rice pudding keeps absorbing liquid as it cools, this version is designed for the fridge from the very beginning. Sushi rice and sweetened condensed milk create a beautiful, lasting creaminess that holds up for days. Dairy-Free option included.
Why Sushi Rice is the Best Choice
The secret is sushi rice. Its naturally high starch content creates a luxurious texture without needing eggs or heavy cream. Combined with a generous milk ratio and one essential technique, removing it from the heat before it looks fully finished, you get a pudding that thickens slowly and naturally into a perfect consistency as it chills.
While long-grain or jasmine rice can work, short-grain sushi rice is the absolute best choice. It is packed with natural starches that release slowly into the milk as it simmers, creating a thick, velvety texture without needing eggs or flour. If you don’t have sushi rice on hand, Arborio rice makes an excellent substitute for achieving that same premium creaminess.
The Ingredient That Makes it Work: Sweetened Condensed Milk
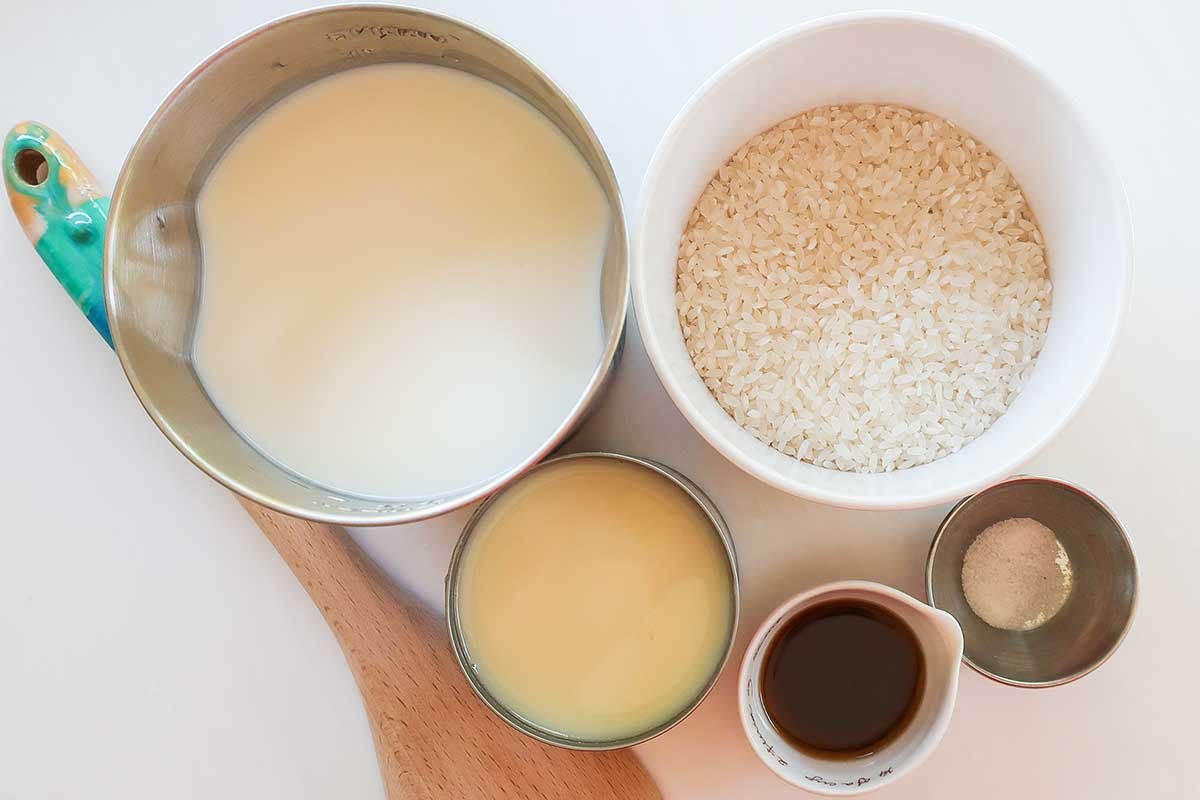
At its core, this recipe uses basic naturally gluten-free ingredients:
- Sushi rice
- Whole milk
- Sweetened condensed milk
- Vanilla extract
- Sea salt
Using a full 14-ounce can of sweetened condensed milk replaces the need for adding refined sugar, and it gives the pudding a soft, custard-like finish once chilled.
The Milk Ratio is Key to Rice Pudding

An ample amount of milk is the secret. Four cups of whole milk combined with the condensed milk gives the short-grain rice enough liquid to continue absorbing slowly in the fridge without turning dense overnight. The result is a beautifully creamy, spoonable texture straight from the refrigerator.
Why a Dutch Oven Gives the Best Results
A heavy, enamel-coated Dutch oven distributes heat gently and evenly, preventing scorching while slowly pulling the starch from the sushi rice. It also retains heat beautifully, helping the pudding continue thickening gradually even after the burner is turned off. Plus, serving it straight from a beautiful pot adds a wonderful, rustic touch to the table.
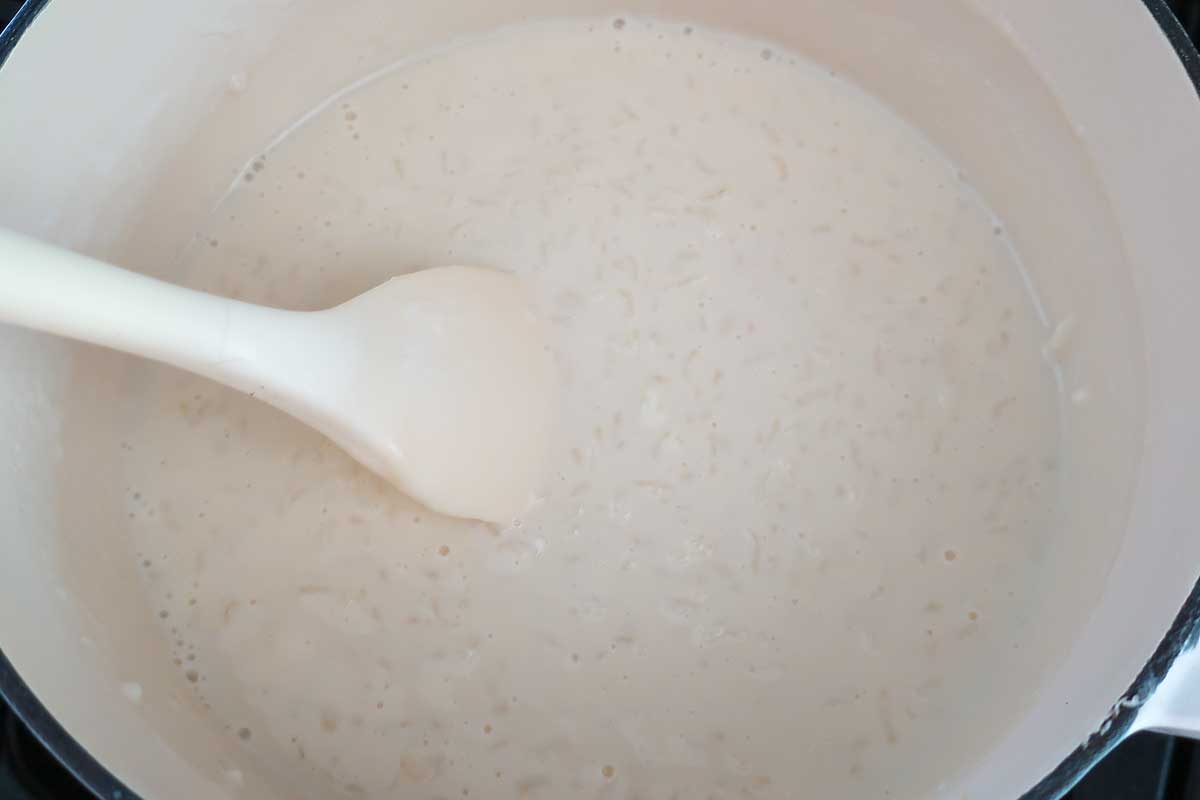
The Key Technique: The Slight Undercook
The process itself is simple, but timing matters. The rice simmers slowly in milk until perfectly tender, then the condensed milk and vanilla are stirred in near the end. The important part is removing the pot from the heat while the pudding still looks slightly loose.
After resting for a few minutes on the counter, the pudding continues thickening naturally before going into the fridge. By the next day, it transforms into a perfectly creamy chilled dessert.

Maple Syrup & Cream Substitution (Refined Sugar Free)
Maple & Cream Option: If you prefer to make this without sweetened condensed milk, you can replace it with 1/3 to 1/2 cup of pure maple syrup and 1/2 cup of heavy cream.
Stir both the maple syrup and the cream into the pot during the last 5 minutes of cooking, just as you would with the condensed milk. This substitution cuts out the refined sugar and replaces it with a gentle, warm maple sweetness and a beautifully rich finish.
If you prefer to bake with maple syrup check out this Gluten-Free Apple Pie Squares with Almond Butter Caramel Recipe, or Gluten-Free Mocha Walnut Cupcakes with Chocolate Buttercream.
7 Standout Flavor Variations
This creamy rice pudding is delicious as-is, but a few simple pantry additions can completely change the flavor.
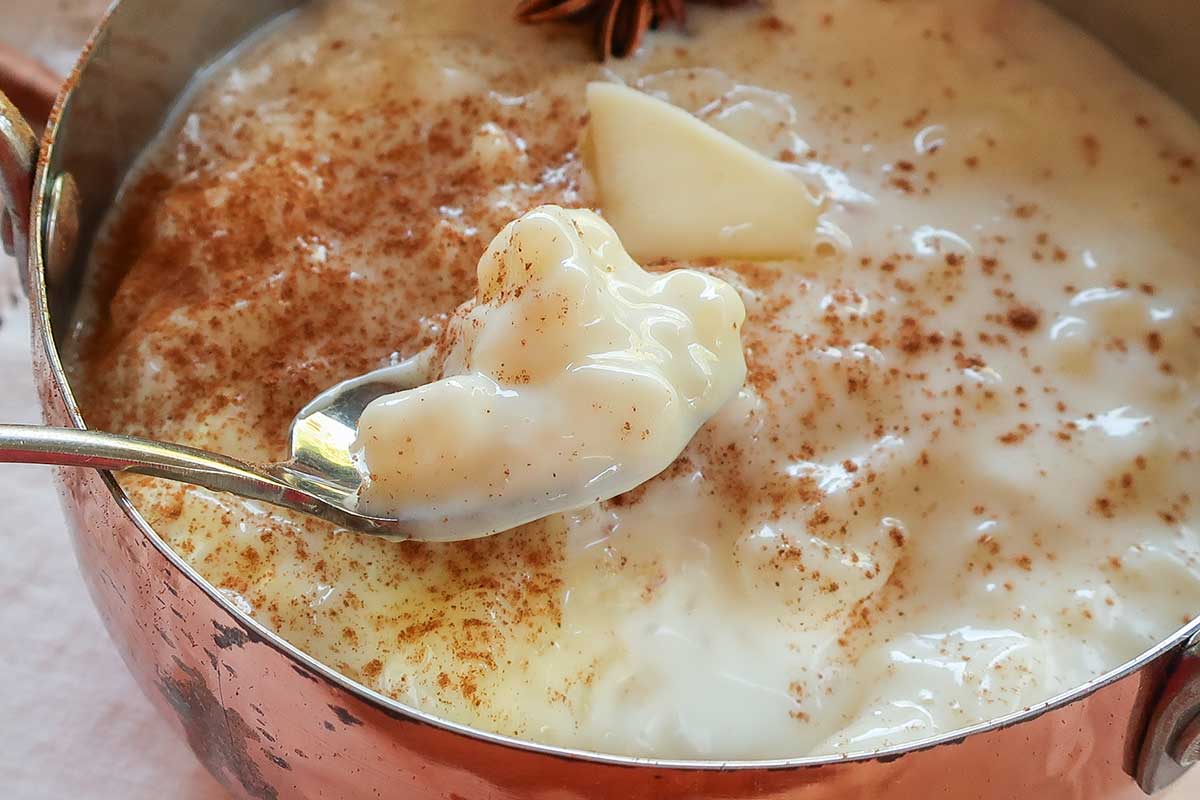
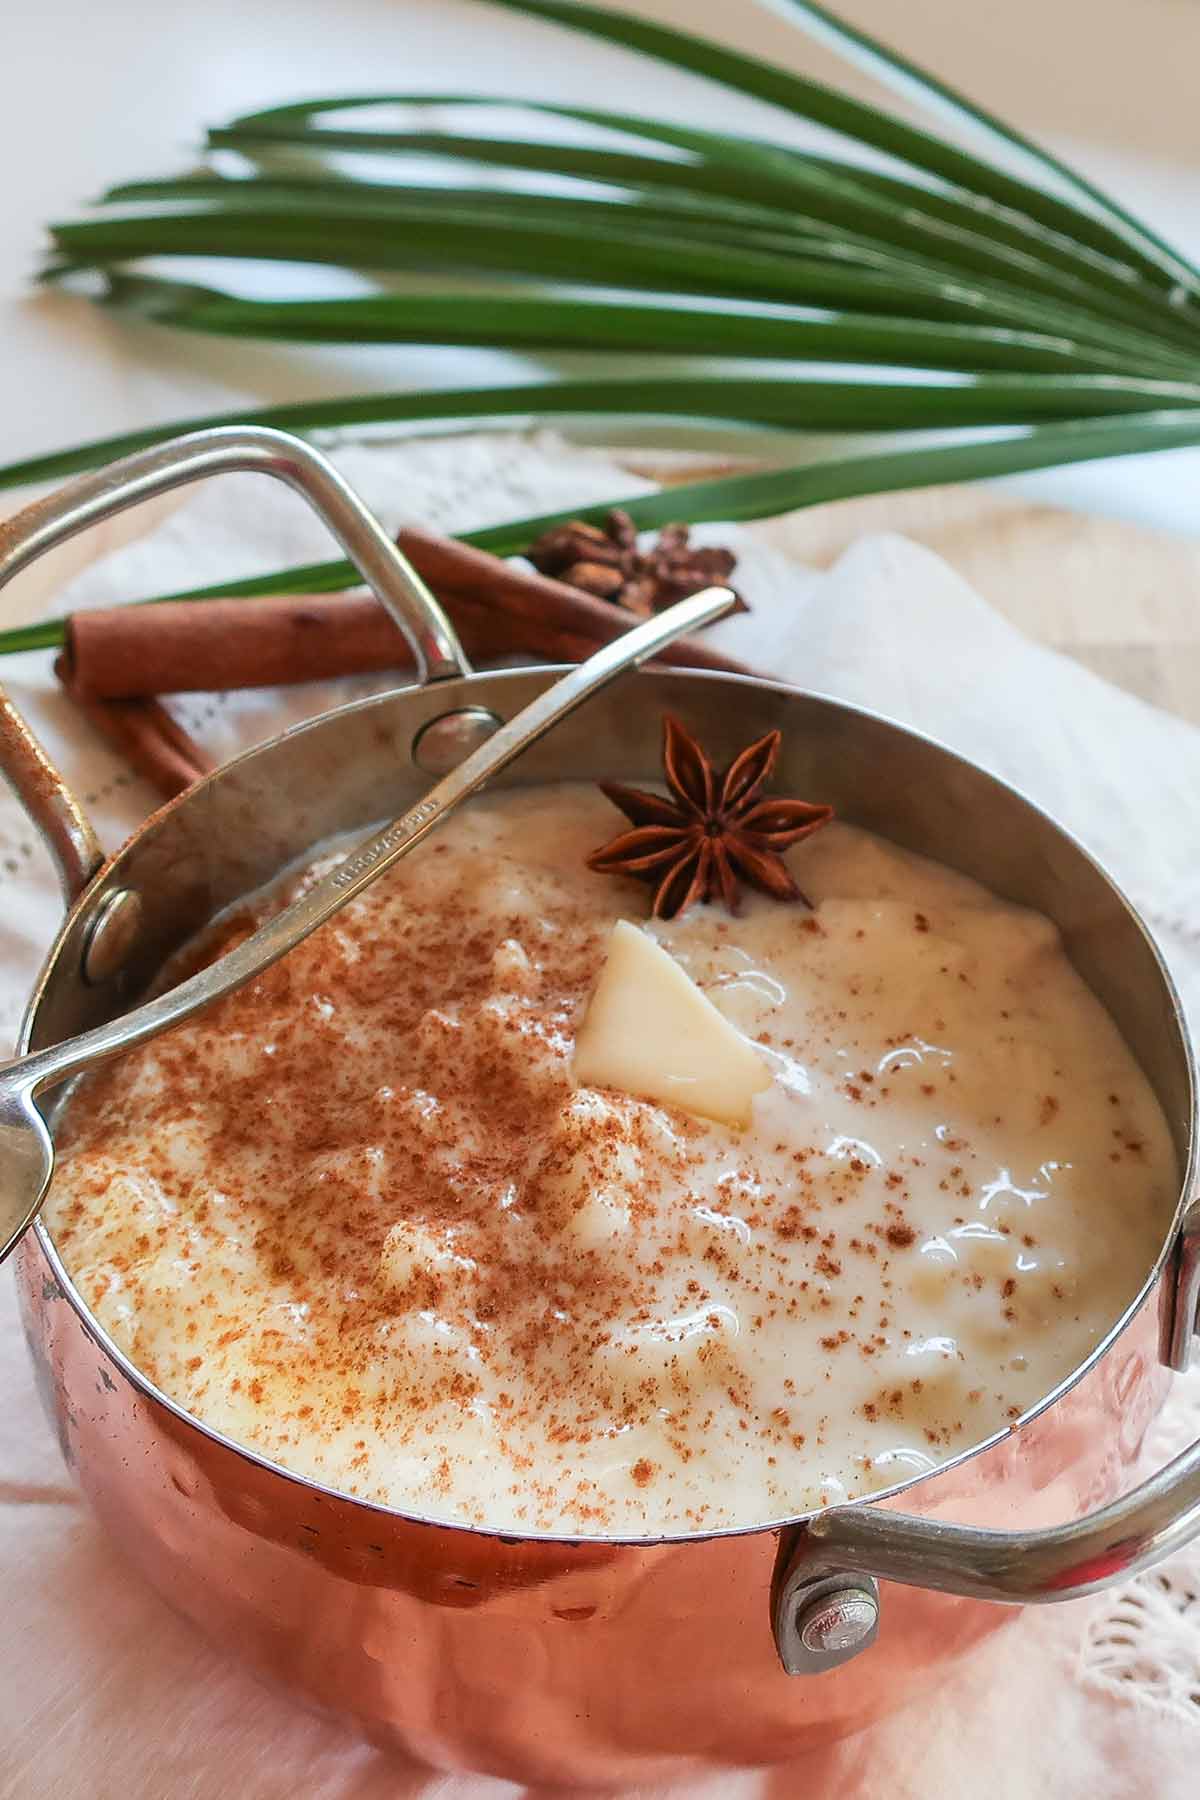
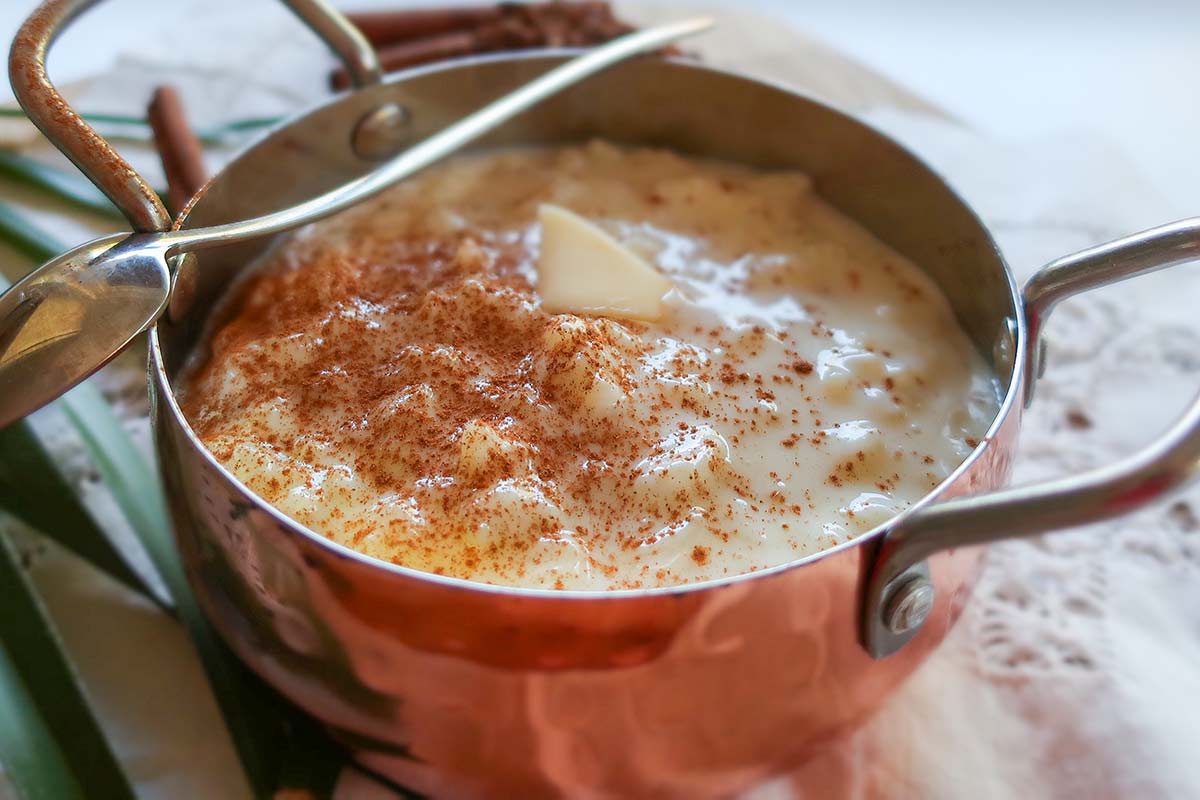
- Warm Spices: Add a cinnamon stick or a single star anise pod to the pot during the cooking process to infuse the milk with a subtle warmth. (Just remember to remove them before chilling!)
- Citrus Brightness: Stir in a strip of fresh orange or lemon peel while the rice simmers to cut through the richness.
- Cardamom Twist: Add 1/4 teaspoon of ground cardamom for a distinct, aromatic Nordic flavor.
- Classic Bakery Style: Skip the toppings and add a simple dusting of ground nutmeg or cinnamon over the top just before serving.
3 Next-Level Recipe Twists and Refined Sugar-Free
If you want to take the flavor a step further, try one of these simple ingredient swaps:
- Shredded Coconut: Stir 1 cup of unsweetened shredded coconut into the pot right at the beginning with the rice and milk. The coconut softens beautifully as it simmers, giving the entire pudding a wonderful tropical texture.
- The Maple Dream: Swap out the vanilla extract for 1 teaspoon of pure maple extract. This pairs beautifully with a topping of toasted pecans.
- The Signature Brûlée: Sprinkle a thin, even layer of granulated sugar over individual chilled portions and briefly place them under the broiler (or use a kitchen torch) for a crackly, caramelized crust.
You can also top your bowl with fresh berries, soft roasted fruit, sliced peaches, or warm cherries to add a bright contrast to the creamy pudding. Check out my Easy Apple Compote Recipe as a topping.
How to Make Dairy-Free Rice Pudding
You can easily adapt this version to be dairy-free. Easily swap:
If you love baking with coconut milk, be sure to check out this Coconut Crème Brûlée Recipe, or Gluten-Free and Egg-Free No-Bake Lemon Coconut Bars.
The Caramelized Sugar Topping
To make this dessert exceptional, sprinkle a little sugar over the top of individual portions right before serving and briefly place them under the broiler for a light, caramelized brûlée finish. That subtle, crackly top against the creamy pudding is incredible.
Storing and Serving
This pudding is best served chilled straight from the refrigerator, but it is also delicious served warm with a small dollop of butter melted into the center of the bowl. For storage, always keep the pudding in an airtight container in the fridge, where it will stay creamy and fresh for up to 4 days.
This gluten free creamy rice pudding has been created and tested by Kristina gluten-free recipe developer. If you enjoyed this recipe, I’d love to hear from you! Please leave a ⭐ star rating and a quick review, it really helps others discover these recipes.
For more daily inspiration, be sure to follow us on Pinterest or join us on Facebook. And don’t forget to sign up for our newsletter so you never miss a recipe. We always have something delicious coming next!


Comments
No comments yet.