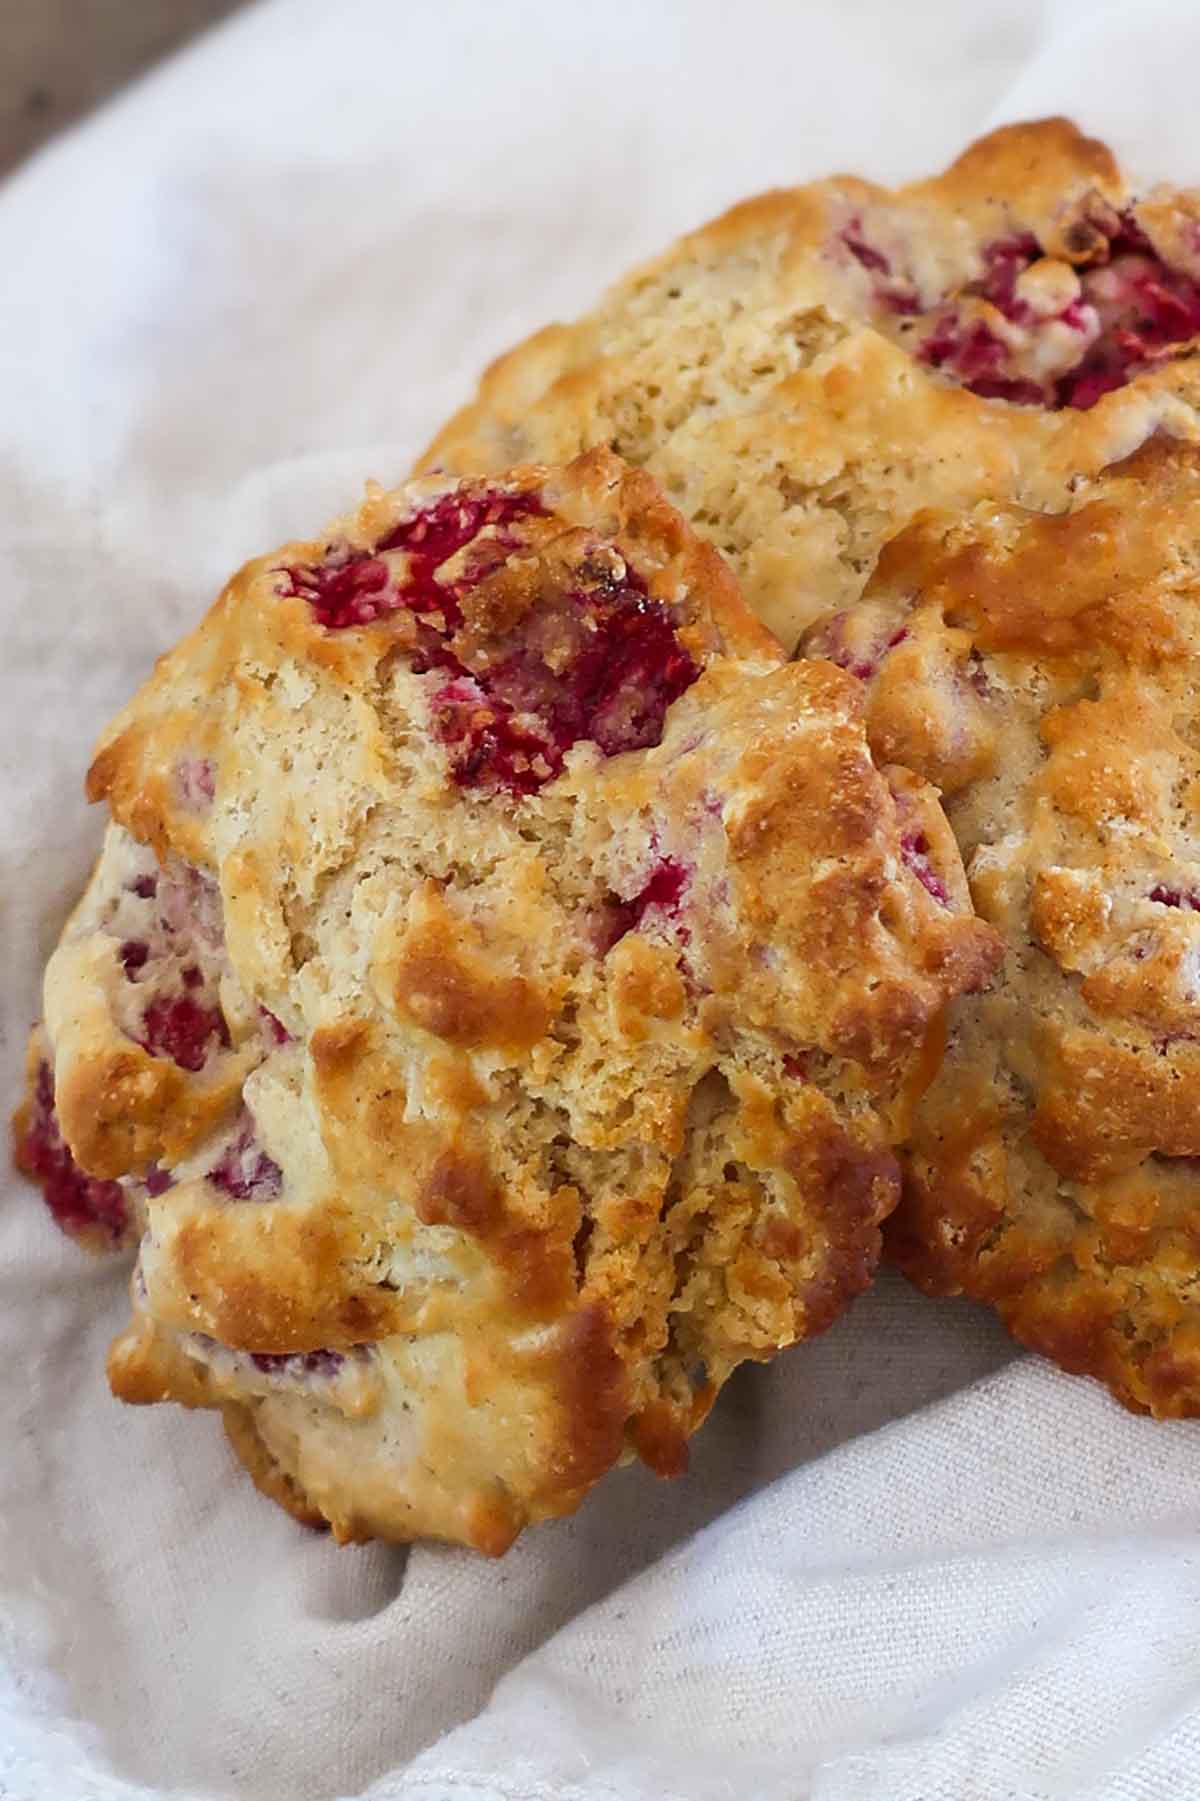
Okay, hear me out: gluten-free raspberry buttermilk scones… made in the air fryer. They come out golden and crisp on the edges, soft in the middle, and full of juicy raspberry bits. Basically bakery-level, minus the oven (and the effort). Perfect with coffee, brunch, or just because you felt like being fancy. Oven version’s in there too, if you’re old-school.
What’s the Deal with Buttermilk in Air Fryer Scones?
Buttermilk’s the secret weapon here. Its tangy acidity gives the baking powder a little boost, so your scones puff up light and fluffy instead of dense and sad. Plus, it keeps everything moist and tender—meaning you can get away with using less butter without losing that rich, bakery-level goodness.
Why You’ll Be Obsessed with These Scones
These gluten-free raspberry scones are all about keeping things easy and delicious. They’re made with a 1:1 gluten-free flour blend, so you still get that perfect tender texture—none of that dry, gritty stuff. No rolling or cutting either; just scoop the dough, pop it in the air fryer, and let it work its magic. They cook up in under 15 minutes, no oven required, and cleanup’s a breeze thanks to a little parchment paper trick. Basically, bakery-quality scones without the bakery-level effort.
Pro Tips for Gluten-Free Air Fryer Scone Success (a.k.a. How to Nail It Every Time)
A few little tricks make all the difference with these scones. Start with very cold butter—freezing and grating it in gives you those dreamy, flaky layers. When it comes to flour, grab a kitchen scale if you can; accurate measuring is the secret to that perfect crumb. Mix the dough gently—just until the flour disappears—because overmixing can turn your tender scones into dense little rocks (and nobody wants that). You’ll know they’re done when they’re golden on top and lightly springy to the touch.
Feeling creative? Swap in your favorite mix-ins—blueberries, white chocolate chips, chopped nuts—just keep it under a cup so you don’t weigh down the dough. For the air fryer, aim for 160–170°C (320–340°F) and start checking around the 10-minute mark; most are perfect at 12–14 minutes.
Preheating the air fryer for a couple minutes helps them rise evenly, and make sure not to crowd the basket—give each scone some breathing room. Oh, and use parchment paper with a few holes poked in so air can circulate and nothing sticks. Easy tweaks, bakery-worthy results.
How to Keep Your Scones Fresh (If You Somehow Don’t Eat Them All)
If you actually have leftovers—props to you—here’s how to keep them tasting bakery-fresh. At room temp, stash the scones in an airtight container for up to two days, layering parchment or wax paper in between so they don’t stick together.
Want them to last a bit longer? Pop them in the fridge for up to five days. For the long haul, freeze them in a freezer-safe container or bag for up to two months. When the craving hits, just thaw at room temp or toss them straight into the air fryer from frozen—add about two extra minutes, and they’ll be as good as new.
Bringing Your Buttermilk Scones Back to Life
Nothing beats that fresh-out-of-the-bakery crisp—here’s how to get it back. In the air fryer (my personal favorite), pop them in at 300°F (150°C) for 3–4 minutes and voilà, crisp edges restored. Prefer the oven? 325°F (160°C) for 5–7 minutes does the trick. You can zap them in the microwave if you’re in a hurry, but heads up—the edges won’t stay crisp. Think of it as a “good enough” quick fix when patience isn’t on the menu.
Optional Lemon Glaze
For a tangy-sweet finish, drizzle these scones with this easy glaze:
½ cup gluten-free powdered sugar
1 Tbsp. fresh lemon juice
⅛ tsp. vanilla extract
Whisk together until smooth and drizzle over cooled scones.
No Air Fryer? No Worries
Not everyone has an air fryer, and that’s totally fine—these scones work beautifully in a regular oven too. Just preheat to 375°F (190°C), line a baking sheet with parchment paper, and space the scones about 2 inches apart. Bake for 18–20 minutes, until they’re golden on top and cooked through. Let them cool on the tray for about 10 minutes before digging in… though honestly, it’s hard to resist sneaking one early.
Can’t Get Enough Scones? If these scones have you hooked, you’re in luck—check out 10 Popular Gluten-Free Scone Recipes for even more flaky, tender, bakery-worthy goodness.
Final Thoughts
These gluten-free air fryer scones prove that amazing baking doesn’t have to be complicated—or mean turning on the oven. With just a few pantry staples, fresh raspberries, and your trusty air fryer, you can have a batch of bakery-worthy scones ready in under 20 minutes. Perfect for breakfast, brunch, or an afternoon tea break, and honestly… make a double batch. They disappear faster than you’d expect.
Air Fryer Raspberry Buttermilk Scones – Gluten-Free
2 reviews
Published May 22, 2025 · Kristina Stosek
Prep Time:
10 min
Cooking Time:
12 min
Serves:
8
Ingredients
¼ cup (½ stick) unsalted butter, cold – freeze for 10 mins and grate on the large blade of a box grater
1⅓ cups (197 g) gluten-free 1:1 all-purpose flour
¼ cup brown sugar (plus 1 Tbsp. for topping)
1 Tbsp. GF baking powder
¼ tsp. sea salt
Zest of ½ lemon (optional)
¾ cup cold buttermilk
1 large egg
¼ tsp. pure vanilla extract
6 oz (about 1 cup) fresh raspberries
Instructions
In a large bowl, whisk together flour, sugar, baking powder, salt, and lemon zest.
Add grated cold butter and mix with fingers or pastry cutter until crumbly.
Gently fold raspberries into the flour mixture
In a separate bowl, whisk buttermilk, egg, and vanilla.
Gently stir the wet mixture into the dry ingredients just until no dry flour remains. Do not overmix.
Use an ice cream scoop to portion dough onto a parchment-lined air fryer tray or basket, leaving space between each. Sprinkle with brown sugar for a crunchy top. (Poke a few holes in the parchment paper to allow airflow)
Preheat the air fryer to 330°F (165°C). Air fry for 12–14 minutes until scones are golden-brown and firm.
Cool: Let them rest in the basket for 10 minutes to finish setting
*see blog for tips and recommendations
Nutrition Info
Nutritional Information per Per Scone (1 of 8): 210 cal, Total Fat 8.5 g, Sodium 200 mg, Carbohydrates 30 g, Fiber 2 g, Sugars 10 g, Protein 4 g. Note: These values are estimates and can vary based on specific brands. Nutrition information is automatically calculated, so should only be used as an approximation.


Comments
No comments yet.