How To Make Gluten-Free Panko Breadcrumbs (Extra Crispy!)
Freshly made gluten-free Panko adds the perfect crispy coating to your favorite baked or fried dishes. It is the ultimate secret weapon for crispy gluten-free schnitzels, fish, or even a crunchy topping for a hot pan of macaroni and cheese. You can also sprinkle it over roasted vegetables for an instant texture boost.
Plus, it is the absolute best way to use up those leftover end pieces or stale slices of gluten-free bread sitting in your kitchen.
There is absolutely no need to buy expensive, pre-packaged gluten-free breadcrumbs that often lack flavor and turn into dust. Making your own at home is incredibly easy, budget-friendly, and gives you full control over the ingredients.
Why Gluten-Free Panko is Actually Better Than Regular Panko
Traditional Japanese Panko is known for its light, delicate, and flaky texture. Because it is so airy, it absorbs far less oil when frying, keeping your food incredibly crunchy without any heaviness.
When you make it gluten-free, you actually have a secret advantage. Most store-bought gluten-free white breads are made with starches like tapioca, arrowroot, or white rice flour. When baked and dried, these starches create an exceptional, glass-like crunch that holds up even better than wheat-based breadcrumbs.
The Best Gluten-Free Bread to Use
-
Gluten-Free White Sandwich Bread: This is the ideal choice. It mimics traditional crustless white Panko perfectly.
-
Gluten-Free French Bread: A light gluten-free French bread or baguette works beautifully too, even if it has a bit of a crust.
Whether your bread is fresh, stale, or has been sitting in your freezer, as long as it is gluten-free, it will work perfectly for this recipe. It is also the absolute best way to rescue a homemade loaf of gluten-free bread that didn’t turn out quite the way you expected it to.
Easy Tips for a Perfect Crispy Coating
To get that restaurant-quality, extra-crispy crunch on your chicken, fish, or vegetables, use this simple three-step coating method:
-
The Dusting: Lightly dust your food with white rice flour first. While other gluten-free flours work, rice flour is lightweight and helps the next layers stick perfectly without getting gummy.
-
The Dip: Dip the lightly floured food into a bowl of well-beaten egg.
-
The Press: Dredge the food into your homemade gluten-free Panko. Use your fingers to gently press the flakes onto the food so they stick evenly, then shake off any loose excess before cooking.
Step-by-Step: How to Make Gluten-Free Panko
Remove the crust from gluten-free bread, (about 4 slices per cup)
Cut the bread into cubes or large chunks.
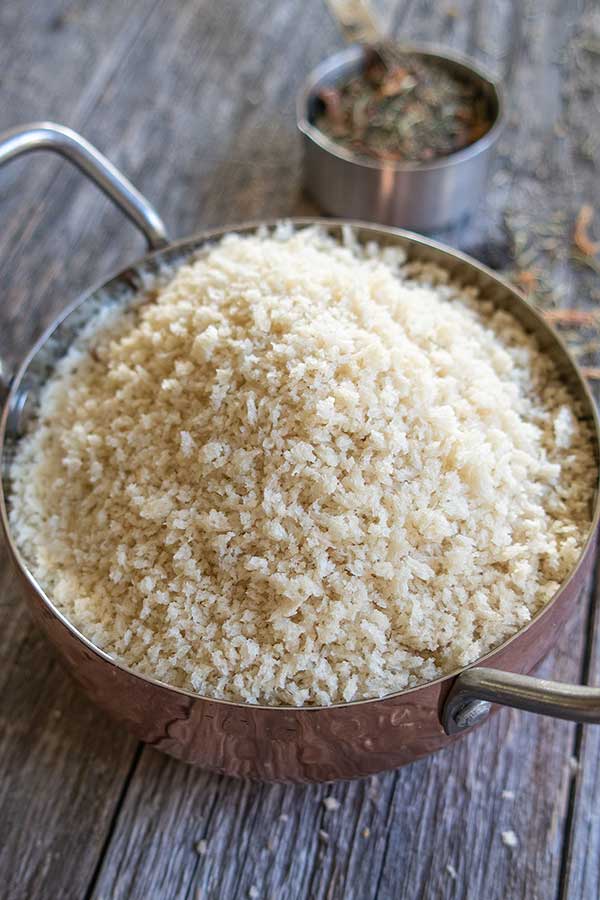
Pulse in a food processor until you reach the desired flake size: Smaller flakes are great for binding or bulking meatballs and patties. Coarser crumbs are ideal for topping macaroni and cheese, casseroles, or for a crispy fried food coating.
Toast the crumbs on a large, rimmed baking sheet at 250°F (120°C) until fully dried, about 10-20 minutes depending on bread dryness. Turn frequently to ensure even drying and prevent browning.
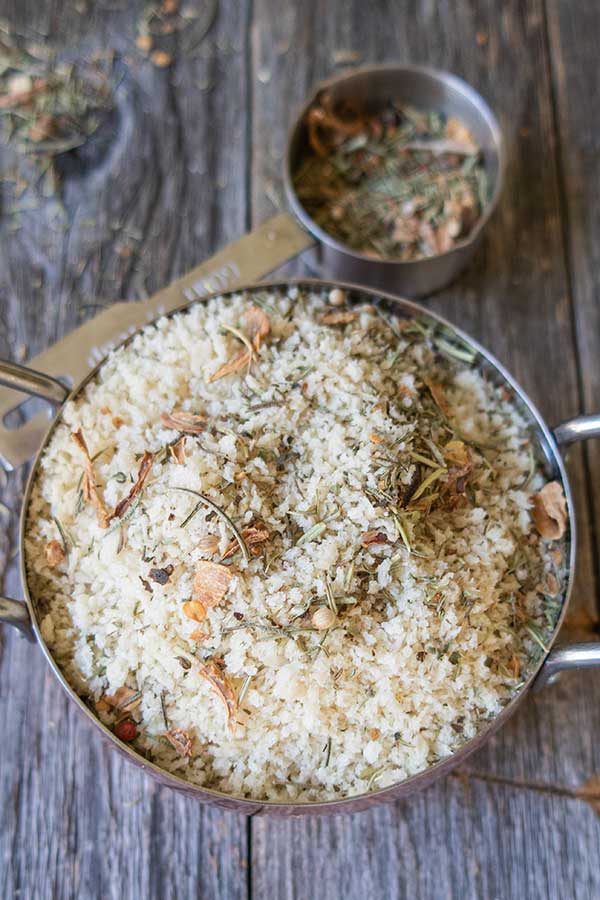
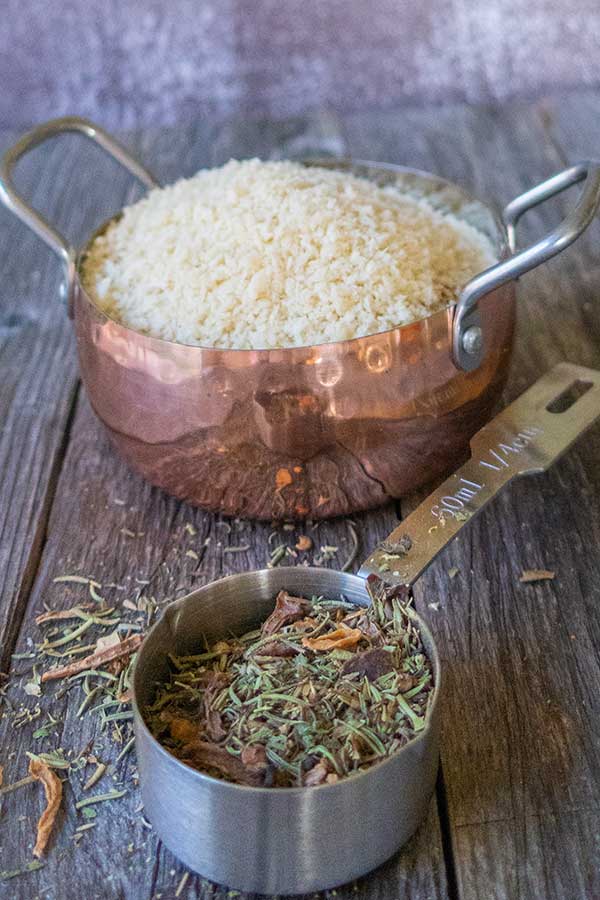
3 Easy Seasoned Gluten-Free Panko Recipes
If you want to add an extra boost of flavor to your dishes, you can easily season your homemade Panko. These three simple spice blends are scaled for 4 cups of breadcrumbs. Simply toss the herbs and spices with your dried Panko flakes until evenly mixed.
Italian Blend:
Perfect for chicken parm, schnitzels, or coating mozzarella sticks.
- 1 tsp. GF garlic powder
- 1 tsp. GF dried oregano
- 1 tsp. GF dried basil
- 1/2 tsp. GF paprika
Seafood Blend:
Wonderful for crusted cod, salmon, or gluten-free crab cakes.
- 1 Tbsp. GF dried parsley
- 1 tsp. GF dried dill
- 1 tsp. GF dried chives
- 1/2 tsp. GF ground black pepper
Veggies and Casserole Blend
The ultimate topping for roasted broccoli, cauliflower, mac and cheese, or chicken casserole.
- 1 tsp. GF dried thyme
- 1 tsp. GF sage
- 1/2 tsp. GF garlic powder
- 1/2 tsp. paprika
- 1/2 tsp. GF ground black pepper
Kitchen Tip for Veggies and Casseroles: If you are using your Panko as a crispy topper for roasted vegetables or a baked casserole, put your seasoned crumbs in a small bowl and lightly drizzle them with a little bit of extra virgin olive oil, melted butter, or melted coconut oil before scattering them on top. This helps the herbs release flavor and guarantees a gorgeous, golden crunch in the oven!
How to Store Homemade Panko
Once your Panko is completely cooled from the oven, transfer it to an airtight jar or container. Stored in the refrigerator, it will stay perfectly crisp and fresh for up to two weeks.
If you want to keep a big batch on hand, you can store your dried Panko in a freezer-safe bag in the freezer for up to three months. You can use it straight from the freezer whenever you need a quick crunch!
Looking for more easy kitchen staples? Try my homemade gluten-free Shake and Bake recipe for a crispy, flavorful twist!
This Gluten-Free Panko Breadcrumb Recipe has been created and tested by Kristina gluten-free recipe developer.
For more daily inspiration, be sure to follow us on Pinterest or join us on Facebook. And don’t forget to sign up for our newsletter so you never miss a recipe. We always have something delicious coming next!
![]()