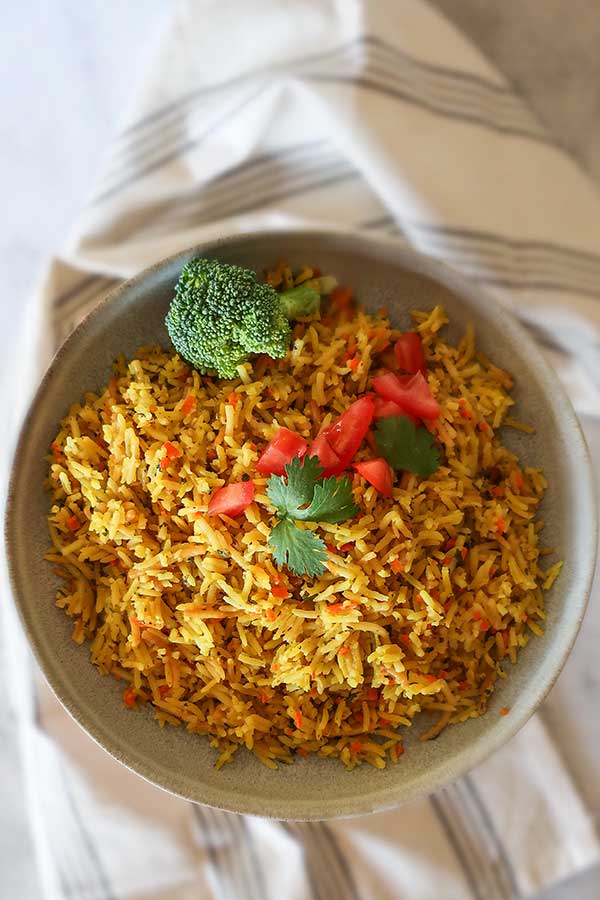
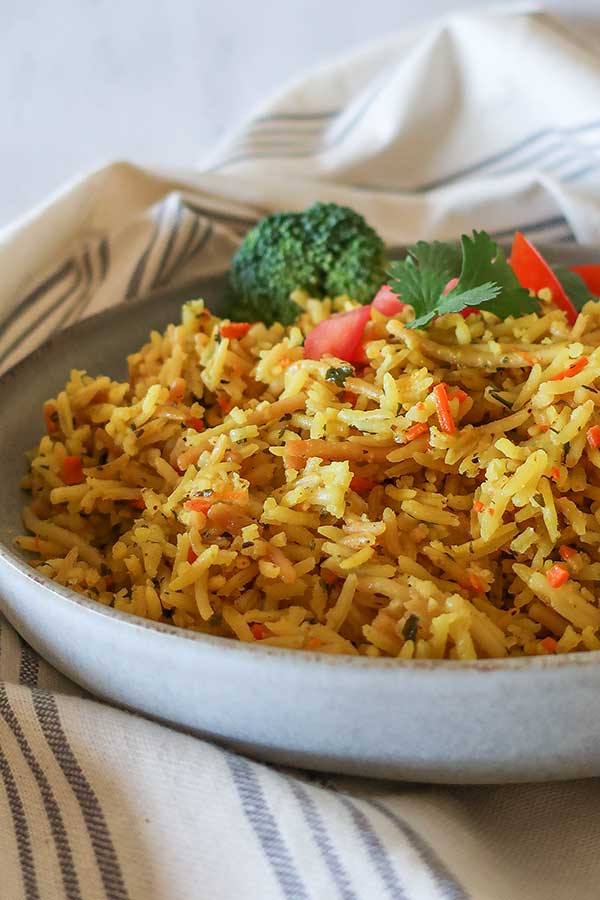
This is a very flavorful gluten-free Rice-A-Roni dish made under 20 minutes. If you’re like most people, you probably grew up eating Rice-A-Roni. It’s a classic American dish that’s easy to make and can be a side dish or a meal.
But if you’re gluten-free, you may have thought you had to give up Rice-A-Roni for good. You certainly can’t buy the pre-packaged one from your local grocery store.
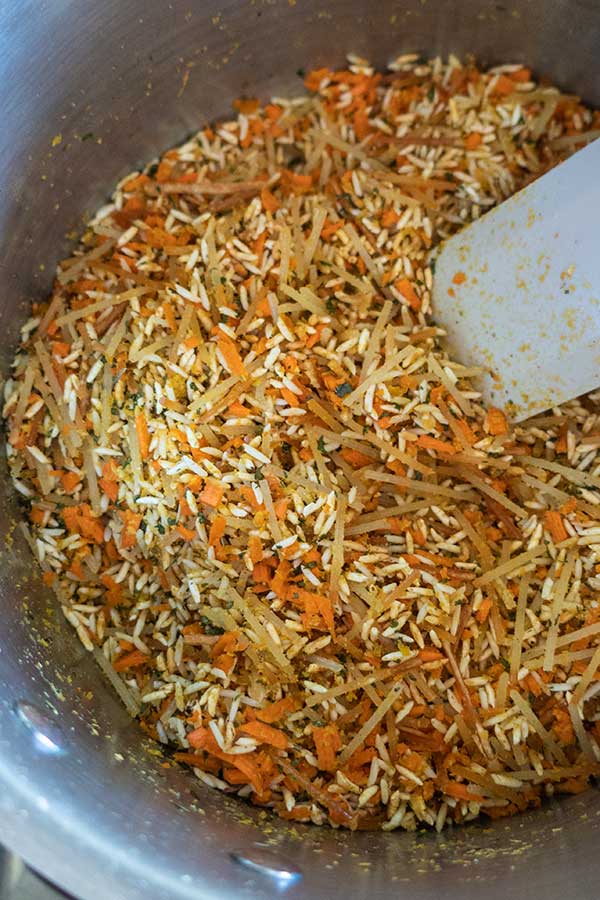
Fortunately, it’s easy to make your gluten-free Rice-A-Roni at home. All you need is rice, gluten-free spaghetti, some seasonings, and a little time.
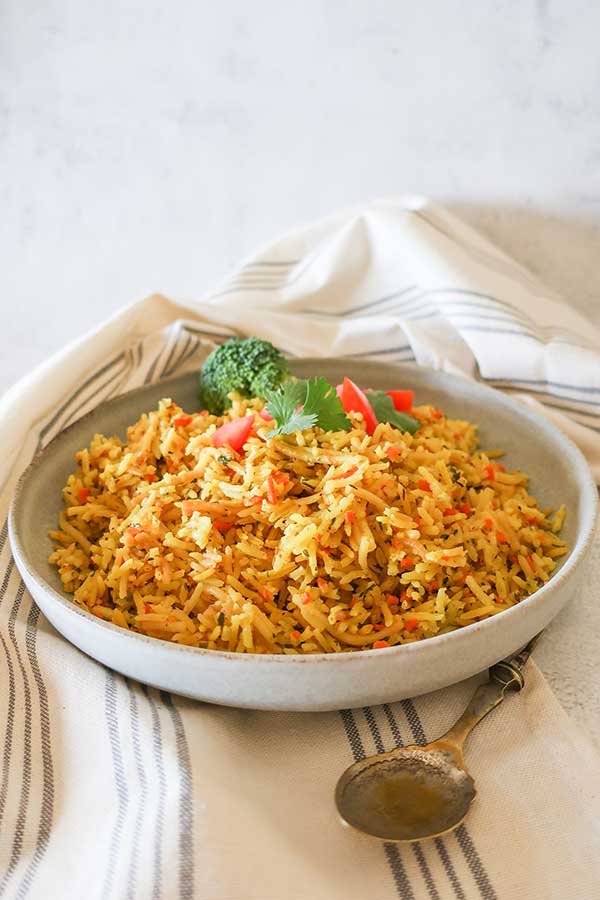
With this recipe today, you can enjoy all the flavor of classic Rice-A-Roni without the gluten.
the nostalgia of Rice-A-Roni
For many of us, the mere mention of Rice-A-Roni conjures feelings of nostalgia. After all, this classic dish is the perfect comfort food. And with this gluten-free version, even more people can enjoy its deliciousness!
The Rice-A-Roni is a perfect dish if you’re looking for a quick and easy meal. Because all you need is about twenty minutes from the start to the table. And, you’ve got a tasty dish that will please the whole family.
So next time you’re in the mood for something comforting and familiar, try this gluten-free Rice-A-Roni recipe. It’s sure to hit the spot!
Why do kids and moms love Rice-A-Roni?
There are a few reasons why kids and moms alike LOVE Rice-A-Roni:
- It’s a fun food to eat. It’s like eating rice, but with a twist.
- It’s very tasty without complicated textures that some kids don’t like
- It uses ingredients you most likely have in your pantry
- It’s budget-friendly food
You can feed a family of four for under five dollars. If you are feeding big appetites, add steamed veggies like peas or broccoli, leftover chicken or ham, or a light green salad, and you are good to go. Making this an affordable gluten-free meal option for families on a tight budget.
Are commercial dried herbs and spices gluten-free?
Most commercial dried herbs and spices are gluten-free. However, there are a few exceptions. Some brands of spices may contain gluten-containing ingredients such as wheat flour.
Or, if they are packaged in a factory that packages wheat or products that contain gluten, there is a possibility that the spices could be cross-contaminated with gluten.
Always check the labels of products you’re unsure about to be sure they’re safe for a gluten-free diet.
This is why making gluten-free Rice-A-Roni at home is better. Because you know there is no chance of having gluten in your meal since you control the ingredients.
add-ins to gluten-free Rice-A-Roni
If you’re looking for a little something extra to add to your Rice-A-Roni, there are plenty of options. You can stir in some cooked veggies, top with a fried egg, or add a dollop of Sriracha.
For a heartier dish, try adding crumbled sausage or ground beef. And, of course, you can always top your Rice-A-Roni with a sprinkle of cheese.
Whatever you choose, you can’t go wrong with a delicious bowl of homemade gluten-free Rice-A-Roni.
sides to Rice-A-Roni
Regarding sides, Rice-A-Roni is the perfect complement to any meal. So whether you’re looking for something light and healthy or hearty and filling, we’ve got you covered.
Our top sides include:
-Green beans: A classic veggie side that goes well with just about anything, green beans are a great option for those looking for something healthy and flavorful.
-Corn: Another versatile side, corn is a great way to add some sweetness and texture to your meal.
-Roasted veggies: For a heartier option, roasted veggies are a delicious way to balance your Rice-A-Roni.
-White beans: Another hearty option, white beans with tomatoes and garlic are perfect for those who want something filling and tasty.

gluten free homemade Rice-A-Roni spice mix
Making gluten-free spice mix ahead for the classic Rice-A-Roni dish is the perfect solution for when you are looking to make a quick and easy meal for your family.
Ingredients: (for 3 recipes)
- 9 Tbsp. Nutritional yeast flakes (I used large flakes)
- 6 tsp. GF dried parsley
- 3 tsp. GF dried onion flakes or 1/2 tsp. GF onion powder
- 1 1/2 tsp. GF dried thyme
- 1 1/2 tsp. Sea salt 3/4 tsp. GF garlic powder
- 3/4 tsp. GF ground turmeric
Mix and place in a glass jar or a plastic ziplock bag. Store in the refrigerator. If you are adding broth, use unsalted or low-sodium kind. This spice mix is good for three recipes.
4 ways to make gluten-free Rice-A-Roni
There are a few different ways that you can make this easy dish.
One way is to use vegetable broth, and coconut, avocado, or extra virgin olive oil. This will give you a plant-based recipe with the same flavor as if you would use butter and chicken broth.
Another way is to use brown rice and maybe a bean or lentil pasta. This will give you different textures, earthier flavor and more nutrients.
You can also use quinoa instead of rice in your dish. Quinoa is a naturally gluten-free seed with a similar texture to rice. This is an excellent option if you are looking for plant-based protein and extra fiber.
Overall, there are many different ways that you can make gluten-free Rice-A-Roni. You can also add your favorite protein like chicken, ground beef, ham or shredded pork. All of these options are healthy and delicious.
Why is homemade gluten-free Rice-A-Roni better than store bought?
There are many reasons. First, it is much healthier than store-bought because you control the ingredients especially salt. It is also less expensive to make at home. And finally, it tastes better because it is fresh!
As you can see, making your gluten-free Rice-A-Roni at home is not only possible, but it’s also pretty easy! Not to mention, it’s a lot cheaper than buying pre-made stuff.
So, give this homemade version a try next time you’re in the mood for some Rice-A-Roni. You might be surprised at how good it is, and how easy it is to make. Enjoy!
Let’s Connect!
Be sure to FOLLOW US on FACEBOOK and PINTEREST.
Many thanks!
Kristina xx


Comments
No comments yet.