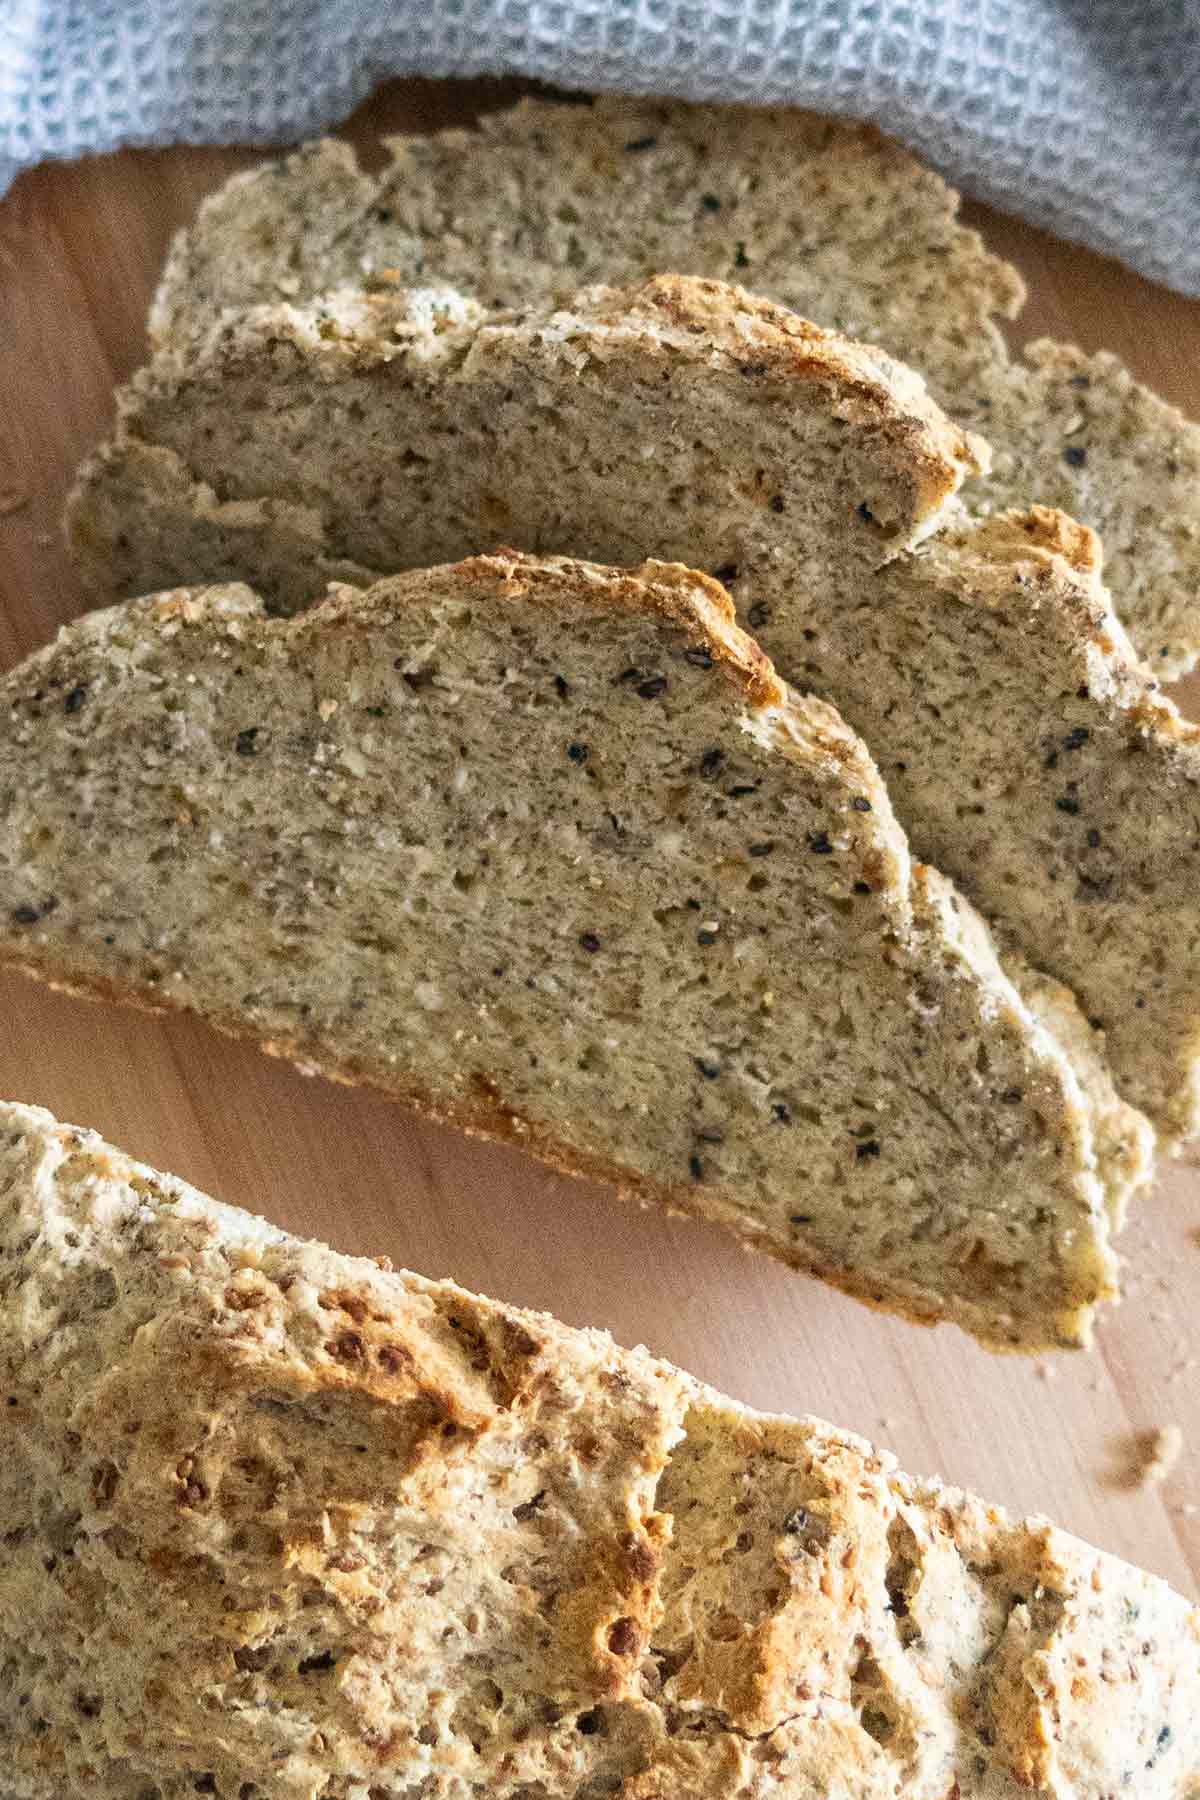
If you’re searching for an easy gluten-free peasant bread recipe with the rich, hearty flavor of rustic homemade bread, this loaf is a wonderful choice. It has a deep, earthy flavor, a substantial crust, and a rustic character that makes it feel like traditional homemade bread.
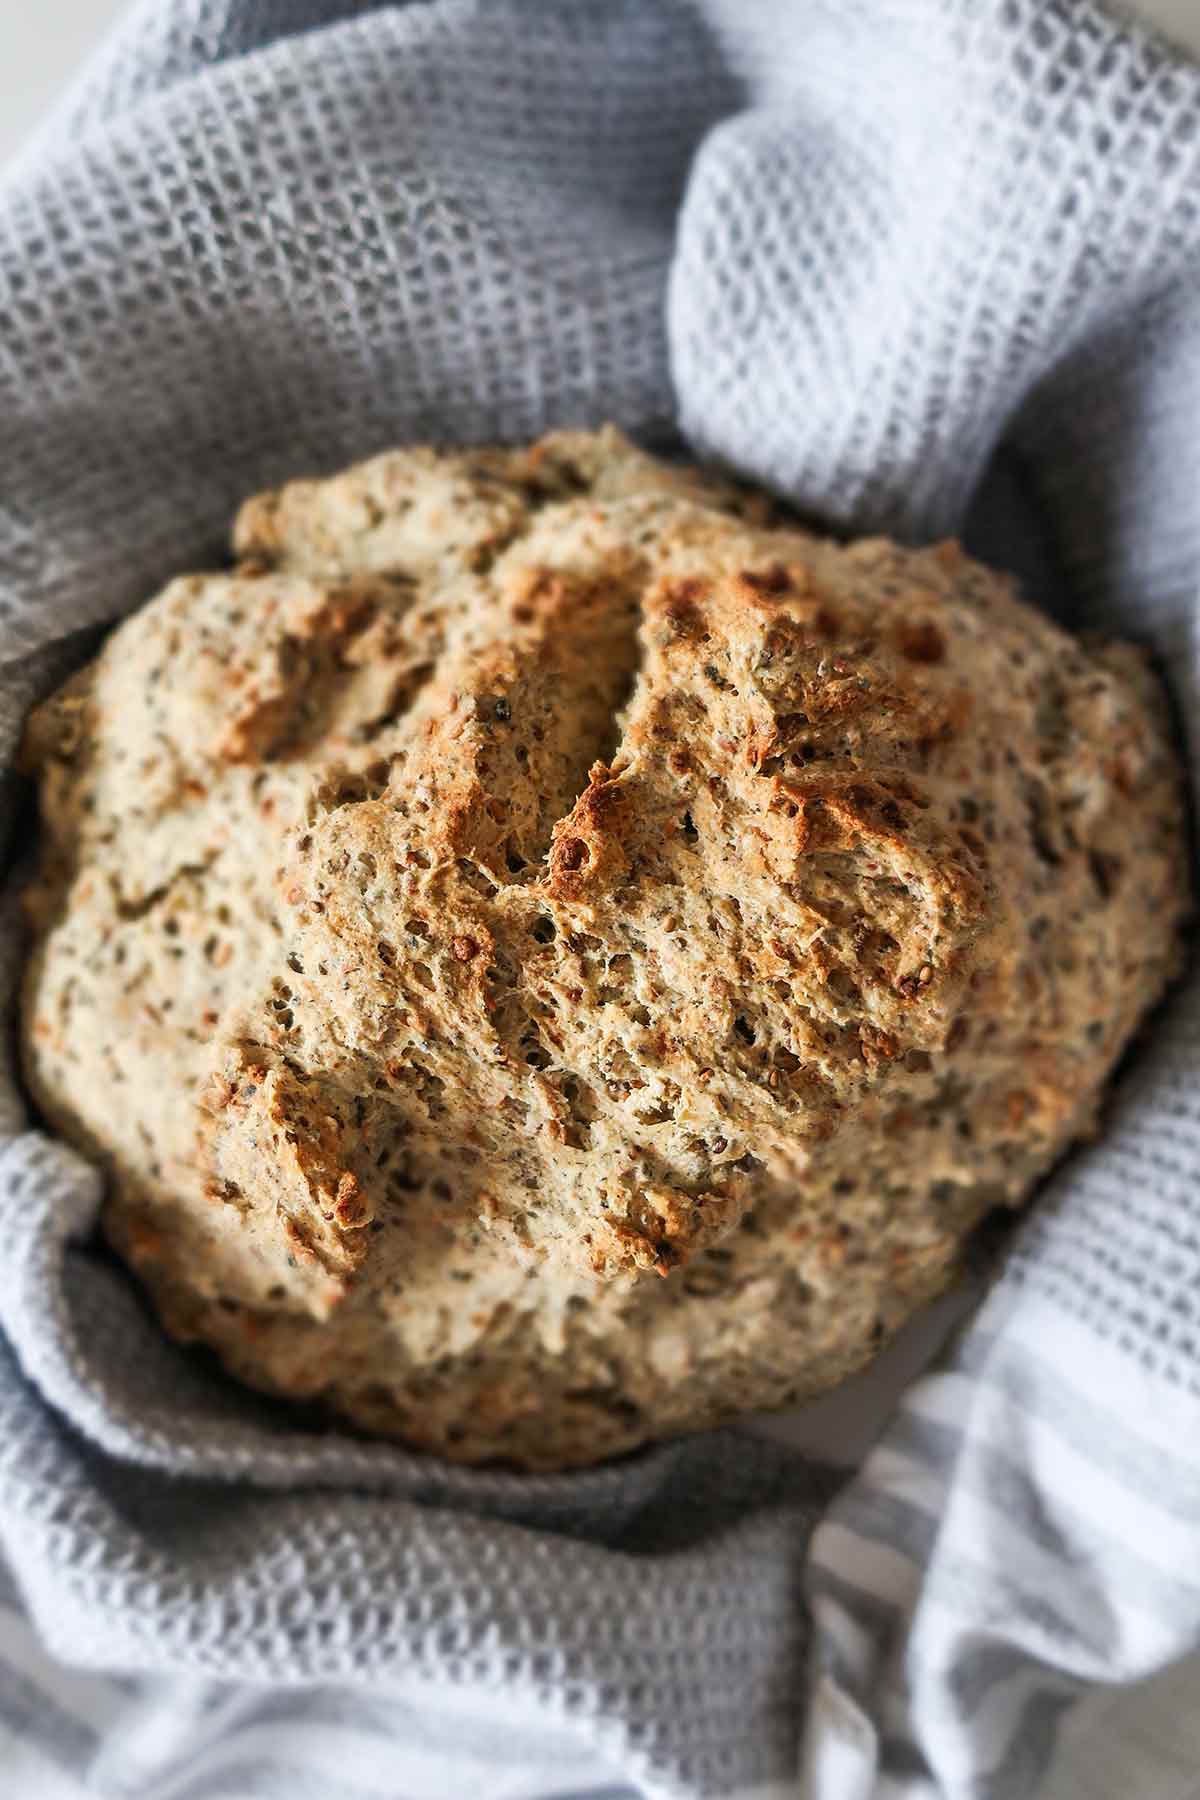
This gluten-free peasant bread is hearty without being heavy, making it excellent for sandwiches, toast, or serving alongside soups and stews. It also has a slightly nutty flavor and rustic texture that become even more pronounced when toasted.
Best of all, this is a simple no-knead gluten-free bread. The dough comes together in one bowl with minimal effort, making it a great recipe for anyone who wants homemade gluten-free bread without complicated techniques or special equipment.
RECIPE HIGHLIGHTS – WHY YOU’LL LOVE THIS BREAD
- Rich, rustic flavor: Hearty and earthy with the character of traditional homemade bread.
- No kneading: Mix the dough, let it rise, and bake.
- Easy preparation: No stand mixer, complicated shaping, or special bread-baking skills are required.
- Great for sandwiches: The loaf has enough structure to hold fillings without falling apart.
- Versatile: Enjoy it fresh, toasted, alongside soup, or turned into croutons and breadcrumbs.
- Freezer friendly: Slice the cooled loaf before freezing for easy access to individual servings
Peasant bread can be made in various shapes, such as round loaves, baguettes, or rolls, making it perfect for sandwiches or dipping into soups or stews.
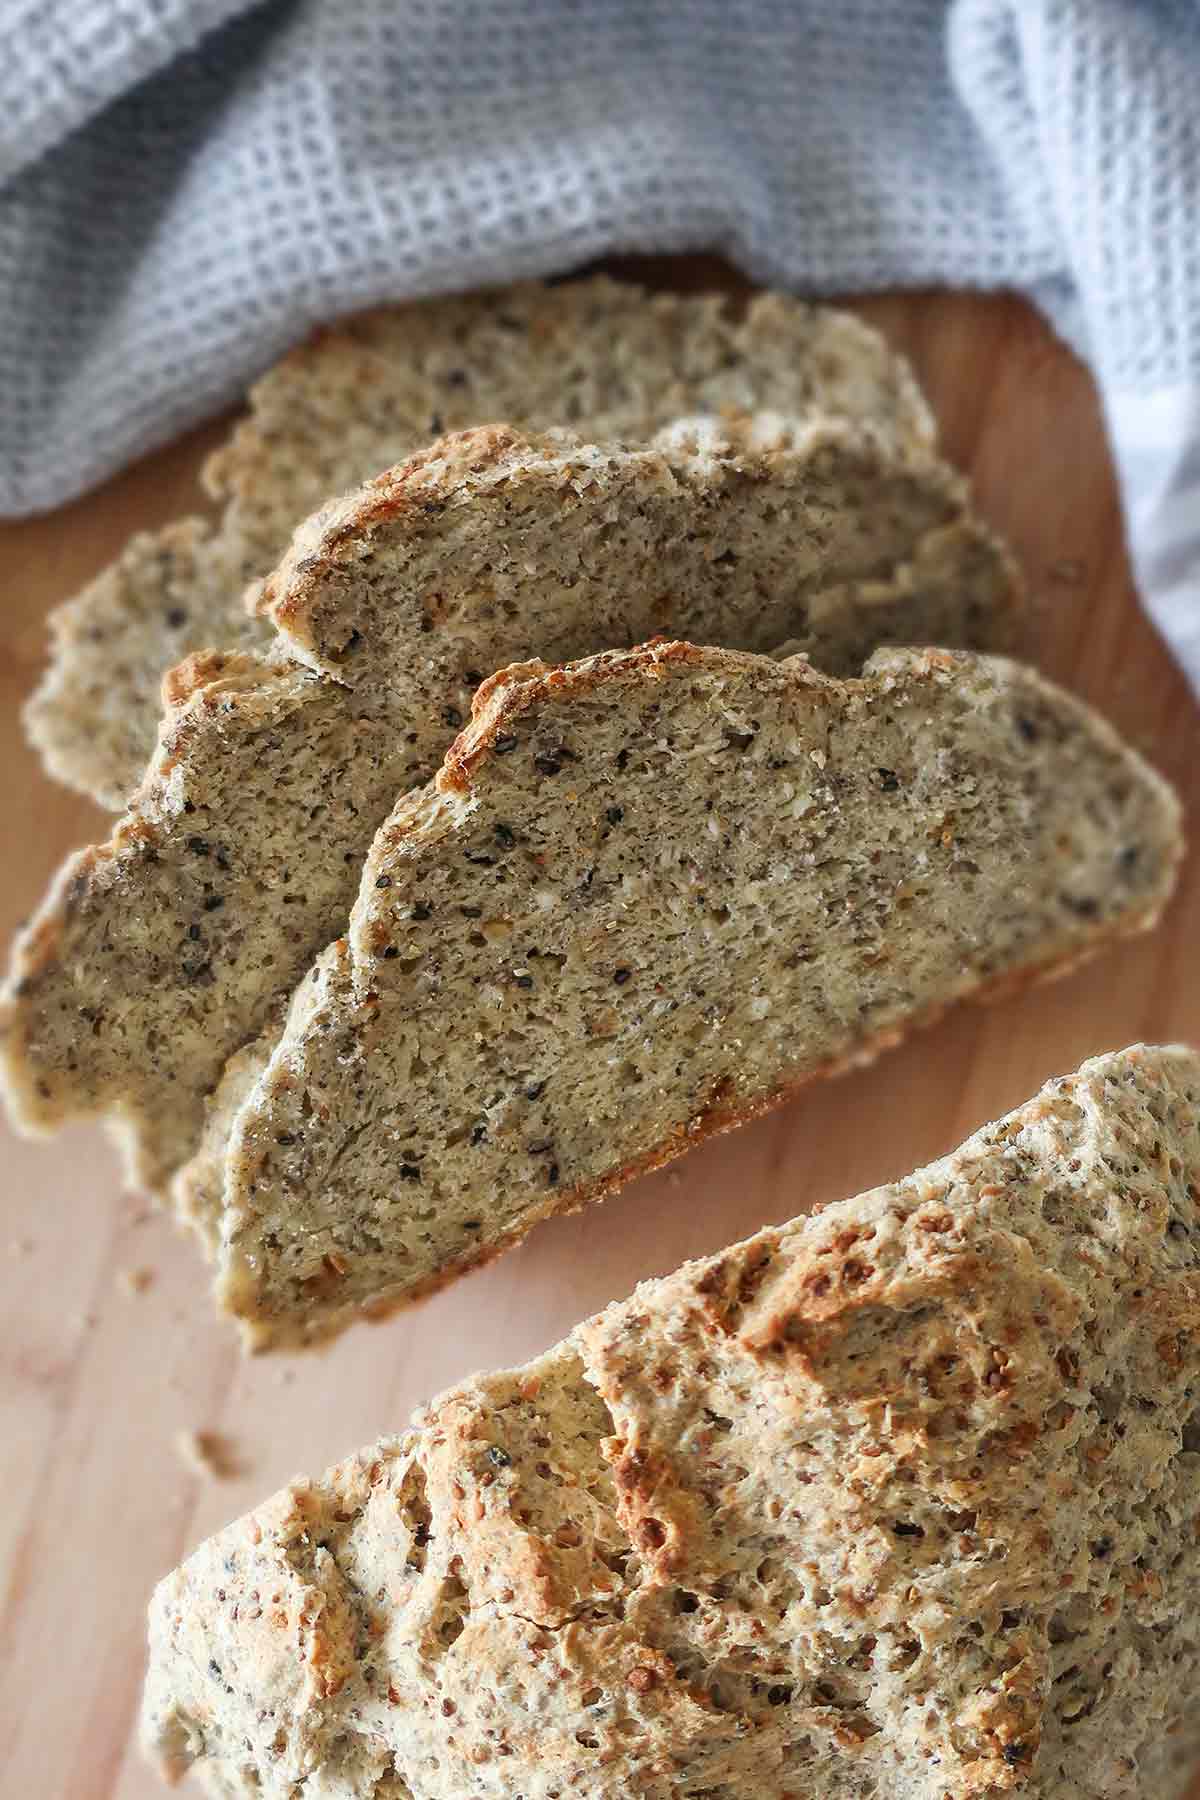
WHAT IS PEASANT BREAD?
Peasant bread is a rustic, simple style of bread traditionally made with basic ingredients and minimal preparation. It is known for its hearty character, substantial crust, and homemade flavor.
There isn’t one specific recipe for peasant bread, which means it can vary in flour, shape, and texture. This gluten-free version keeps the same rustic, no-fuss approach while making it suitable for gluten-free baking.
KEY INGREDIENTS AND SWAPS

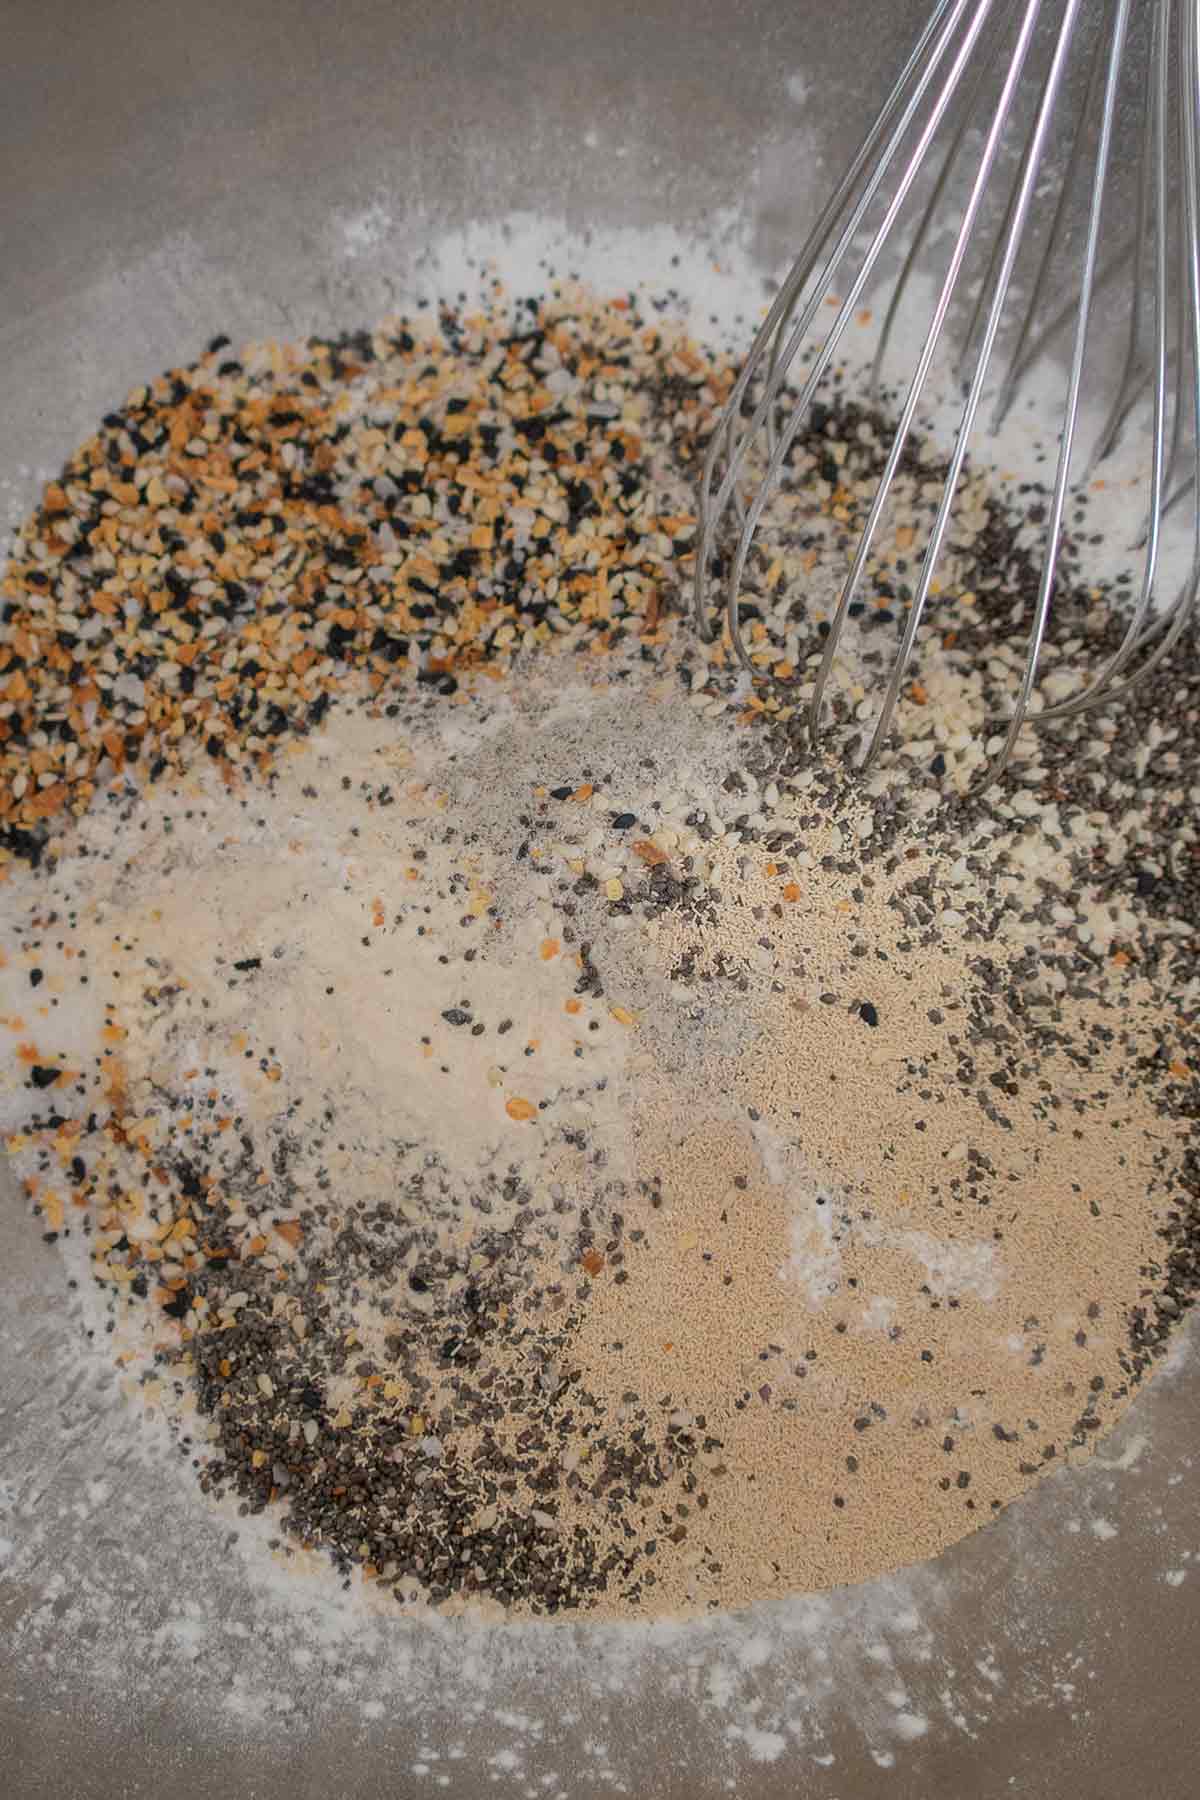
Millet flour
Millet flour provides much of the bread’s hearty, earthy flavor and contributes to its rustic character.
Swap: Sorghum flour can be used in some gluten-free bread recipes as an alternative, although the flavor and texture will be different.
Rice flour
Rice flour helps balance the stronger flavor of millet and contributes to the texture of the loaf.
Swap: Brown rice flour can add a slightly more robust flavor, although it may produce a somewhat heavier texture.
Tapioca flour
Also called tapioca starch, tapioca flour helps give gluten-free bread a softer, more flexible texture and adds some chew to the finished loaf. You can swap for corn starch.
Yeast
Yeast provides the lift needed to create a lighter loaf. Always check the expiration date and storage instructions on your yeast package, especially if it has been sitting in the pantry for a while.
Olive oil
Olive oil adds richness and helps keep the bread tender, you can swap for avocado oil, or coconut oil.
Apple cider vinegar
Apple cider vinegar provides acidity to the dough and works with the other leavening ingredients in the recipe. You can swap for fresh lemon juice.
Baking soda
Baking soda works with the acidic ingredients and contributes to the bread’s overall texture and browning.
Your go-to guide for perfect gluten-free bread
TIPS FOR MAKING GLUTEN-FREE PEASANT BREAD
Use comfortably warm liquid
The liquid should be warm enough to encourage yeast activity but never hot. Excessively hot liquid can damage the yeast and interfere with rising. If you’re unsure about the temperature, a kitchen thermometer is useful. Follow the yeast manufacturer’s recommended temperature.
Don’t add extra flour to sticky dough
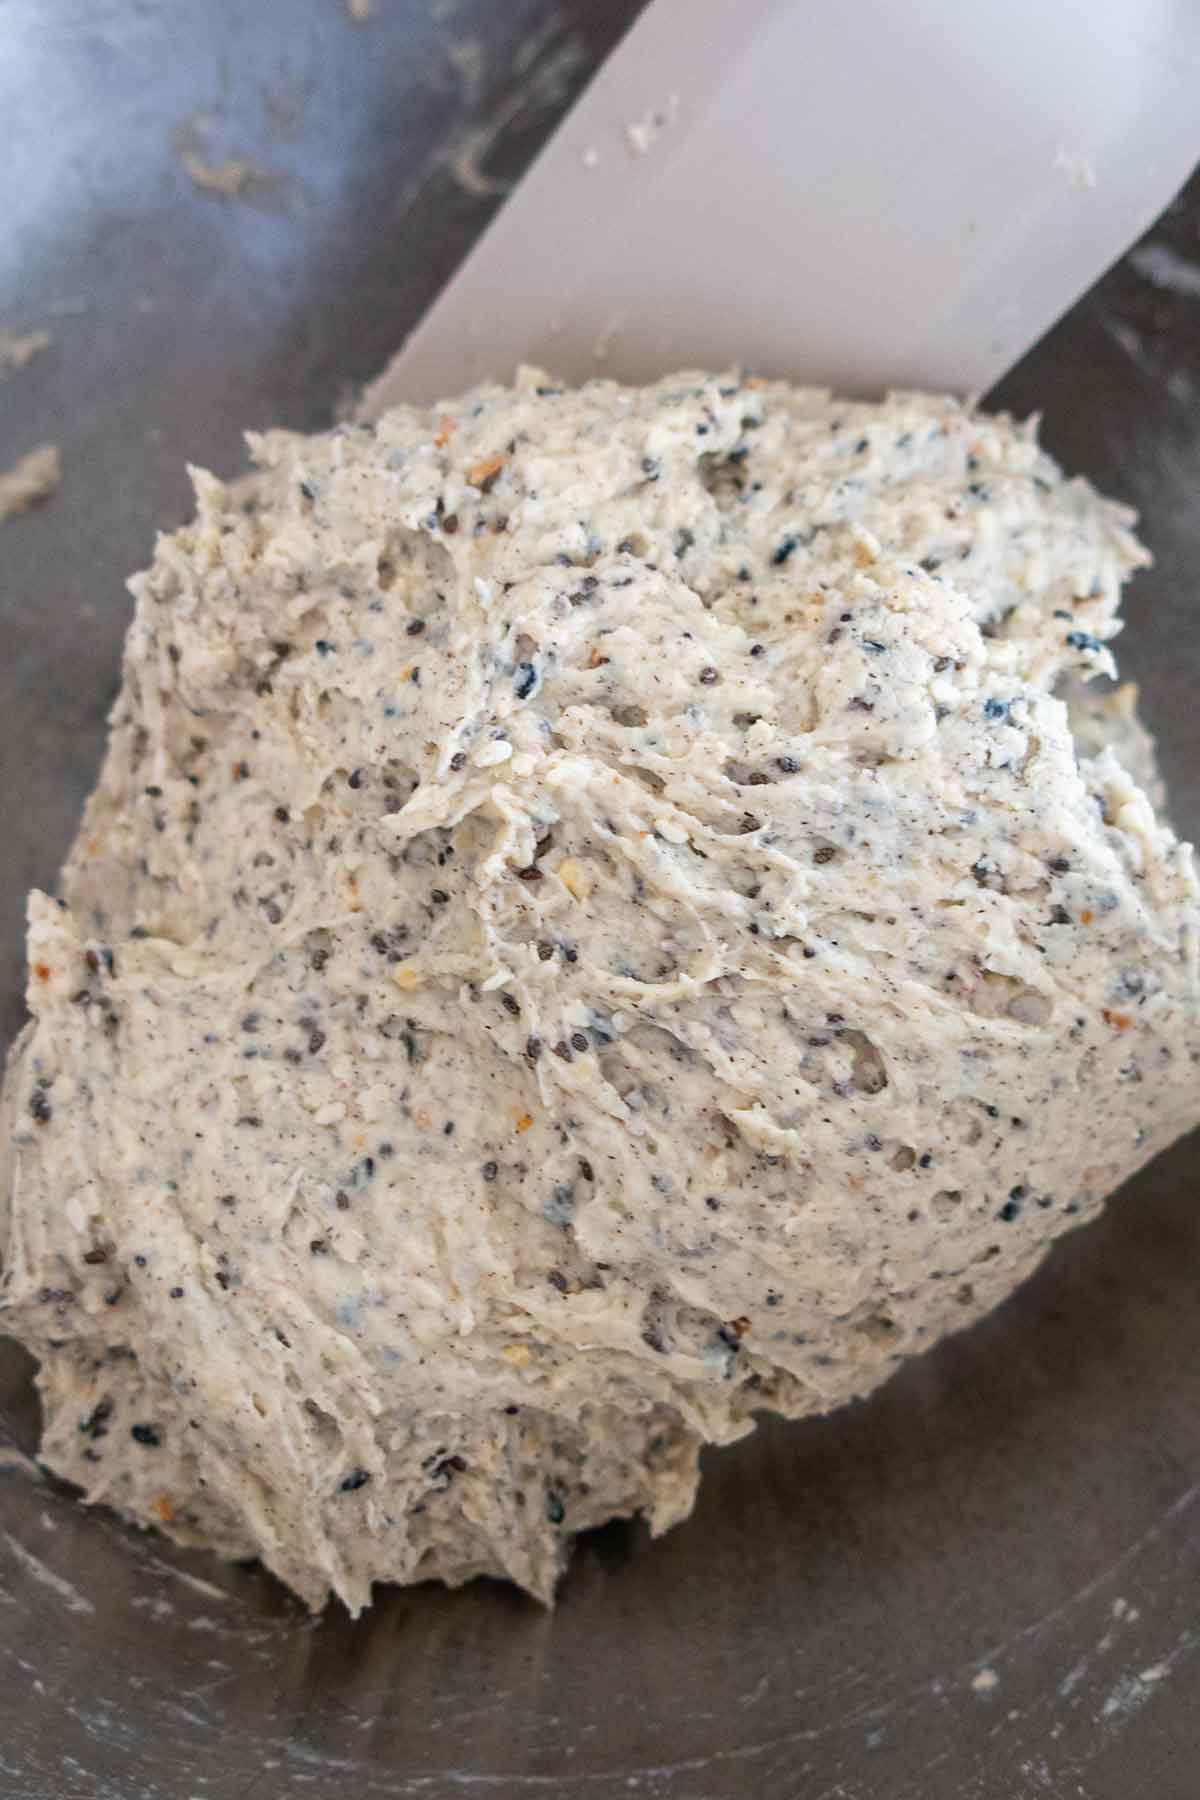
Gluten-free bread dough is naturally different from wheat dough. It is generally softer and stickier and doesn’t develop the elasticity associated with gluten.
Avoid adding large amounts of extra flour simply because the dough doesn’t look like traditional bread dough. Too much flour can make the finished loaf heavy and dry.
Watch the dough rather than the clock
The time required for the first rise can vary depending on the temperature of your kitchen and the activity of your yeast. Look for a noticeable increase in volume rather than expecting the dough to behave exactly like wheat dough.
Don’t overproof
Once the dough has risen sufficiently, bake it. Allowing gluten-free dough to rise for too long can weaken its structure and cause the loaf to collapse during baking.
Cool before slicing
This is especially important with gluten-free bread. The interior continues to set as the bread cools. If you slice the loaf while it’s still hot, the center can appear gummy or compressed. For the best texture, allow the loaf to cool completely before slicing.
HOW TO SERVE GLUTEN-FREE PEASANT BREAD
This bread is at its best when you let its rustic flavor complement the rest of the meal rather than overpower it.
For sandwiches, try:
- Tomato and avocado, spread mashed avocado onto one slice of bread, then layer sliced tomato on top. Add greens like spinach or arugula, a smear of mayo, and a sprinkle of salt and pepper.
- Chickpea salad, mash chickpeas with diced celery, red onion, and mayo (or vegan mayo). Add seasoning and chopped herbs like parsley, cilantro, or dill for extra flavor. Spread onto one slice of bread, then top with greens before adding the other slice on top.
- Salmon salad with thinly sliced cabbage
- Egg salad with lettuce and sliced tomato
- Italian Chargrilled Peppers, balsamic vinegar and cream cheese
For a simple dinner, serve thick slices alongside grandma’s chicken rice soup, chili, Caribbean Chicken Stew in Light Coconut Broth, or a Hungarian-Style Sauerkraut Soup with Chorizo and Mushrooms. The sturdy texture makes it ideal for dipping and soaking up flavorful broth
STORING AND REHEATING GLUTEN-FREE PEASANT BREAD
Let the loaf cool completely before storing it.
For short-term storage, wrap the bread well or place it in an airtight container and keep it at room temperature for up to 2 days.
For longer storage, freezing is the best option. Slice the cooled loaf and place parchment paper between the slices before transferring them to a freezer-safe bag or container. The bread can be frozen for up to 3 months for best quality.
To reheat individual frozen slices, place them directly in a toaster or toaster oven. For a softer texture, thaw them first and warm them briefly before serving.
HOW TO USE STALE GLUTEN-FREE BREAD
If the loaf has lost its freshness, there are several delicious ways to use it instead of throwing it away.
Breadcrumbs: Cut the bread into pieces and pulse in a food processor. Store the finished breadcrumbs in the freezer and use them for breading, casseroles, or meatballs.
Croutons: Cut stale bread into cubes, toss with olive oil and seasonings, and bake until crisp. Use them on salads or soups.
French toast: Stale slices absorb custard beautifully, making them ideal for French toast.
Grilled cheese: Stale bread is perfect for grilled cheese because the exterior becomes crisp while the cheese melts inside.
MORE GLUTEN-FREE BREAD RECIPES
If you’re looking for more homemade gluten-free bread recipes, try:
If you are new to gluten-free baking, check out my go-to guide for perfect gluten-free bread.
Hi, I’m Kristina, a gluten-free recipe developer creating and testing recipes since 2012. Every recipe on this site is made in my kitchen and personally tested (with the help of my very honest family!).
Did you make this recipe? I’d love to hear how it turned out! Leave a ⭐⭐⭐⭐⭐ rating and a quick review below, it helps other gluten-free cooks discover recipes they can trust.
Looking for more gluten-free inspiration? Subscribe to the newsletter for new recipes delivered straight to your inbox — no spam, just good food. You can join our community on Pinterest, Facebook, and Instagram.




Comments
Jane
Hi Kristina
I just put the ingredients together for this loaf of bread.
I have a puddle in my bowl. I think there is a problem with the recipe.
Are you sure it takes 1 3/4 cups water?
Or perhaps should the 1 1/2 cups total flour be adjusted?
To try for the save, I have doubled the baking soda and added 2 cups of Bob's 1 to 1 all purpose four. The dough is still mush but the yeast is activated so into my cast iron pan it went...
It is my first GF loaf but not my first bread recipe.
It seems like too much liquid to flour
Jane, I made this bread yesterday and it turned out perfect. Once you mix the ingredients wait a couple of minutes and the mixture thickens.The rice flour absorbs the moisture. Then allow the dough to rise, do not add more flour.
Jane, the total dry ingredients is 2 1/4 cups. 1 cup millet, 3/4 cups tapioca flour and 1/2 cup rice flour.
Sandy
I made this bread today and the texture was so good, and super easy recipe. I was a bit hesitant after the previous review, but it turned out great!
SHAUNA
easy bread recipe, I love it with avocado and tomatoes.
Carol
Could you provide weights please as well as cups. I prefer to do it that way for accuracy.
Also - do you have a lid on the cast iron pot while the loaf is cooking?
Carol, no you do not use a lid. You can also use a 7-inch round baking pan with the sides a minimum of 2 inches high. We are working on adding weights to our recipes. Thank you.
Er
Do you have nutritional information for this?
sorry Er, not at this time
Rena
The flavor was delicious but the finished bread was a bit gummy. I ended up slicing and baking it, a la biscotti. Do you have any ideas on how to tweak to fix this?
it sounds like it need it longer baking time Rena.
Isabelle
I'm so excited to make this! Is the rice flour you're using brown rice or white rice flour?
Isabelle, you can use either. If you want the bread to be lighter use white rice flour.
Isabelle
I just wanted to say that I love this recipe! I've made it 5 or 6 times now and the bread is delicious. I have found it to be quite a forgiving recipe and I've been making my own changes to it and it still turns out great every time. I no longer add any sweetener, I use psyllium husk instead of xanthan gum, I use a heaping cup of millet flour and a heaping cup of brown rice flour, and eliminate the tapioca starch...and it still comes out great. So appreciate your recipes!
thank you for sharing Isabelle x