This post may contain affiliate links, please see our privacy
policy for details
This Gluten-Free Danish Apple Ricotta Cake brings the perfect balance of rich, creamy, and fresh. It’s a chilled dessert with just the right touch of sweetness, blending silky ricotta with naturally sweet apples, a squeeze of fresh lemon, and a hint of vanilla on a buttery gluten-free crust. And if you love a little crunch, a sprinkle of chopped nuts on top makes it even better.
Why I’m Obsessed With This Gluten-Free Danish Apple Ricotta Cake. (Trust Me on This One!)
Gluten-Free: Made with simple pantry ingredients anyone can whip up.
Perfectly Balanced: Creamy ricotta, zesty lemon, and juicy apples hit just the right amount of sweetness.
Versatile: Serve for brunch, as an elegant dessert, or a sweet treat anytime.
Make-Ahead Friendly: Flavors deepen after chilling, making it even better the next day.
Easy to Make: Crust mixes quickly, filling blends in a food processor, and topping is a simple mix of apples, brown sugar, and nuts.
How to Make Gluten-Free Danish Apple Ricotta Cake in 4 Simple Steps
Step 1. Prepare the Crust
Preheat the oven to 350 F (175 C). In a bowl, combine the dry ingredients. Add the cold grated butter and mix until crumbly. Whisk together egg with ice water, then stir into the dough until it just comes together.
Step 2. Bake the Crust
Gently press the dough into the bottom of an 8-inch springform pan and per-bake for 12 minutes. Set aside to cool.
Step 3. Make the Filling and Add the Apples
Place ricotta, sugar, sour cream, vanilla, lemon zest, cinnamon, and eggs in a food processor or high speed blender and blend until smooth. Pour the mixture into the cooled crust.
Step 4: Arrange sliced apples.
Toss apples with brown sugar and nuts (if using) and arrange them on top of the filling and bake.
5 Tips for Beginners Making Gluten-Free Danish Ricotta Cake
As a beginner, you may want some extra tips to ensure the cake turns out perfectly. Here’s a guide to help you make sure your dessert turns out delicious.
Grating the Butter: This is an easy trick that ensures your crust will turn out flaky and buttery without having to deal with cutting the butter into small pieces. The butter must be cold, and use the large side of a box grater. (I place the butter in the freezer for 15 minutes before grating)
Don’t Overmix the Dough: When preparing the crust, it’s tempting to keep mixing until everything is perfectly smooth, but the dough should just come together. Overworking the dough can make the crust tough instead of light and crumbly.
Test for Doneness: When baking the cake, the filling should be slightly golden around the edges (see the pic on the blog). If you have a food thermometer, the internal temperature should reach 160°F (71°C).
Apples: Slice the apples thinly, this makes the topping sweet and delicious no chunks of apples to cut through.
Cooling Is Important: After the cake is done baking, let it cool in the pan then chill it in the fridge for a firmer texture. This helps the filling set and prevents it from being runny when you cut into it. Ideally, let it chill in the fridge for at least two hours. But overnight is the best.
Fun Substitutions to Make This Gluten-Free Danish Apple Ricotta Cake Just the Way You Like It
Dairy-Free: Use non-dairy ricotta and butter alternatives.
Cottage Cheese vs Ricotta: Both work, however ricotta texture is much smoother and creamier.
Nuts: Omit for allergies or swap with shredded coconut.
Almond flour: Use certified gluten-free oat flour if you are allergic to nuts
Fruit Variations for a Twist
While apples are classic, this cake works beautifully with other fruits. Thinly sliced pears add natural sweetness and a juicy texture. Fresh berries like strawberries, blueberries, or raspberries bring color and tang, though you may want to slice large strawberries and adjust the sugar slightly. Peaches or plums offer a sweetness that pairs beautifully with the creamy filling.
Serving Ideas: Delicious Ways to Enjoy a Slice or Danish Apple Ricotta Dessert
You can enjoy this gluten-free Danish cake in so many ways. Serve it chilled straight from the fridge for a creamy, refreshing dessert, or let it sit at room temperature for a softer, custard-like texture. A light dusting of powdered sugar always adds a pretty finish, and a dollop of freshly whipped cream makes it indulgent.
If you’re feeling fancy, a drizzle of warm caramel or a spoonful of vanilla yogurt on the side takes it to another level. And for brunch lover yes, this absolutely counts as a brunch cake. Pair it with coffee, tea, or your favorite cozy latte.
Storing This Cake… If You Don’t Eat It First
Once fully cooled, store the cake in the refrigerator for up to four days. The ricotta filling will stay creamy, and the apples will remain juicy. Freezing is not recommended, as it can affect the delicate texture of the filling and crust.
Sweet, gluten-free, and straight from Europe, these gluten-free desserts you’ll want to try next!
This Danish Apple Ricotta Cake is one of those gluten-free desserts that looks simple but tastes like you spent way more time on it. It’s creamy, not too sweet, not too heavy, and just indulgent enough to make you sneak back for “one more bite.” The silky filling, tender apples, and buttery gluten-free crust work together beautifully. And with easy substitutions and beginner-friendly tips, even a brand-new baker can pull this off. Trust me, this is one sweet treat that absolutely won’t let you down.
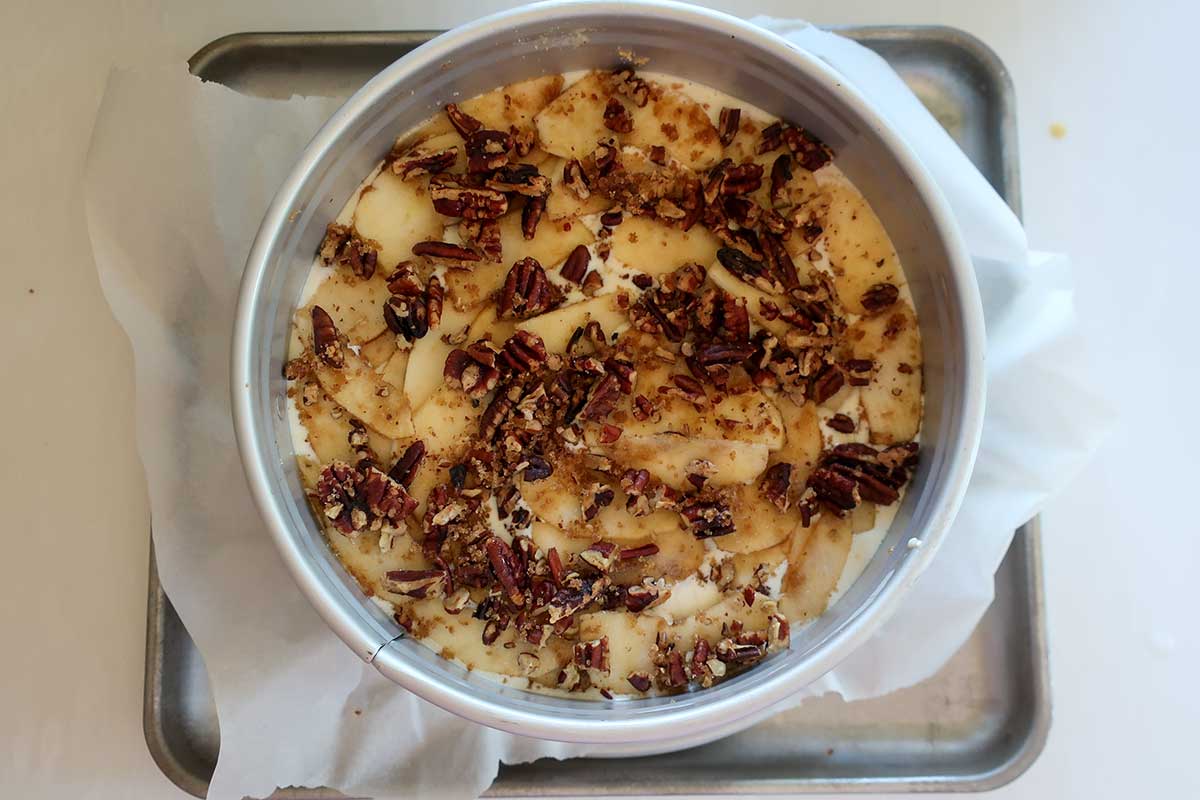
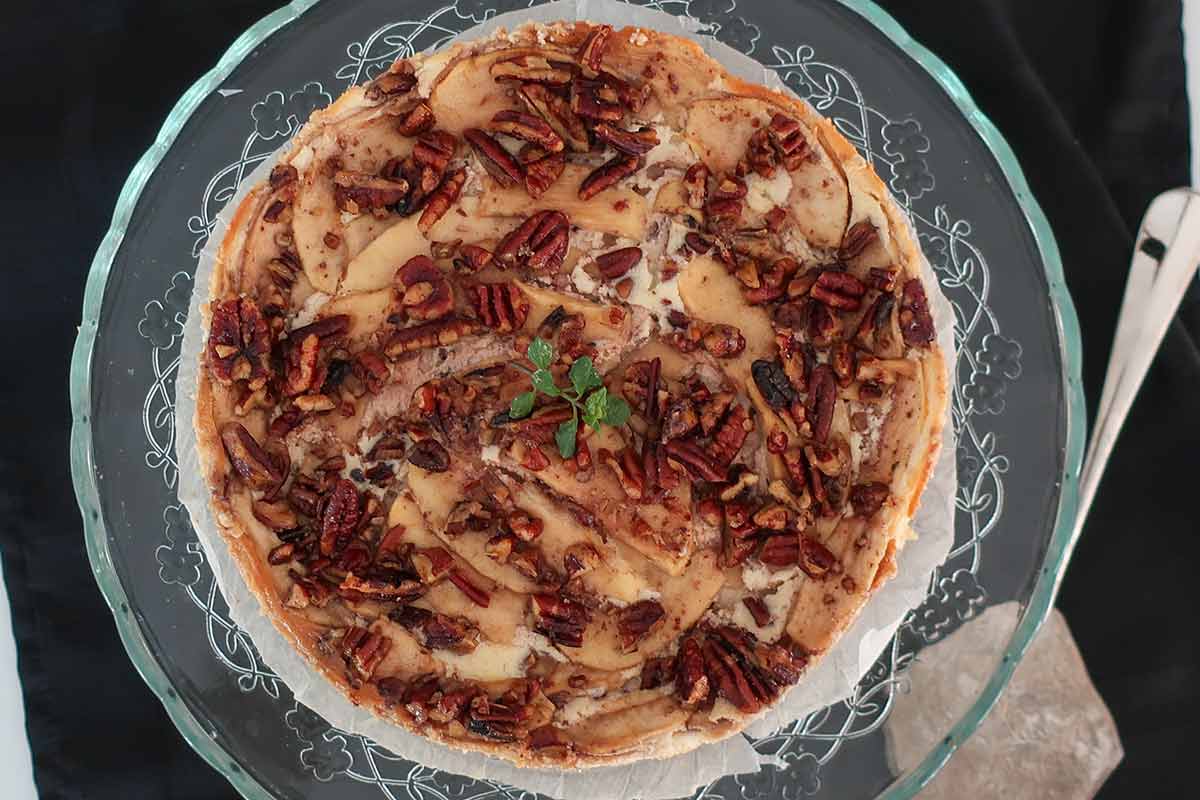
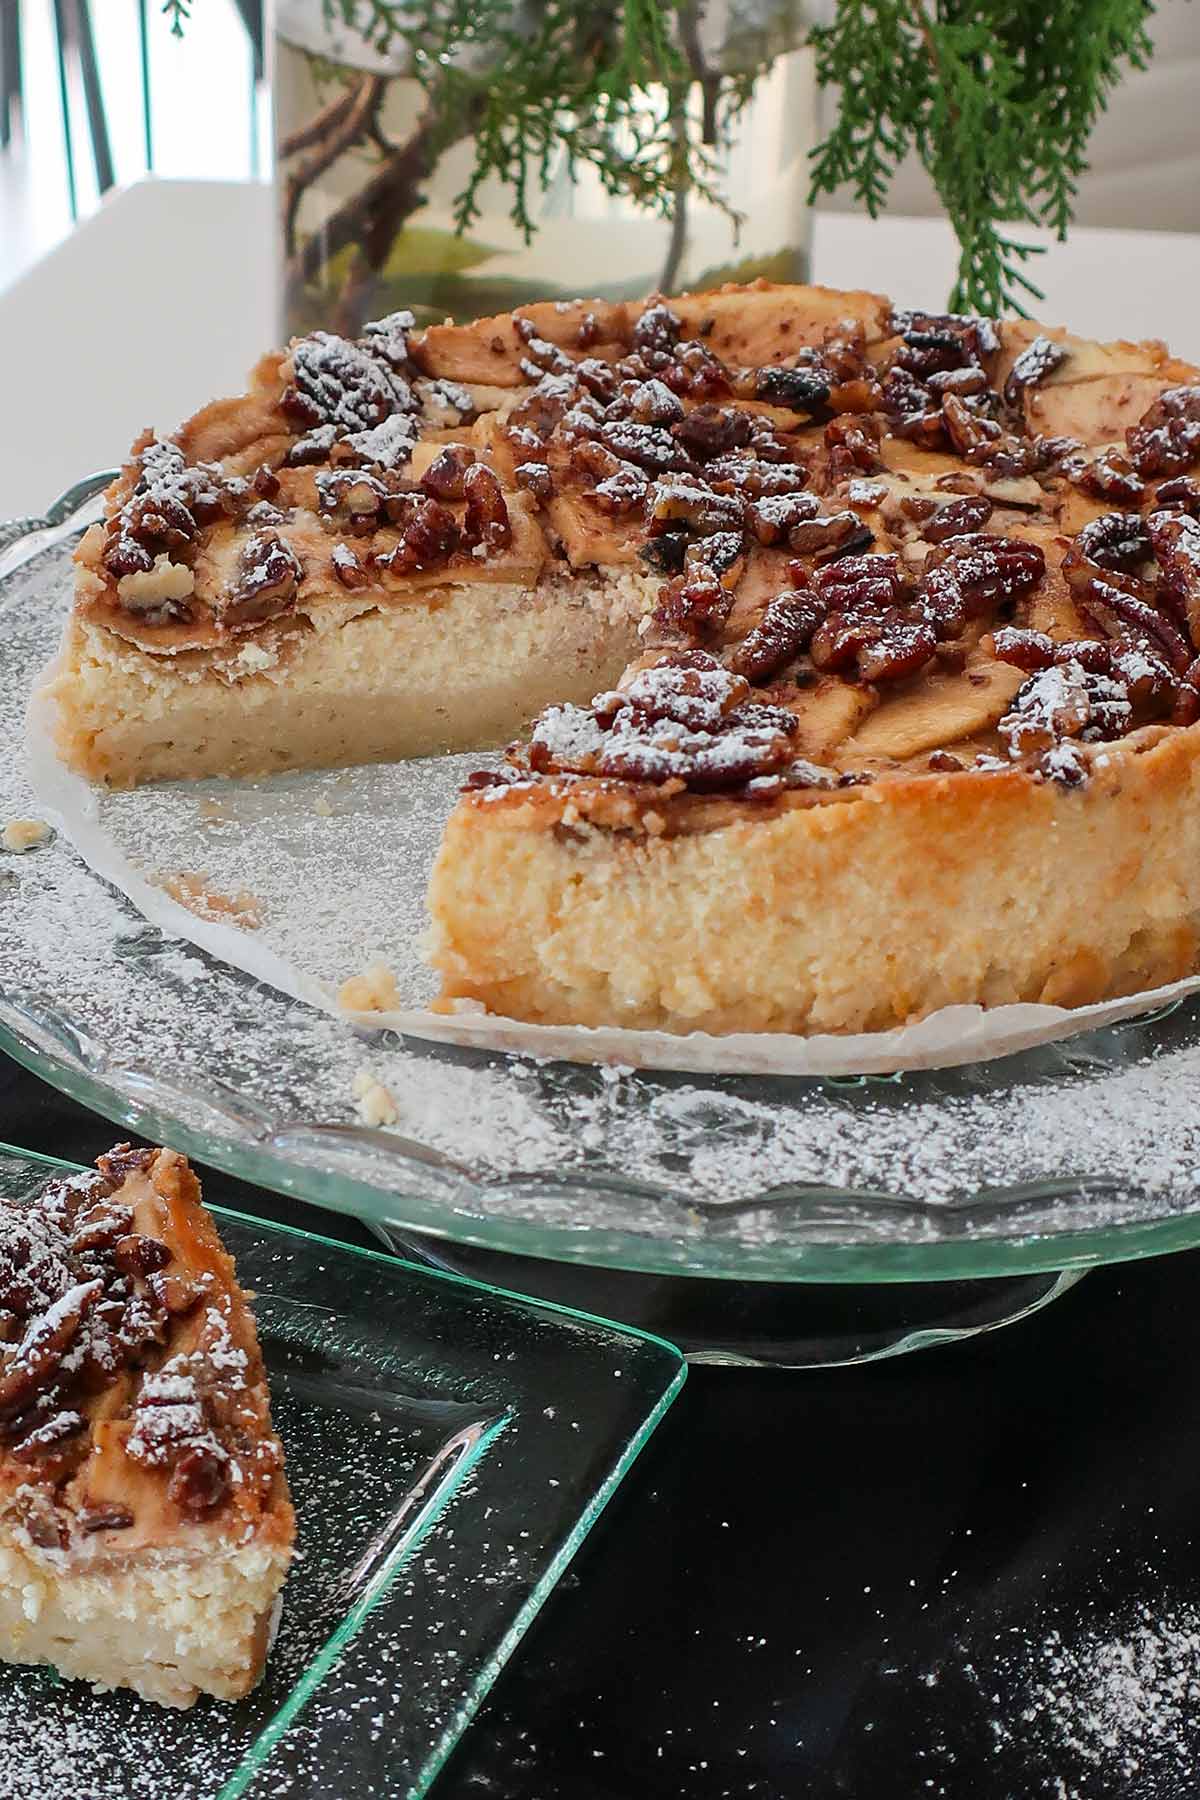
Gluten-Free Danish Apple Ricotta Cake – Easy, Creamy & Delicious
Prepare the crust: Preheat the oven to 350 F (175 C). Line the bottom of an 8-inch spring form pan with parchment paper and generously grease the sides of the pan
2.
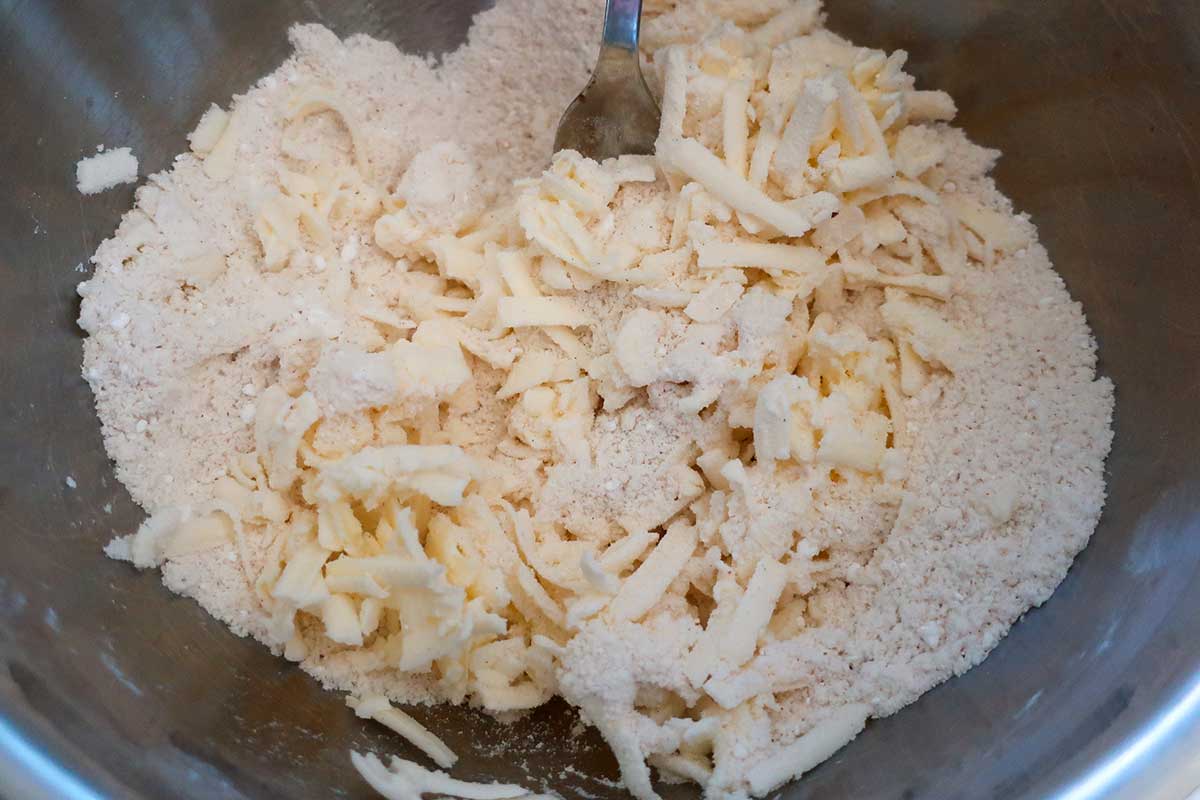
In a bowl, whisk flour blend, almond flour, powdered sugar, nutmeg, and salt. Add the cold grated butter and using a fork, mix to coat the butter with the flour
3.
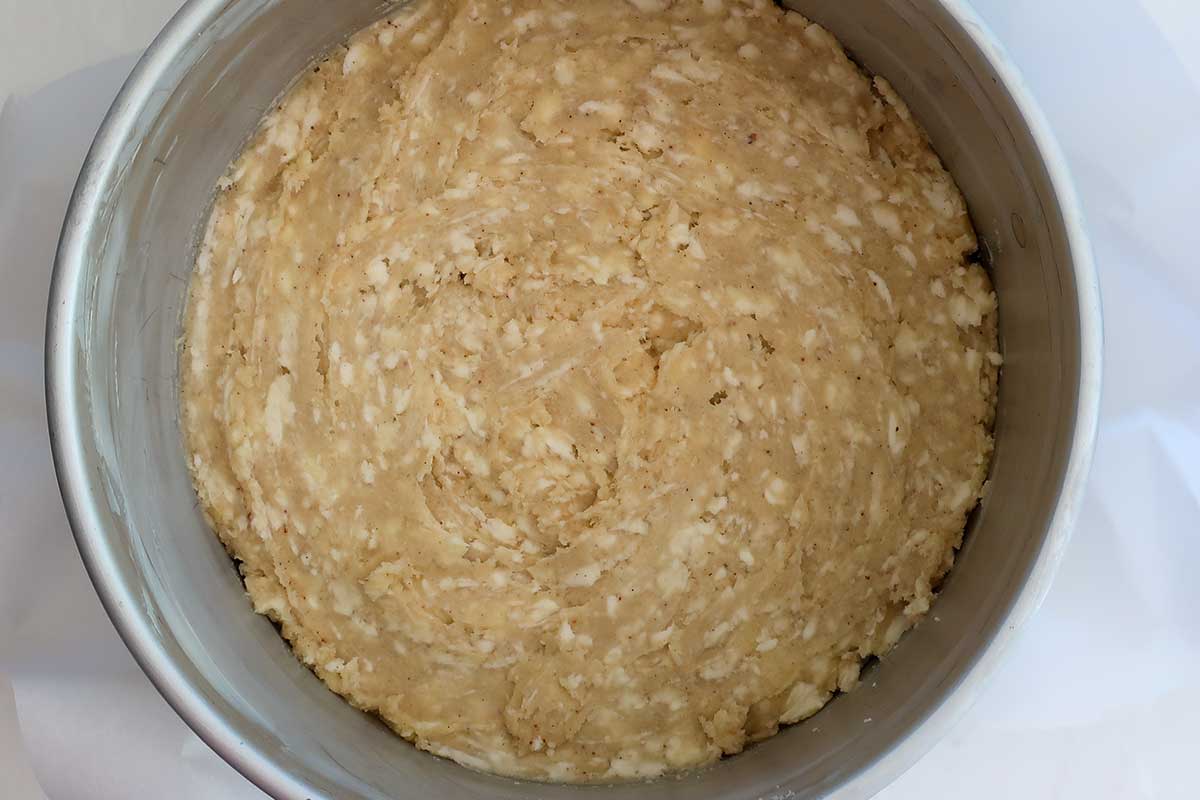
Whisk one egg with one tablespoon of ice water and add to the dry ingredients. Mix until the dough just comes together. Lightly press the dough into the prepared pan and place it on a rimmed baking sheet to catch any butter that melts out during baking. Bake 12 minutes, then set aside to cool.
4.
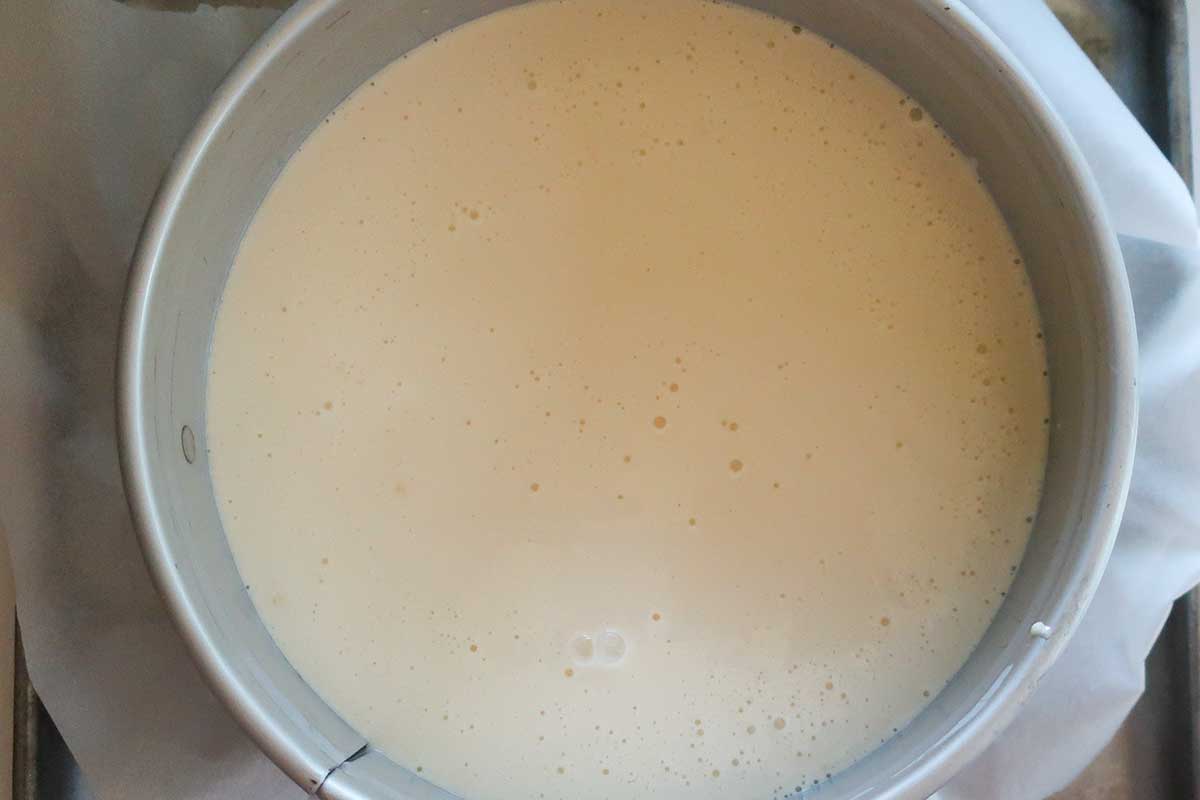
Make the filling: Using a food processor or high-speed blender, blend the ricotta, sugar, sour cream, vanilla, lemon juice, lemon zest, and eggs until creamy. Pour the mixture into the par-baked cooled crust. Toss the apples and nuts (if using) with brown sugar, and arrange them on top of the filling. Bake for 60 - 65 minutes, or until the center is set.The filling should light golden. Cool in the pan.
5.
Refrigerate for at least 2 hours. To remove from the pan, gently loosen the edges with a knife and transfer to a cake platter. A light dusting of powdered sugar adds a beautiful finishing touch. Serve chilled.
Nutrition Info
Nutritional summary per slice (1/8) | Calories: ~379 kcal, Protein: ~11.8 g, Carbohydrates: ~31.5 g, Sugars: ~22 g, Fiber: ~2.5 g, Fat: ~25 g, Sodium: ~250 mg | Note: Nutritional values are estimated and can vary based on the specific ingredients and brands used. This information is automatically calculated and should be used as a general guideline only, not as medical or dietary advice.
Leave a Reply
You must be logged in to post a comment.