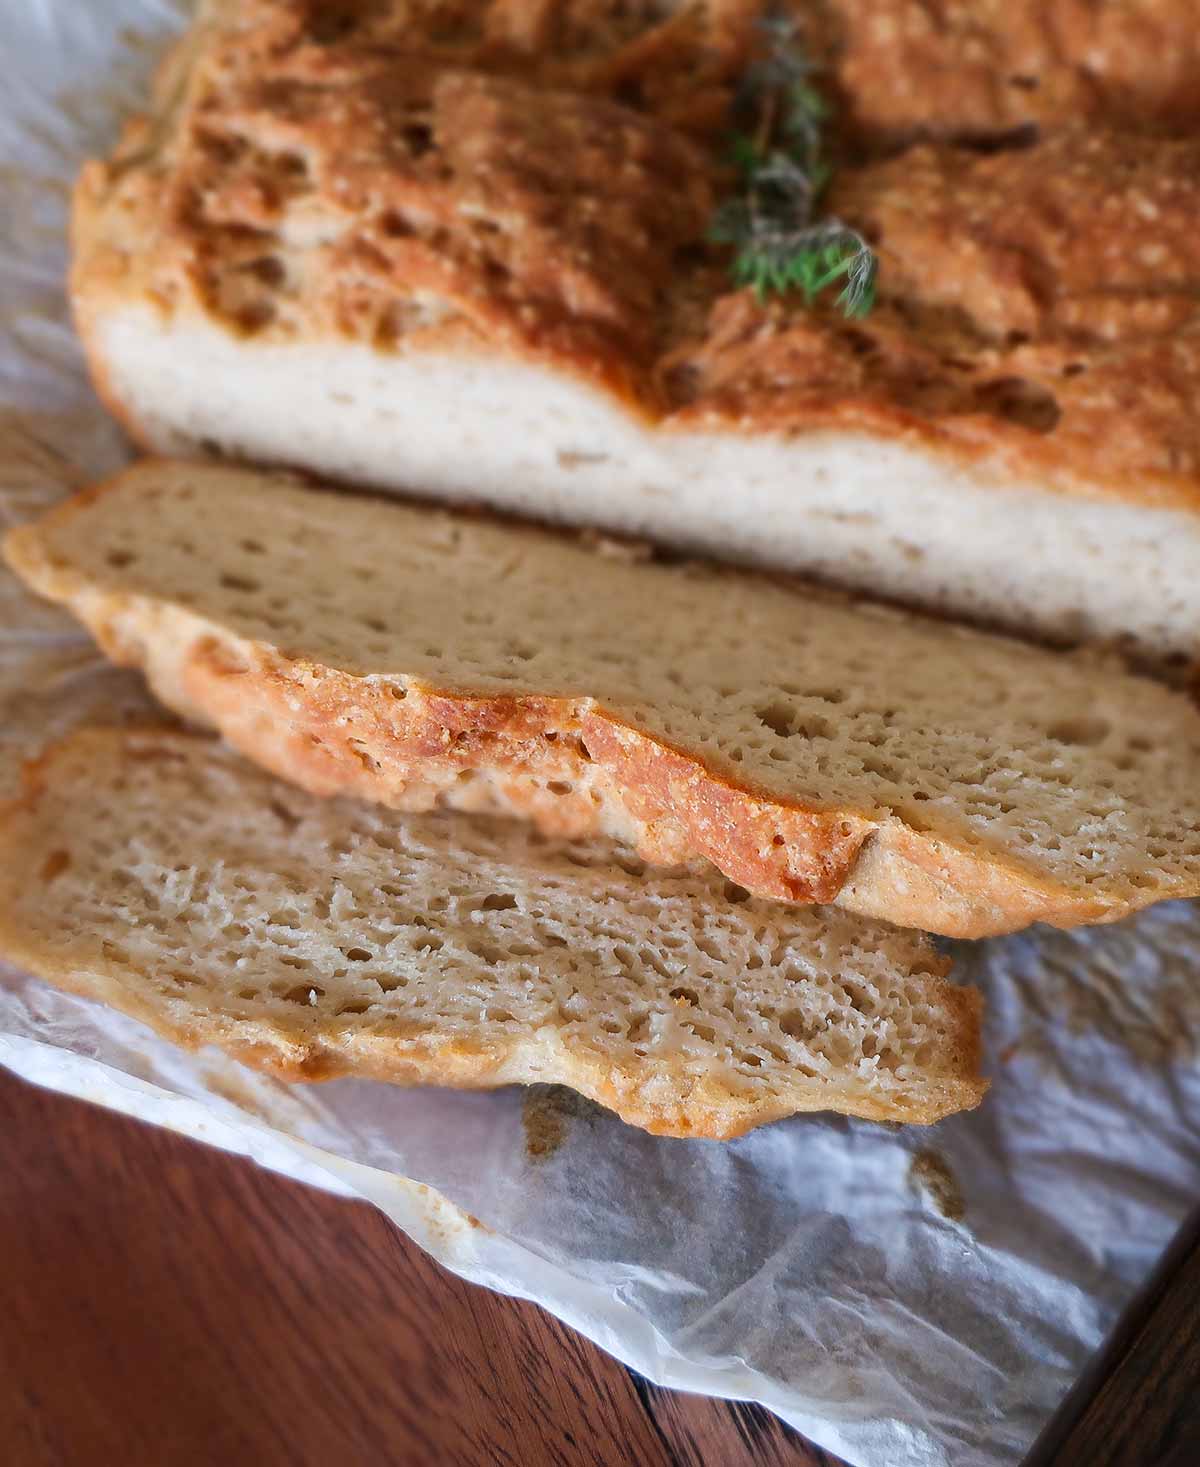
Why Your Gluten-Free Bread Failed And How to Fix It
Gluten-free baking can be both rewarding and challenging. While the idea of creating delicious bread without gluten sounds enticing, it often requires a different approach and understanding compared to traditional baking. If your attempts at gluten-free bread have fallen short of expectations, fear not! We will explore ten common reasons why your gluten-free bread may not have turned out as desired and how to fix them.
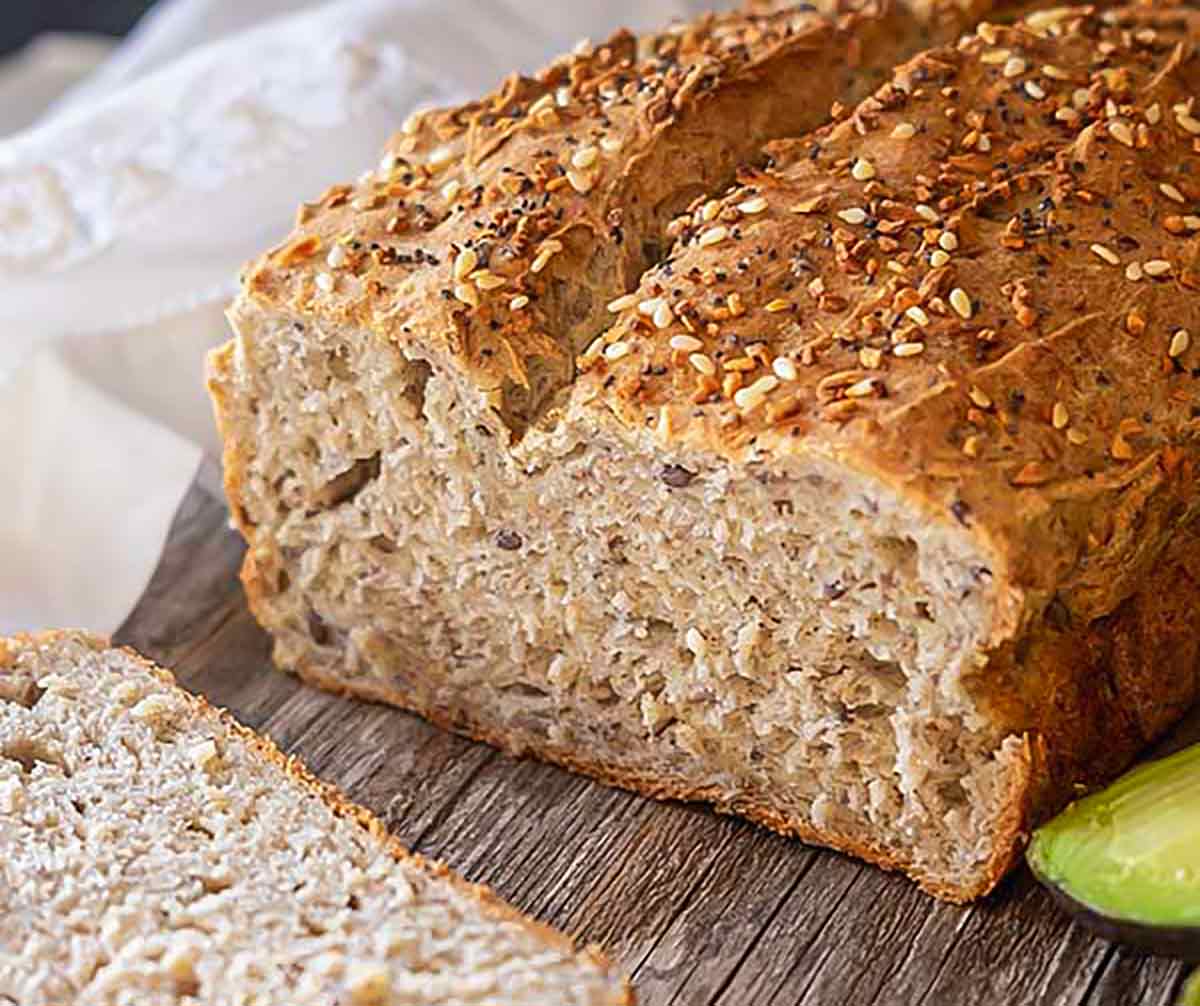
Why Your Gluten-Free Bread Failed and How to Fix It
By addressing these common pitfalls and making adjustments accordingly, you’ll be well on your way to mastering the art of gluten-free bread baking.
1) Inaccurate Measurements:
Accurate measuring is crucial in gluten-free baking to maintain the right balance of ingredients. Invest in a digital kitchen scale for precise measurements, especially when dealing with different types of flours and starches.
Fix: Weigh dry ingredients using a kitchen scale. If you don’t have a scale, use the scoop and level method. To do this, use a spoon to scoop flour from the container into the measuring cup. Be sure not to pack the flour into the cup. Instead, let it mound slightly above the rim. With a straight-edged utensil, such as the back of a knife, sweep off the excess flour from the top of the measuring cup. The surface should be flat and level with the rim of the cup.
2) Substitutions
Not all dry ingredients weigh the same, therefore substituting 1 cup of rice flour for 1 cup of almond flour will not work, since 1 cup of rice flour weighs 160 grams and 1 cup of almond flour weighs 112 grams.
Fix: When substituting flours, always substitute by equal weight. For example, do not substitute 1 cup of one flour for 1 cup of another flour. Instead, substitute 120 grams of one flour for 120 grams of another allowable flour.
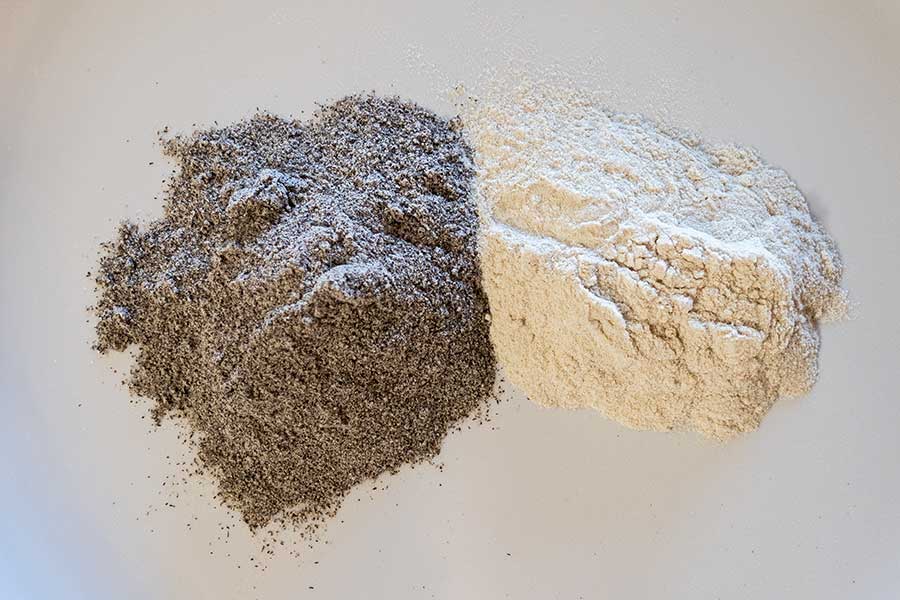
3) Improper Flour Blend:
Creating the right flour blend is crucial for gluten-free bread. A mix of various gluten-free flours like rice flour, almond flour, tapioca flour, cassava flour, and potato starch can mimic the texture of wheat flour. Using only one type of flour in most gluten-free bread recipes may result in a dense or gritty loaf.
Fix: Always follow the recipe and DO NOT use substitutions unless the recipe gives you other options.
4) Lack of Binding Agents:
Gluten plays a crucial role in traditional bread by providing structure and elasticity. In gluten-free baking, you need alternative binding agents like xanthan gum, guar gum, ground flaxseed, psyllium husk powder, or eggs to mimic gluten’s binding properties.
Fix: Don’t forget to use correct amounts of these agents, or the bread can result in a crumbly texture.
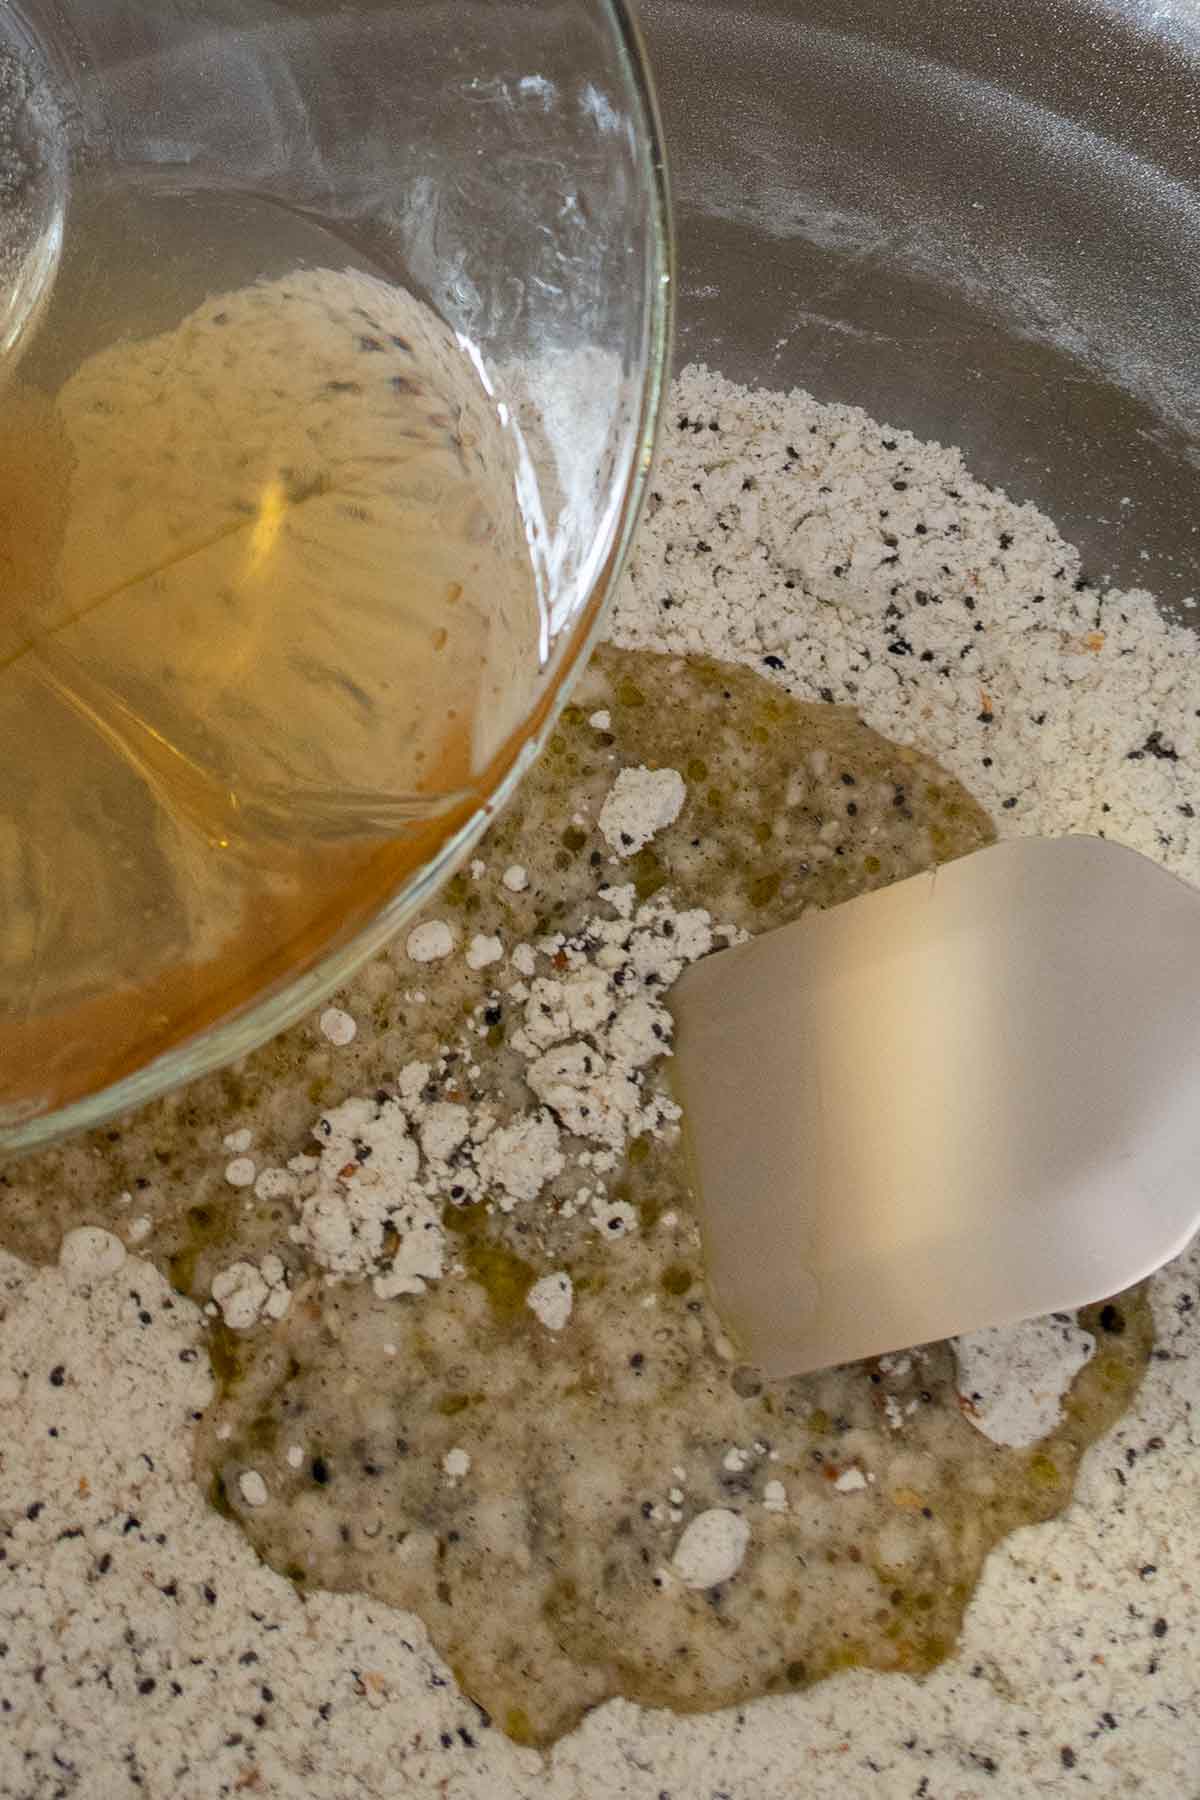
5) Inadequate Liquid Content:
Gluten-free flours tend to absorb more moisture than wheat flour. If your bread dough is too dry, it may not rise properly, leading to a dense and dry final product.
Fix: Ensure your recipe includes enough liquid, and consider adjusting based on factors like humidity and altitude.
6) Using Cold Ingredients:
Room temperature ingredients ensure proper yeast activation and even distribution of flavors. Using cold ingredients, especially when working with yeast, can slow down the fermentation process and lead to a dense, flat loaf.
Fix: Take the time to bring your ingredients to room temperature before baking. This includes eggs and butter, if using.
7) Insufficient Leavening:
Yeast and/or baking powder are essential for gluten-free bread to rise properly. Ensure your yeast is fresh and active, and use the recommended amount.
Fix: Always keep yeast in the refrigerator to keep it fresh. And ensure that the yeast and baking powder have not expired, as expired leavening agents can hinder proper rising.
8) Overmixing or Undermixing:
Gluten-free dough requires careful handling. Overmixing some bread dough can lead to a tough texture, while undermixing may result in uneven distribution of ingredients, affecting the bread’s structure.
Fix: Mix the ingredients as stated in the recipe. Some recipes need an electric mixer with a flat paddle; others you may need a spatula to briefly combine the ingredients.
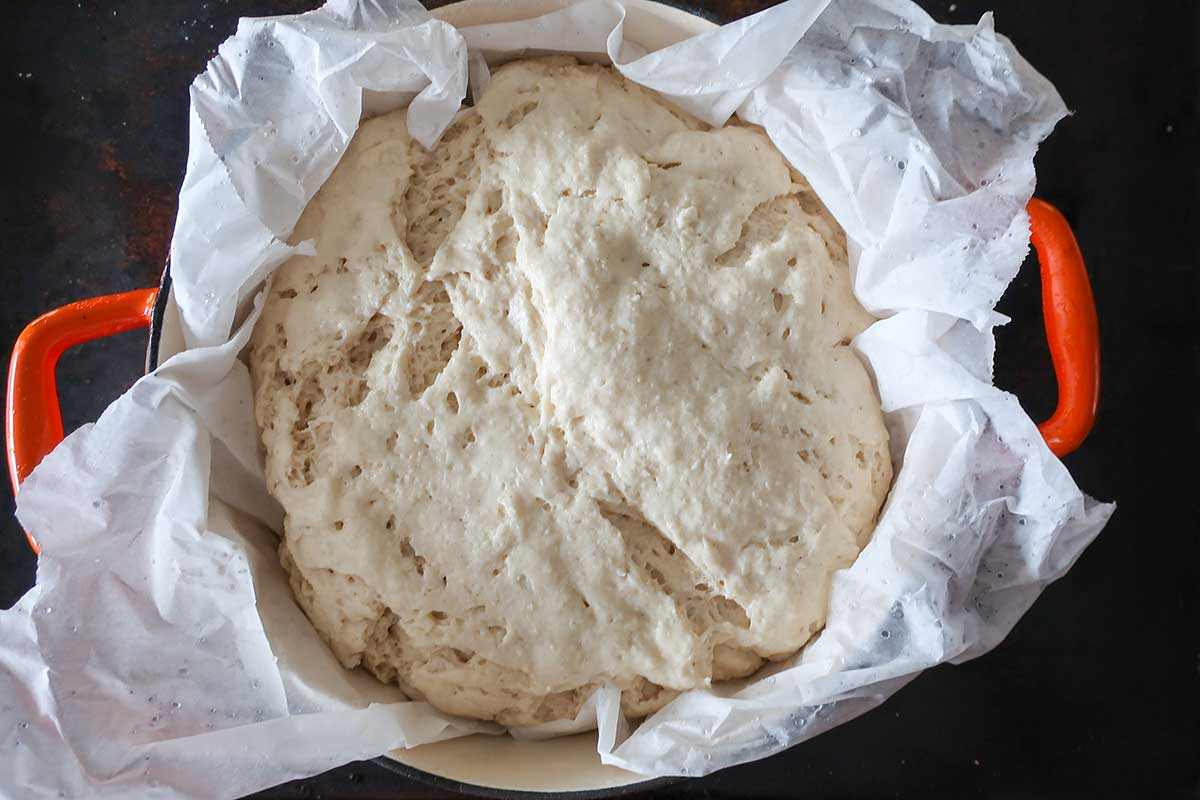
9) Insufficient Proofing Time:
Proper proofing allows the yeast to ferment and create air bubbles, resulting in a lighter texture. Gluten-free bread may require longer proofing times than wheat-based bread.
Fix: Be patient and allow enough time for the dough to rise adequately before baking. Gluten-free dough takes longer to rise than wheat bread. It may take 1 to 3 hours sometimes. Proof the dough in a draft-free warm place such as your oven. Preheat your oven to the lowest temperature setting for just a few minutes (usually around 100-130°F). Then, turn it off. This creates a slightly warm environment ideal for proofing bread.
10) Incorrect Baking Temperature:
Gluten-free bread often requires a lower baking temperature than traditional bread to prevent burning or excessive browning.
Fix: Follow the temperature guidelines provided in your recipe, and consider investing in an oven thermometer for accuracy. Oven temperatures vary and can affect the outcome of the bread.
3 Most Frequently Asked Questions About Making Gluten-Free Bread
Internal temperature, bread sinking in the middle, fixing undercooked bread
What causes gluten-free bread to sink in the middle?
Achieving the correct moisture balance in gluten-free bread dough is essential for a successful outcome. Should the dough contain excessive moisture, the bread may rise adequately but collapse in the center during baking.
Can you fix a gluten-free bread if it is still doughy in the middle after baking?
If your gluten-free bread is still doughy in the middle after baking, you can return it to the oven for further baking. Cover the loaf loosely with aluminum foil shiny side facing up to prevent excessive browning on the outside, and continue baking at a lower temperature (around 300°F) for an additional 15 – 20 minutes. Check for doneness regularly to avoid overbaking.
What should be the internal temperature of baked gluten-free bread?
The internal temperature of baked gluten-free bread should ideally reach around 205°F to 210°F when measured with an instant-read thermometer.
This temperature indicates that the bread is fully baked and cooked through. However, the specific temperature may vary slightly depending on the recipe and ingredients used.
It’s important to note that gluten-free bread may have a different texture and moisture level compared to traditional wheat bread, so relying solely on internal temperature may not always provide the full picture of doneness.
In addition to temperature, consider factors such as the color of the crust (golden brown) and whether the bread sounds hollow when tapped on the bottom as additional indicators of doneness.
Here are some gluten-free bread recipes for you to try
Gluten-Free Homemade Italian Bread
Vegan Low Carb Bread – Grain Free
Gluten Free German Potato Bread
Dutch Oven Caraway Bread – Gluten Free
Gluten-Free Basic White Sandwich Bread
TAKEAWAY:
Gluten-free baking presents unique challenges, but with the right knowledge and techniques, you can create delicious bread that rivals its gluten-containing counterparts.
Don’t be discouraged by initial failures. Keep experimenting, noting adjustments each time, until you achieve the desired results. HAPPY GLUTEN-FREE BREAD BAKING!