Gluten-Free Food Processor Pie Crust is one of those recipes I come back to again and again. I used to think making a good gluten-free pie crust had to be complicated, but this one completely changed that for me. It comes together in minutes in the food processor, and every time I make it, I get those tender, flaky, buttery layers I was always chasing.
What I love most is how reliable it is. No stressing over the dough, just a simple method that works. I often use it for everything from cozy apple and Gluten Free Peach & Strawberry Crumb Pie to savory quiches, and it always holds its shape beautifully while still tasting rich and homemade.
If you’ve ever been frustrated with gluten-free crusts, this is the one I’d tell you to try first. It’s easy, dependable, and honestly just really, really good.
WHAT IS A GLUTEN-FREE FOOD PROCESSOR PIE CRUST?
A gluten-free food processor pie crust is an easy, no-fail way I make homemade pie dough with minimal effort. It’s made with simple ingredients like gluten-free flour, butter, salt, and ice water, all blended quickly in the food processor.
This method creates a flaky, buttery gluten-free pie crust without overworking the dough, making it perfect for both sweet pies and savory recipes like quiche.
EQUIPMENT YOU’LL NEED TO MAKE FOOD PROCESSOR PIE DOUGH
To make this gluten-free pie crust, I use a food processor, measuring cups or a kitchen scale, and measuring spoons.
For rolling and shaping the dough, you’ll need a rolling pin, parchment paper or a silicone mat, and a 9-inch pie dish.
THE INGREDIENTS
This food processor pie crust recipe uses only three basic pantry ingredients: gluten free measure for measure baking flour, butter, and salt. You may get slightly different results if you use another flour blend. The only other ingredient you will need is ice water.
If you are making a crust for a sweet pie, you may add a tablespoon of sugar.
5 EASY STEPS TO MAKE PERFECT GLUTEN-FREE FOOD PROCESSOR PIE CRUST
By following these easy steps, you will find that baking a homemade gluten free pie is fun and most importantly, delicious beyond expectations.
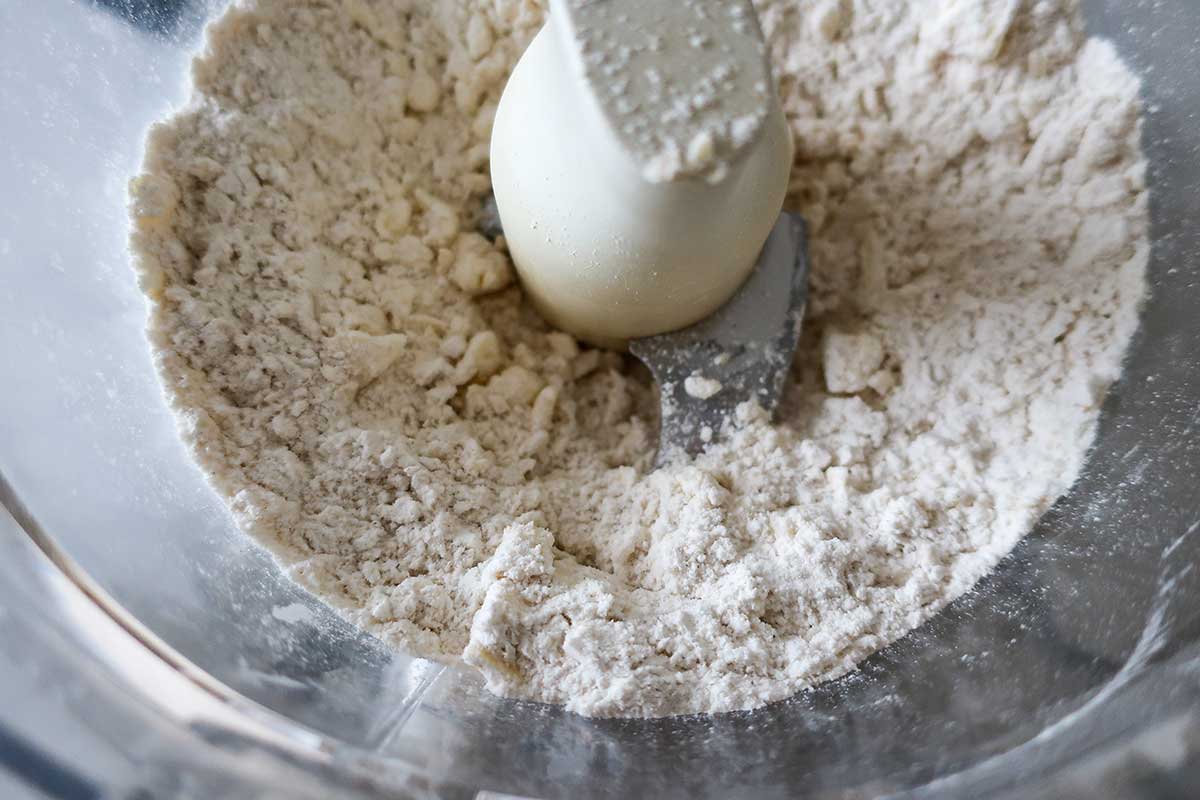
STEP ONE
In a food processor bowl, pulse the dry ingredients to combine. Then, add butter and pulse until the mixture resembles small lumps (about the size of peas).

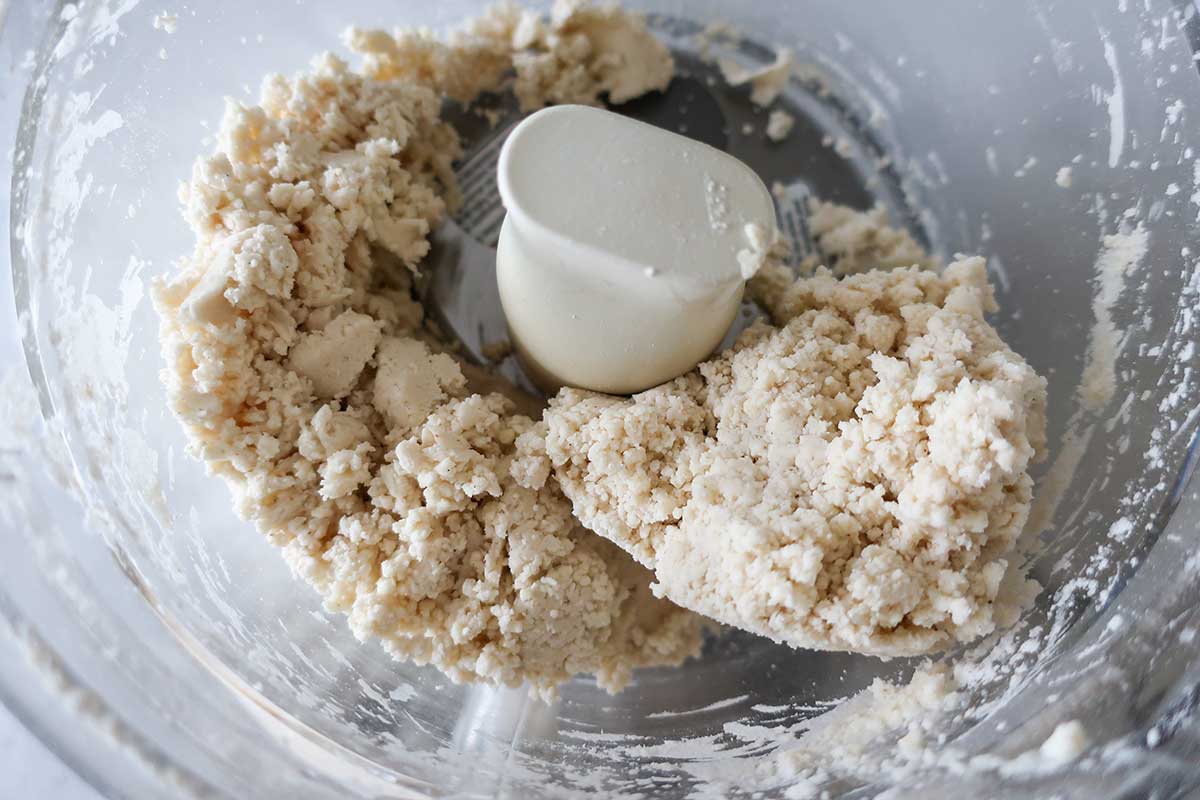
STEP TWO
Add two tablespoons of ice water at a time, pulsing five times after each addition until the mixture begins to form large clumps and pulls away from the sides of the food processor bowl.
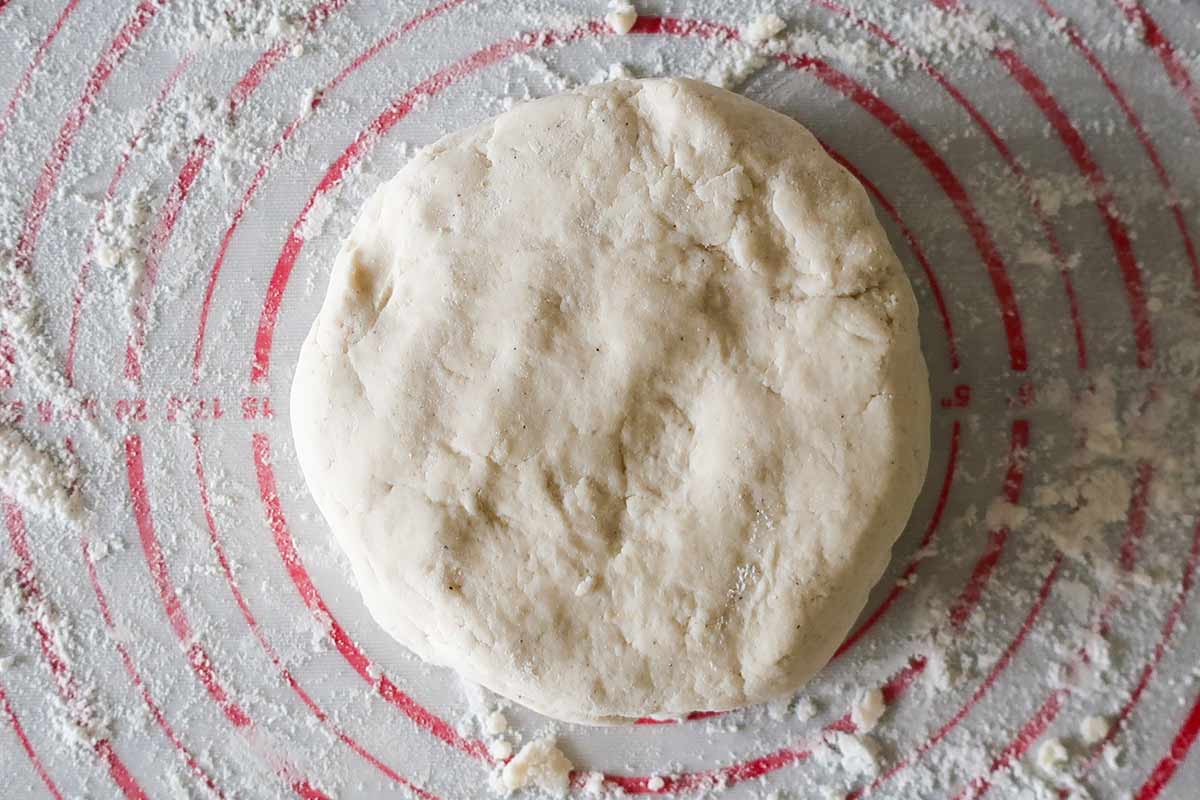
STEP THREE
Transfer dough onto a working surface and form into a flat disk. Use a light dusting of flour if needed. Wrap with plastic wrap and refrigerate for one hour before rolling out.
STEP FOUR
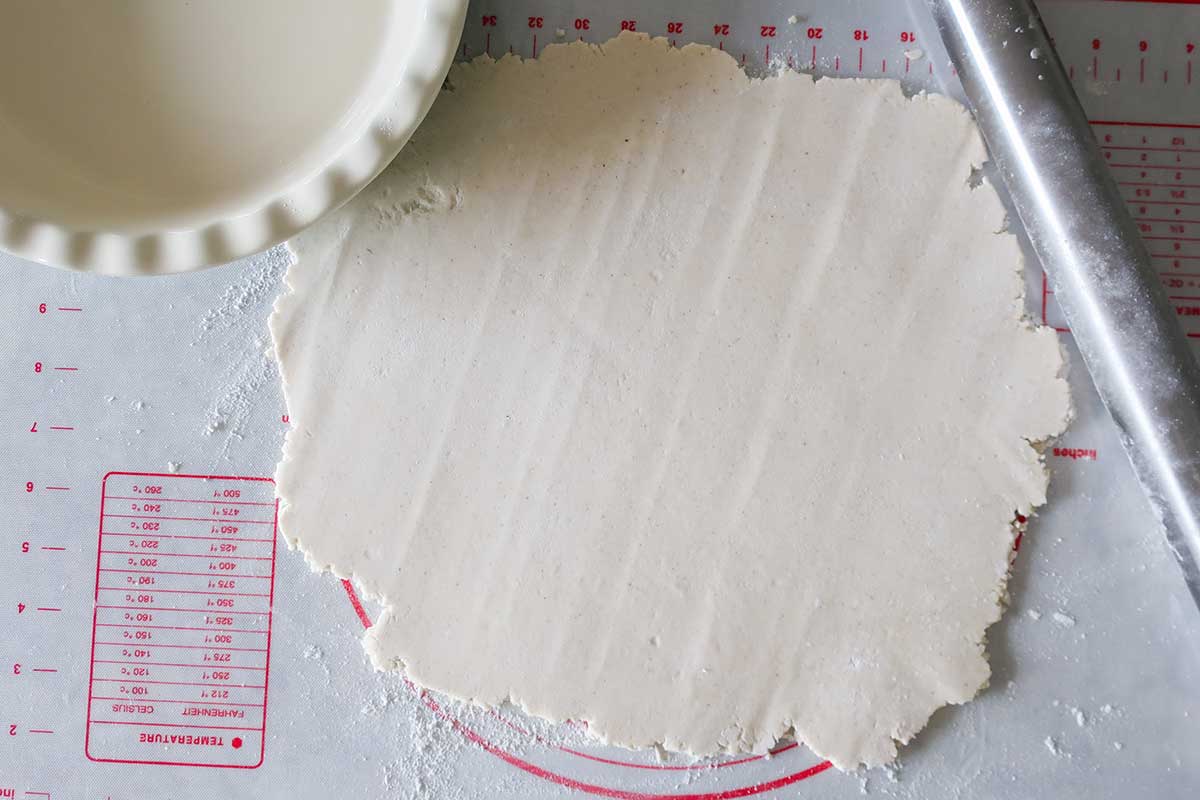
Lightly dust a large piece of parchment paper or dough rolling mat with flour, and roll out the dough from the center, moving outward, until the diameter of the whole crust is about 2 inches larger than the pie dish. Rest the dough for five minutes.
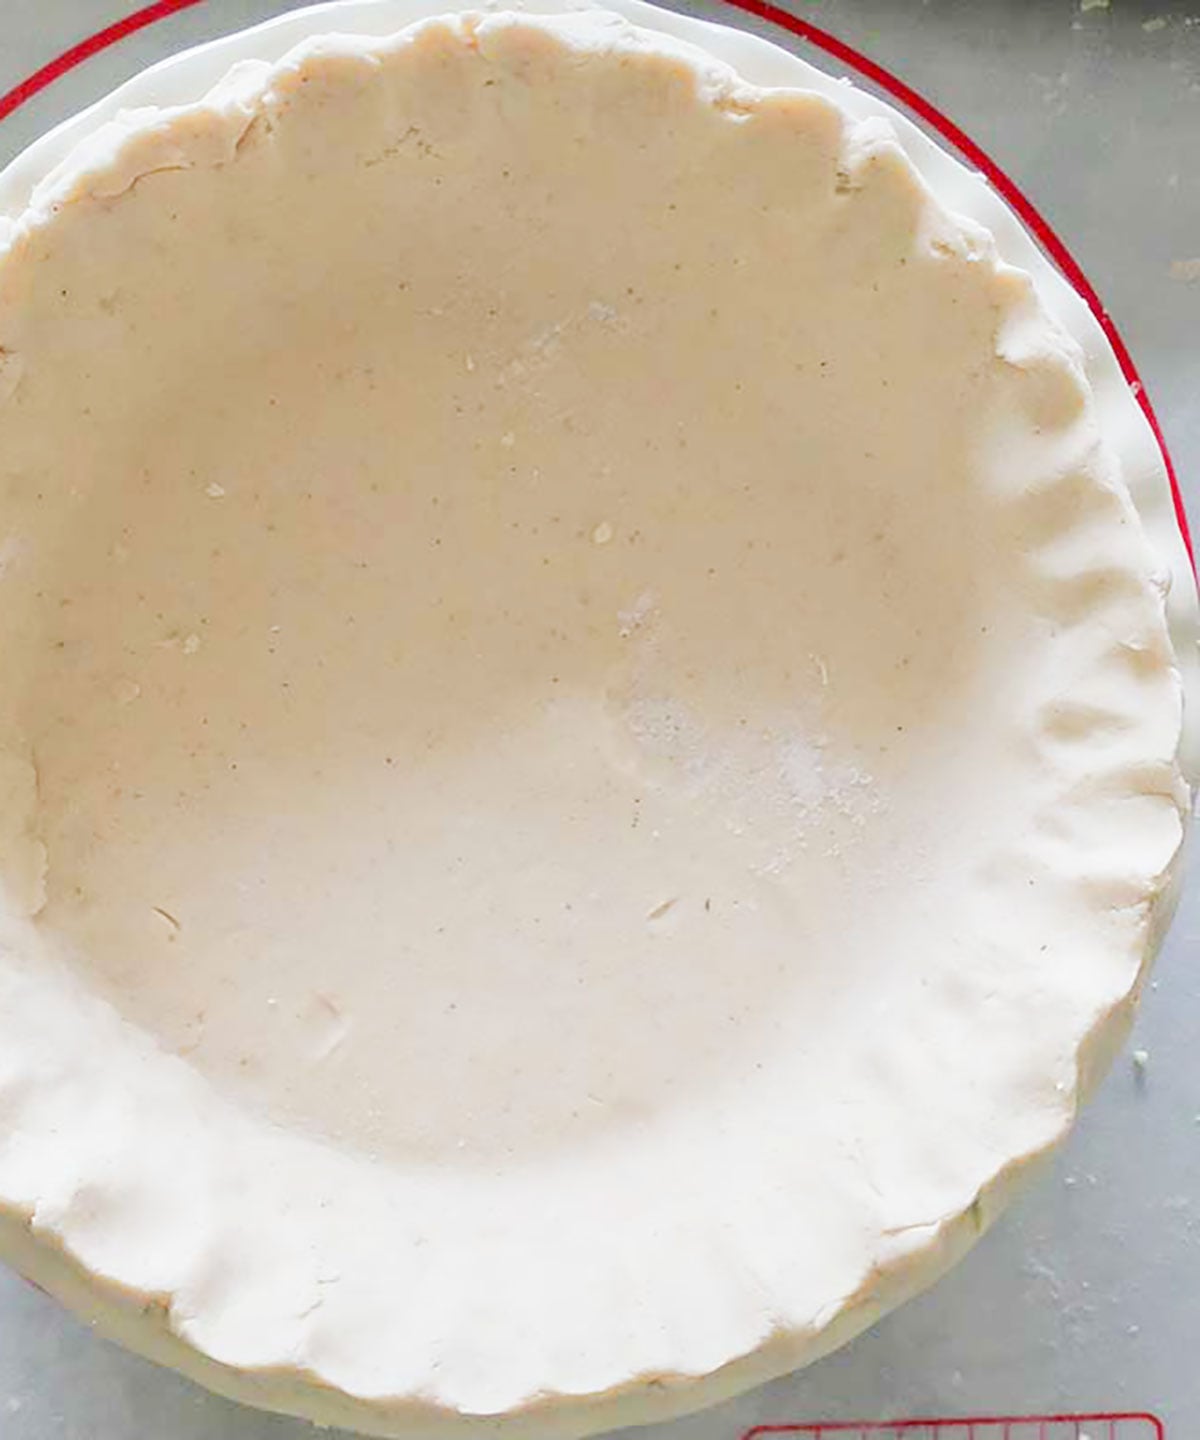
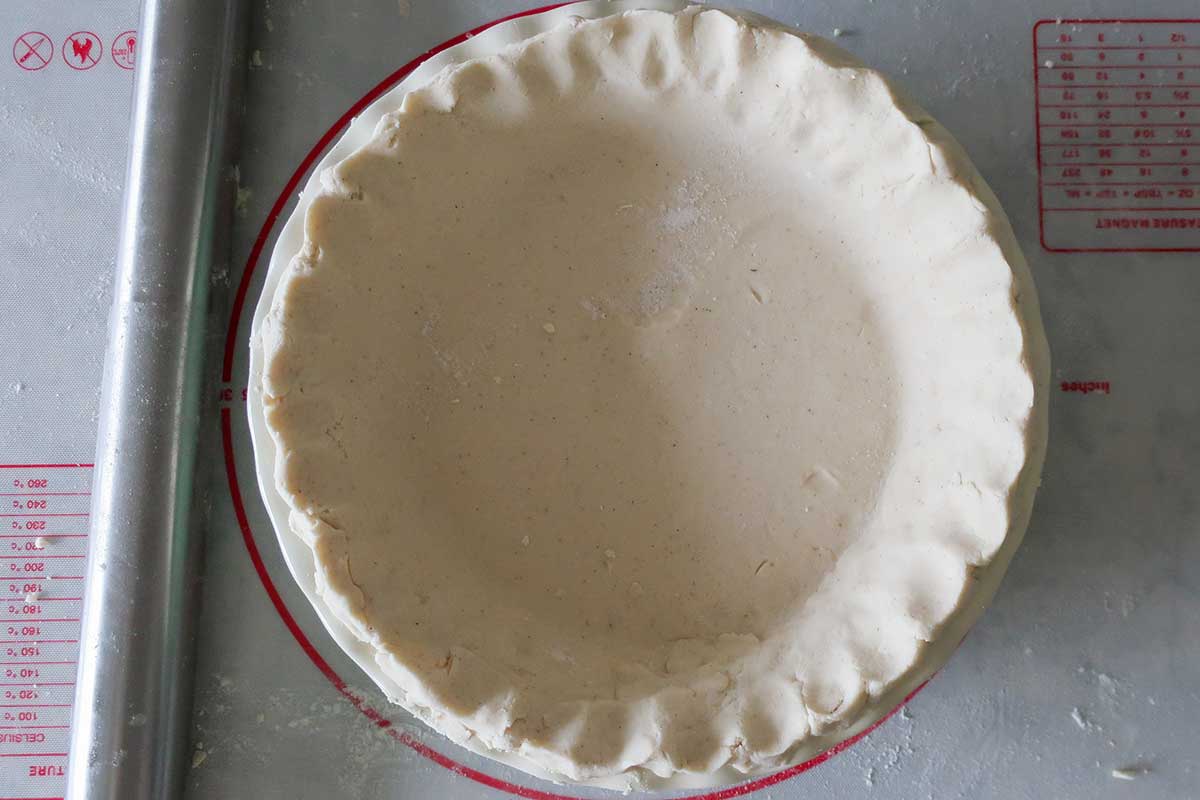
STEP FIVE
Transfer the rolled dough to the pie dish and flute or crimp the edges.
BAKER’S NOTES
best way to transfer rolled out pie dough into a pie dish
Transferring rolled pie dough into a pie dish can be tricky. Here is an easy method.
Prepare the Rolled Dough:
Roll out the dough on a sheet of lightly floured parchment paper or dough rolling mat to the desired size, typically a few inches larger than the diameter of your pie dish.
Flip the Dough:
Carefully flip the dough (with the parchment/dough rolling mat attached) onto the pie dish. Center it as best as you can, ensuring an even overhang around the edge of the dish.
Peel Away the Paper/Mat:
Gently peel away the parchment paper/dough rolling mat, leaving the dough in the dish. If the dough sticks to the paper, use a knife to help release it.
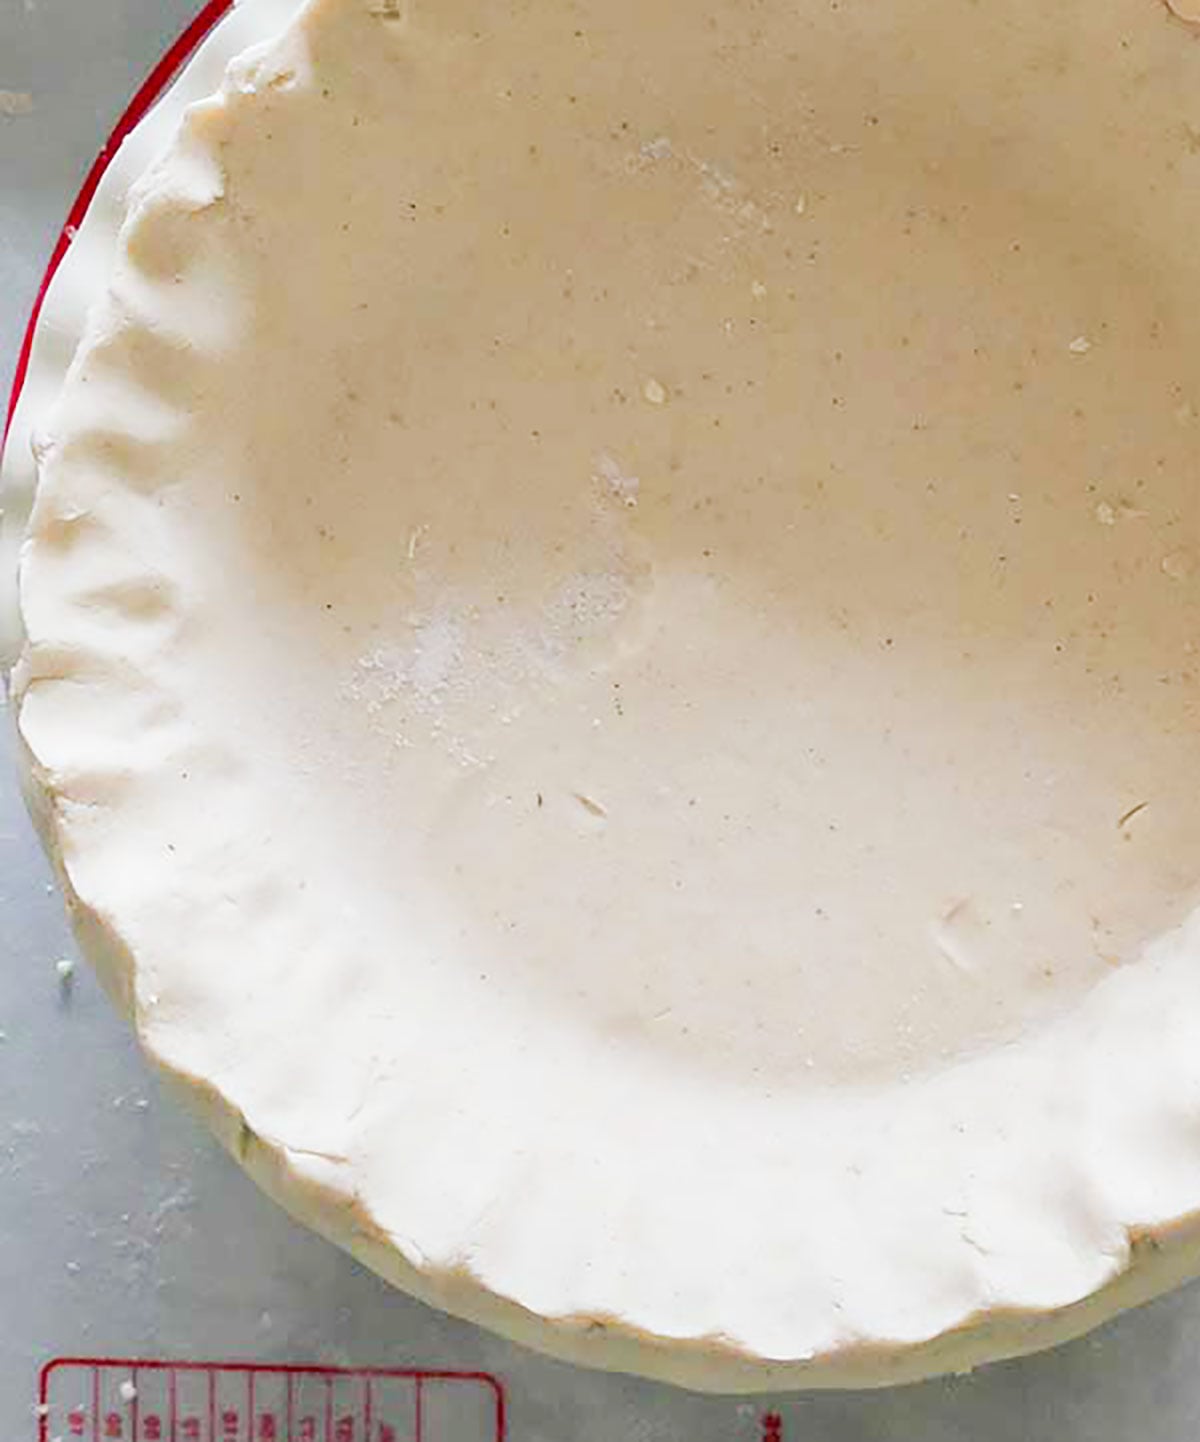
Fit the Dough into the Dish:
Gently press the dough into the pie dish to ensure it lines the bottom and sides evenly. Be careful not to stretch the dough, as this can cause it to shrink during baking.
Trim and Flute or Crimp:
Trim any excess dough from the edges of the dish, leaving a slight overhang (which can be used for fluting or crimping the edges). You can also fold the overhang under the edge of the pie crust for a neat finish.
This method helps ensure the rolled out pie dough doesn’t tear when transferring it to the pie dish. It’s important to handle the dough gently to maintain its shape.
Why do some recipes ask to par-bake (blind bake) the pie crust?
Par-baking (or blind baking) a pie crust is a common step in some pie recipes for several reasons:
Prevents Soggy Bottoms: When making pies with very moist fillings, such as custard or fruit, the moisture can cause the bottom crust to become soggy. Par-baking helps create a barrier that prevents the filling from soaking into the crust.
Sets the Crust: Par-baking partially sets the structure of the crust, helping it hold its shape and support the filling. This is particularly important for pies with wet fillings or long baking times.
Bakes Thoroughly: It ensures that the crust is fully baked, especially if the filling requires less time in the oven than the crust. For example, cream or mousse pies often don’t need much baking, so par-baking the crust ensures it’s fully cooked.
Prevents Leaks: For double-crust pies, par-baking the bottom crust helps prevent the filling from leaking through the seams or the crust from becoming undercooked.
Balances Baking Times: In some recipes, the filling and the crust require different baking times and temperatures. Par-baking the crust allows you to balance these variations without overcooking the crust.
What can you use instead of pie weights to par-bake pie crust?
If you don’t have pie weights there are a few alternatives you can use to keep the crust from puffing up during baking:
Dry Beans or Rice: You can use dried beans (such as pinto or navy beans) or rice as a weight. Fill the pie crust with parchment paper or aluminum foil, then add a layer of dried beans or rice to weigh down the crust. These items can be used as makeshift pie weights and are easy to store and reuse for future baking.
Ceramic or Heat-Resistant Glass Pie Plate: If you have an extra, smaller, ceramic, or heat-resistant glass pie plate, you can place it inside the larger crust to weigh it down. Make sure to wrap the smaller plate in parchment paper or foil to prevent it from sticking to the dough.
Remember that whichever alternative you choose, you’ll want to remove it carefully halfway through the par-baking process to allow the bottom of the crust to cook and develop a flaky texture. After removing the weights or alternatives, continue baking until the crust is golden.
Prick the Crust: Before baking, you can also prick the bottom of the pie crust with a fork. This allows steam to escape during baking and can help prevent excessive puffing.

3 TIPS FOR BEST RESULTS (this is non-negotiable)
- Use chilled ingredients
- Do not handle the dough too much, or your hands will warm it and start to melt the butter, resulting in a less-flaky crust. This is why food processor works so well.
- Measure the flour correctly. It is best to weigh the flour using a kitchen scale. However, if you use a measuring cup, use a spoon to fill the cup and level off with a knife. DO NOT dip the measuring cup into the flour, or you will get too much flour.
CAN I MAKE THIS GLUTEN-FREE PIE CRUST DOUGH AHEAD OF TIME?
Yes, I often make this gluten-free pie crust dough in advance to save time. I wrap it tightly in plastic wrap and store it in the refrigerator for up to 4 days.
When I’m ready to use it, I let the dough sit at room temperature for about 10 minutes so it’s easier to roll out.
You can also freeze the dough for longer storage. I wrap it well and freeze it for up to 2 months, then thaw it overnight in the refrigerator before rolling.
Another easy gluten free pie crust recipe you may enjoy is our popular Basic Gluten-Free Pie Crust Recipe.
The Easiest Way to Master Gluten-Free Baking
If you have a food processor or a blender, you already have everything you need to take the stress out of gluten-free baking. I rely on these machines because they do the heavy lifting for me, ensuring the batters are perfectly smooth without any of the usual arm-aching work.
For a daily sandwich bread that comes together in minutes, this Food Processor Gluten-Free Bread is my go-to. It’s consistent, simple, and skip the complicated kneading.
When I’m in a hurry, these 30-Minute Gluten-Free Pancake Blender Batter Muffins are ready before the oven is even preheated. And for something a bit more indulgent but still effortless, this Banana Chocolate Marble Blender Muffin uses the blender to get that perfect texture every time.
These are the recipes I turn to when I want real results without the headache of “traditional” techniques.
WHY I LOVE THIS GLUTEN-FREE FOOD PROCESSOR PIE CRUST
I love this gluten-free pie crust because it makes enjoying homemade pies so easy and delicious, without any gluten. By following these simple steps, I can create a tender, flaky, and versatile crust that works perfectly for both sweet and savory fillings. Using the food processor simplifies the process, so even if you’re new to baking, you can get professional-tasting results every time.
Tried this recipe?
If you enjoyed this pie crust recipe, please leave a star rating and review! Your feedback helps others find these recipes. Be sure to FOLLOW US on FACEBOOK or, check us out on PINTEREST. And don’t forget to sign up for our newsletter. We always have something delicious coming next!
Many thanks!
Kristina x


Comments
Aly
for a gluten free pie crust recipe it turned out better than I expected. Will use this recipe again, easy to make.
Jennifer Simpson
How much does 1 stick of butter weigh? In grams. I live in New Zealand, our butter is sold in 500g blocks. Measuring out 1/2 cup is messy.
Thank you, Jennifer
Jennifer, 1/2 cup of butter is 115 grams.