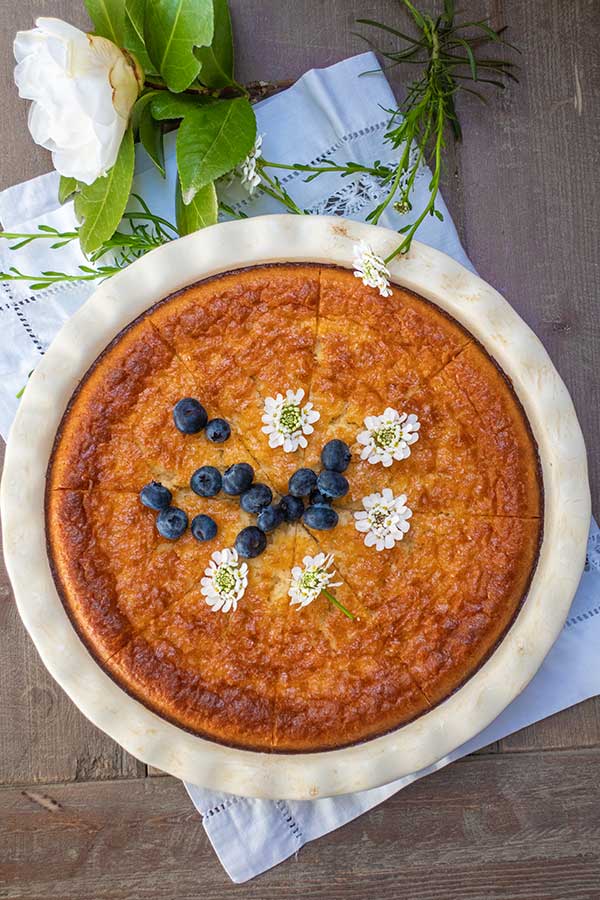

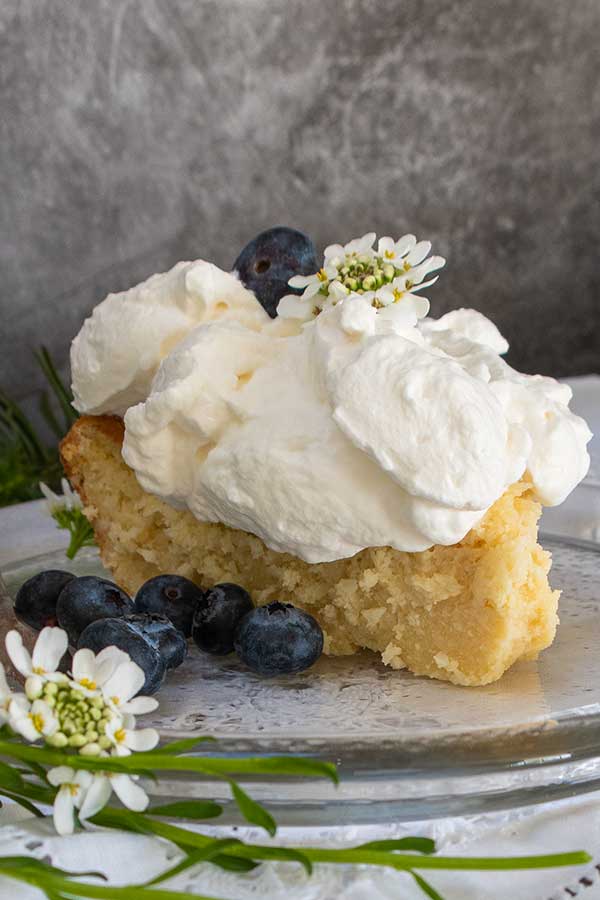
Easiest Gluten-Free Blender Coconut Pie
- Prep Time:
- 10 min
- Cooking Time:
- 50 min
- Serves:
- 8
Ingredients
5 large eggs, at room temperature
1 can (300 ml) sweetened condensed milk
1/2 cup (1 stick) salted butter, melted
2 tsp. Pure vanilla extract
1/3 cup (50 g) gluten-free all-purpose flour blend
1/3 cup (38 g) coconut flour
1 1/4 tsp. Baking powder
10 oz. milk at room temperature
1 1/3 cup unsweetened desiccated coconut
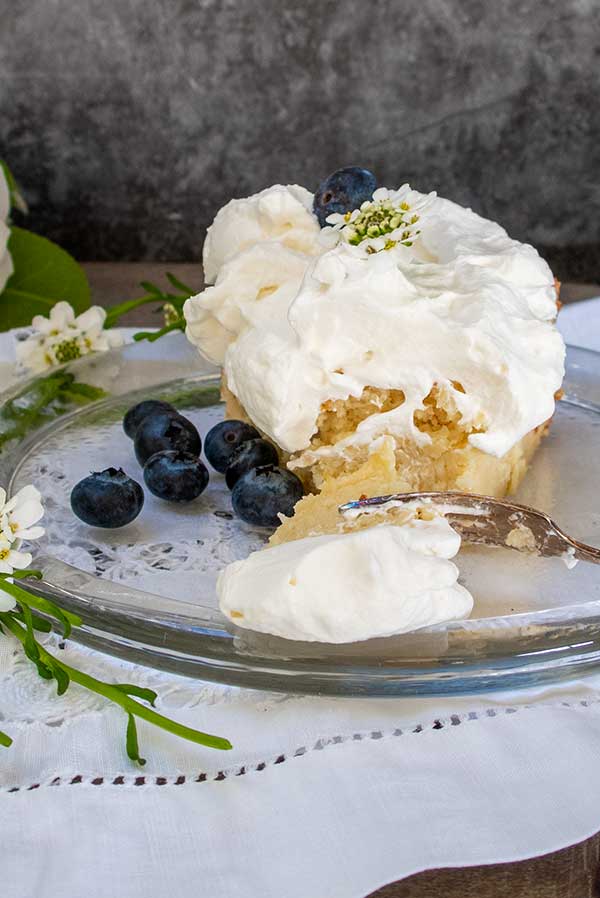
VANILLA WHIPPED CREAM
1 1/2 cups cold whipping cream
1 Tbsp. Sugar
1/2 tsp. Pure vanilla extract
Instructions
- Preheat the oven to 350 F. Grease a pie dish with butter and place a circle of parchment paper on the bottom of the dish
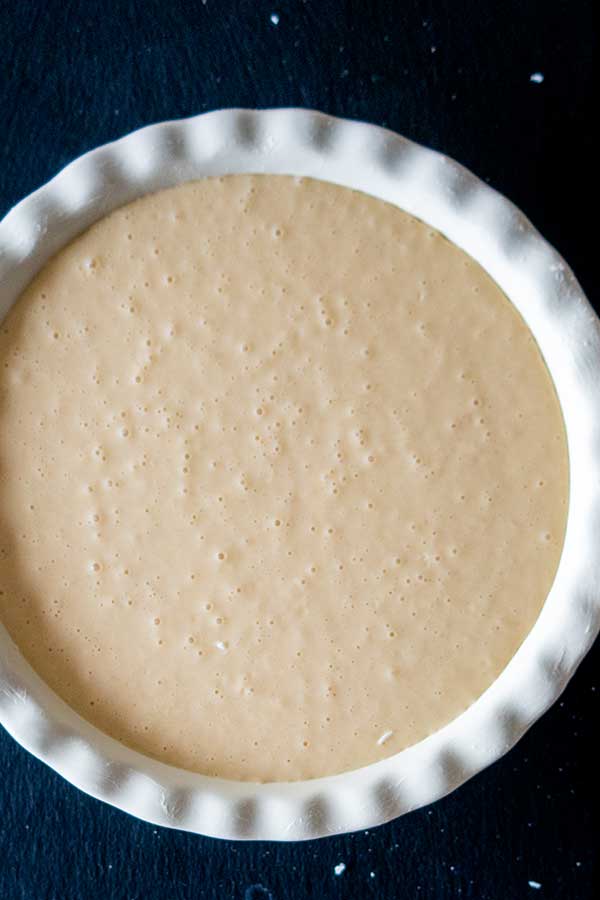
- Add to blender; eggs, condensed milk, butter and vanilla. Blend to mix
- Add flours and baking powder, blend to mix
- Add milk, blend to mix
- Add coconut, briefly blend just to combine
- Pour the mixture into the pie dish, and rest for 15 minutes. This allows the coconut flour to absorb some of the liquids. (Don't miss this step)
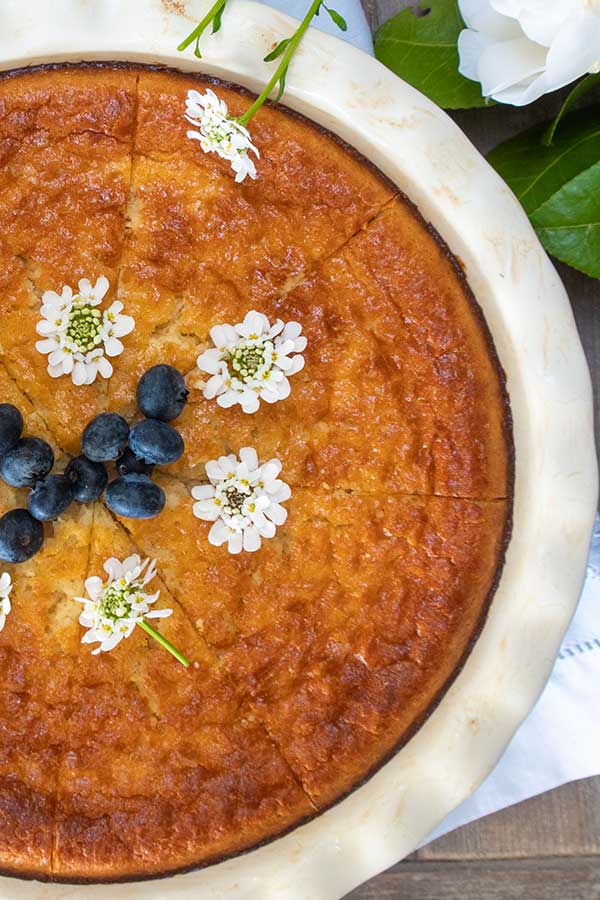
- Bake for 45 - 50 minutes; the top should be golden but not starting to crack
- Turn the oven off and leave the pie in the oven with the door slightly open until cooled. The pie will deflate a bit; this is normal
- Once cooled, cover with plastic wrap and refrigerate for 4 hours or overnight
- VANILLA WHIPPED CREAM
- Place whipping cream, sugar and vanilla in a chilled bowl and whip with an electric mixer on medium-high until firm peaks form. Careful not to over whip or the cream will turn into butter. *see notes on the blog regarding whipped cream
Nutrition Info
-
Nutritional Value per Serving (1/8 of the Recipe) | Calories: 360 | Protein: 6g | Total Fat: 26g | Sodium: 180mg | Total Carbohydrates: 31g | Dietary Fiber: 3g | Sugars: 15g | Protein: 6g | Note: This calculation is approximate and can vary based on specific brands and variations in ingredient quantities.


Comments
No comments yet.