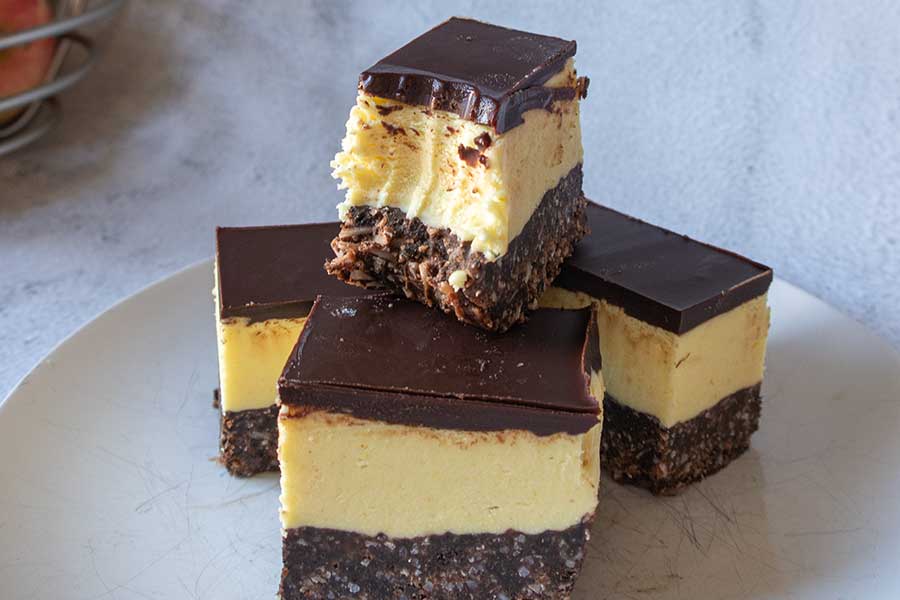

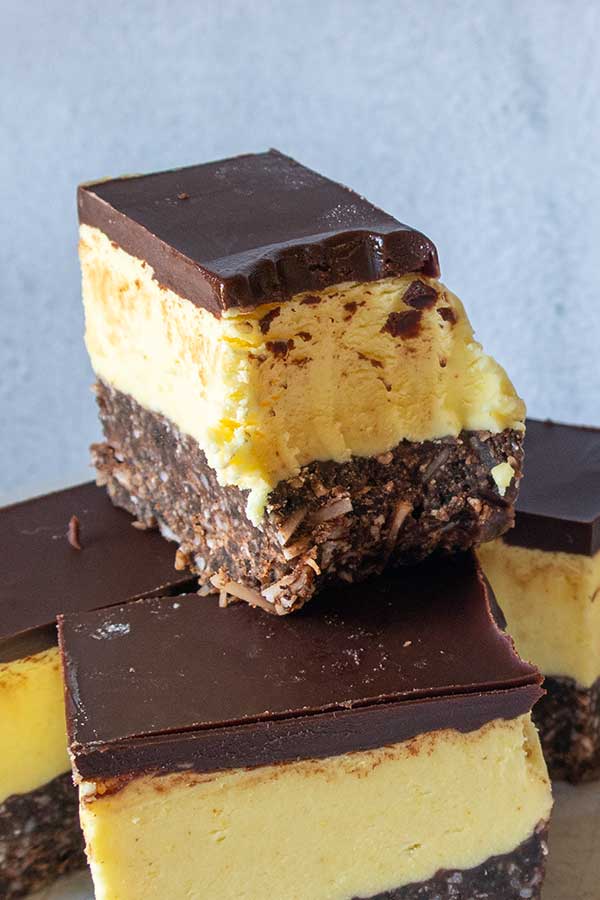
Very Best Gluten Free Nanaimo Bars
- Prep Time:
- 15 + chill time min
- Serves:
- 16 - 18
Ingredients
COOKIE BASE
1 1/2 cup gluten free cookie crumbs, you can use GF honeygrams or ( I used GF oreo cookies. To make the crumbs use a food processor or roll the cookies between two sheets of parchment paper
1/2 cup salted butter (I used organic grass-fed butter which gave the bars a deep yellow color)
1/2 cup GF chocolate chips
1/4 (28 g) cup almond flour
CUSTARD BUTERCREAM LAYER
1/2 cup salted butter, softened
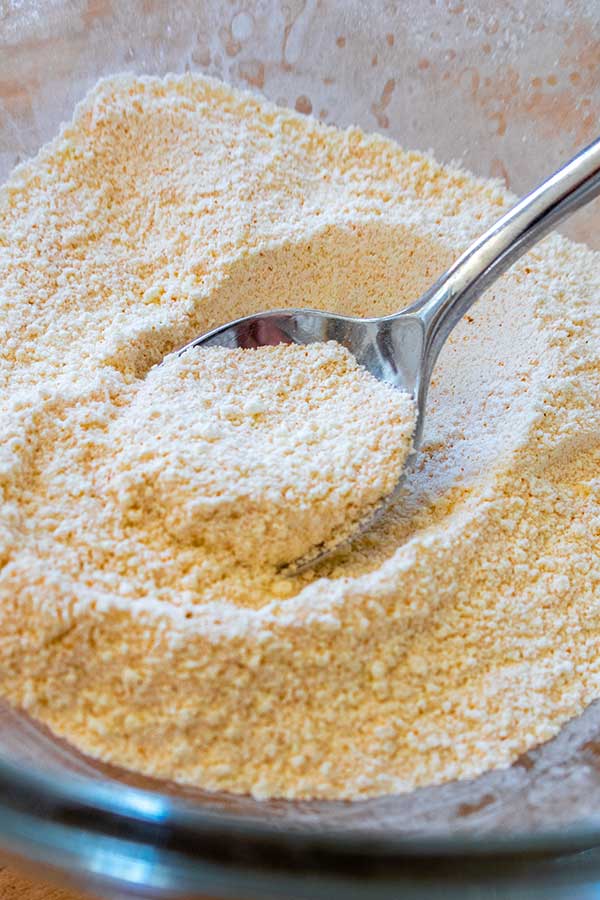
3 Tbsp. gluten free custard powder (see recipe for homemade custard powder on the blog)
1 tsp. pure vanilla extract
3 cups GF icing sugar
2 - 4 Tbsp. cream, the buttercream should be thick
CHOCOLATE GANACHE TOPPING
2/3 cup GF chocolate chips
2 Tbsp. salted butter
2 Tbsp. cream
Instructions
- Line a 9 x 9" square pan with parchment paper for thinner bars or a loaf pan for taller bars. I wet the parchment paper, allowing me to line the pan easier
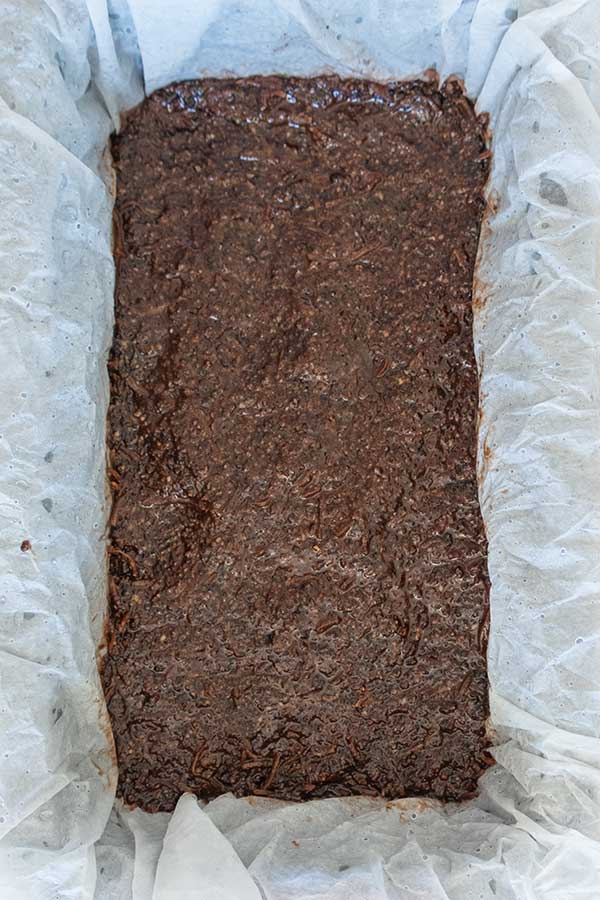
- COOKIE BASE
- In a medium heavy bottom saucepan over low heat, melt the butter with chocolate chips until smooth. Or use a double boiler
- Remove from the heat and stir in cookie crumbs, almond flour, shredded coconut and vanilla. Mix to combine
- Transfer the mixture to the prepared pan and press it firmly and evenly to the bottom of the pan. Refrigerate while you prepare the custard cream layer
- CUSTARD CREAM LAYER
- In a large mixing bowl, beat the butter with custard powder and vanilla until smooth. Add 1 cup of icing sugar and 1 tablespoon of cream at a time, mixing in between until smooth and scraping sides as needed. I used only 3 tablespoons of cream.
- Spread the custard buttercream mixture over the cookie base in an even layer and place in the freezer for 10 minutes
- CHOCOLATE GANACHE TOPPING
- Using a heavy bottom saucepan over low heat or a double boiler, melt the chocolate with butter and cream until smooth
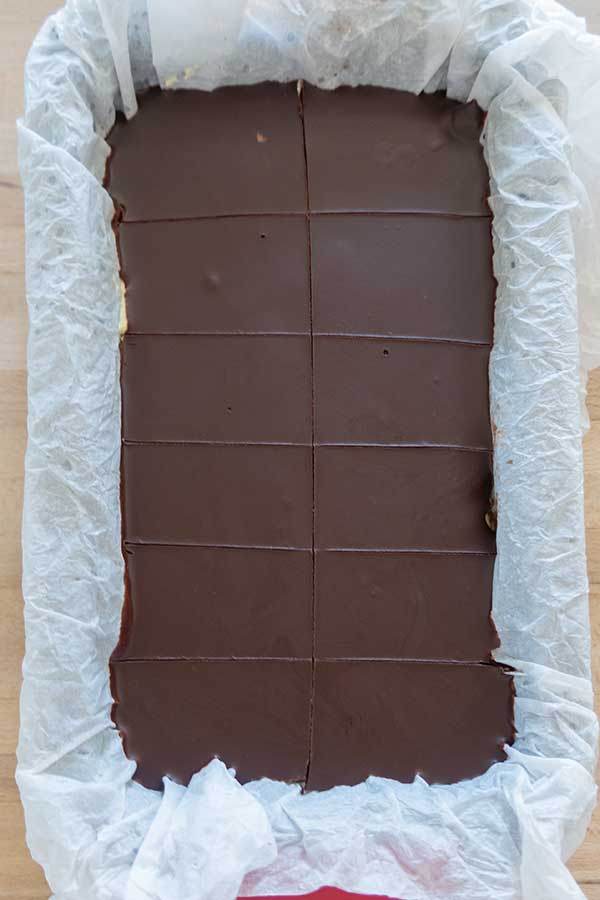
- Pour the chocolate sauce over the custard, then quickly shake the pan to form an even layer of chocolate topping, or use a spatula to spread the sauce
- Place in the fridge for 20 minutes. Then using a sharp knife, score along the chocolate, creating lines where you will cut the bars. Just score through the chocolate and not the custard cream. If you miss this step, the chocolate may crack as you cut through it later. Place back in the fridge for a minimum of 3 hours or overnight
- When ready, cut along the lines through the bars, wiping the knife clean between each cut for perfect slices


Comments
No comments yet.