


Gluten-Free Dutch Oven Artisan Bread Recipe
- Prep Time:
- 10 + rising min
- Cooking Time:
- 60 min
- Serves:
- 1 loaf
Ingredients
1 cup (146 grams) GF white rice flour
1/2 cup (62 grams) GF sweet sorghum flour
1/2 cup (37 grams) GF millet flour
1/4 cup (34 grams) tapioca flour/starch
2 Tbsp. GF Potato flour
2 Tbsp. Arrowroot starch/flour
3 tsp. Xanthan gum
1 tsp. Sea salt
1 packet (2 1/4) tsp. GF Instant rapid-rise yeast
2 cup warm water (120 F - 130 F)
1/3 cup extra virgin olive oil
1 Tbsp. Apple cider vinegar
1 Tbsp. Pure maple syrup or honey. You can also use sugar if you wish
1/3 cup sundried tomatoes packed in oil with 1 teaspoon of the oil, chopped into small pieces
2 tsp. Chopped fresh rosemary or 1/2 tsp. Dried rosemary
1 Tbsp. Corn flour
Instructions
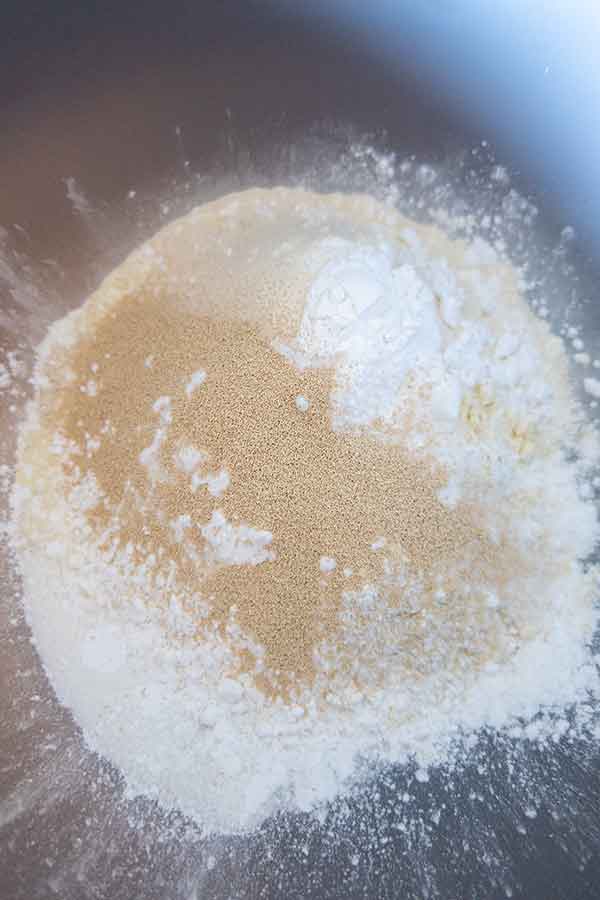
- In a large bowl, whisk dry ingredients (rice flour to yeast)
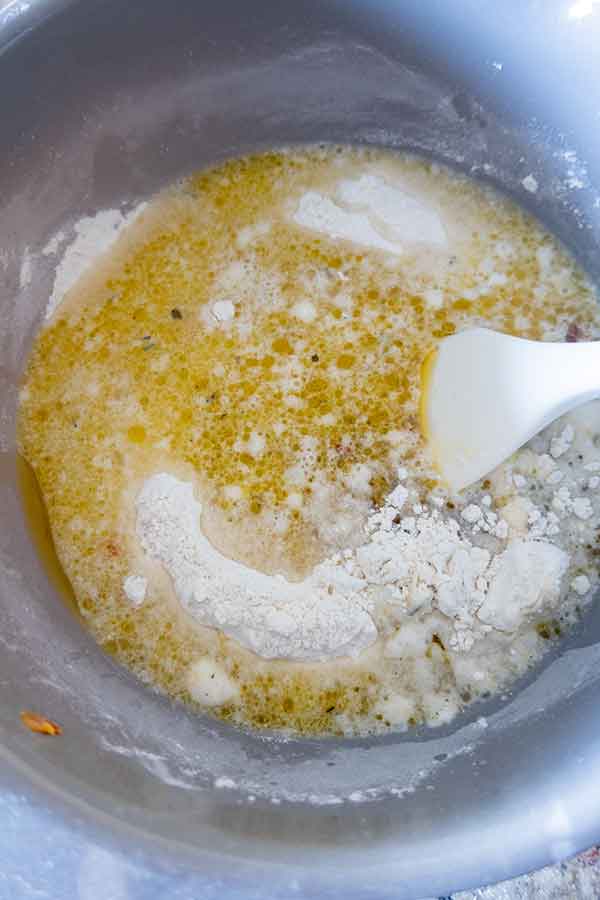
- To the warm water add olive oil, apple cider vinegar and sweetener and mix. Add the warm liquid, sundried tomatoes with oil and rosemary to dry ingredients.
- Using a spatula, mix until just combined. Do not over mix the dough, or the bread will become dense and rubbery. The dough will be super sticky
- Sprinkle a square sheet of parchment paper with 1 tablespoon of corn flour (see images below)
- Scoop out the dough with a spatula and place on the parchment paper and shape it into a ball
- Using the paper, lift the dough and place it in a smaller bowl. The dough should fit fairly snuggly in the bowl. This will allow the bread to rise in height. (See image below)
- Cover the bowl with a damp cloth and place in a warm place for 2 hours
- Preheat oven to 450 F and place a Dutch oven without the lid in the oven while it is heating up
- Once the oven is heated to 450 F, using the parchment paper, lift the dough and carefully place it in the pot and cover the pot with the lid
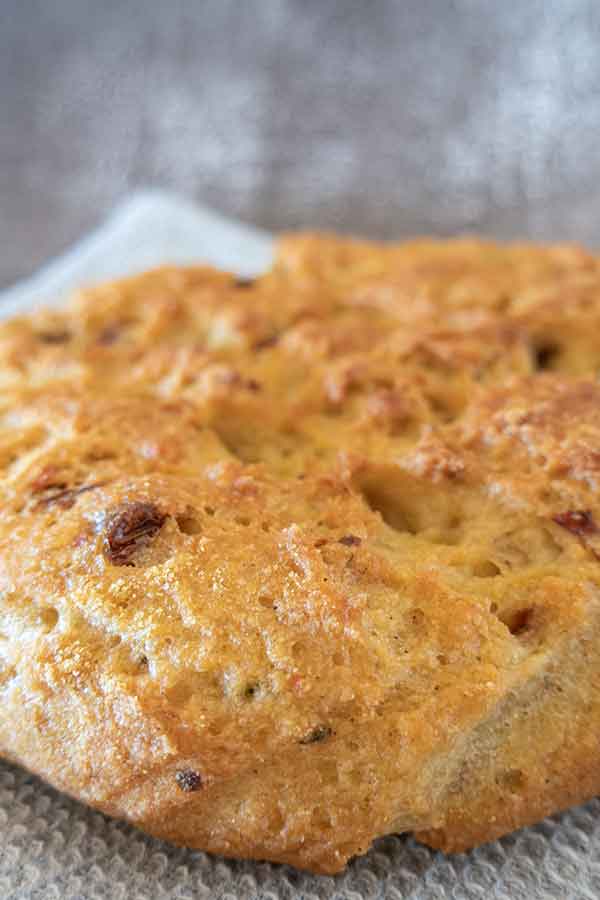
- Bake for 30 minutes, then remove the lid and continue baking for 30 more minutes until the bread is a golden brown
- Using the parchment paper lift the bread out of the Dutch oven and place it on a cooling rack to cool before slicing. Enjoy!


Comments
Jen
This bread turned out delicious thank you!
Thank you Jen!
Sarah
My family love this bread, the texture and the crust are just right. I love your recipes :-)
thank you Sarah!
Natalia R.
very good bread especially the flavour and texture!
Shanna
great bread recipe! The texture and flavor are just right
Su
Just made it . The crust looks amazing but the inside was too wet with no rise . What did I do wrong ?
There could be number of reasons. The yeast was past its expiry date, did you use rapid rise yeast? Was the oven hot enough, was the dough rising in a warm place, not enough flour, didn’t bake the bread long enough? Sorry Su, it could be any of those reasons.