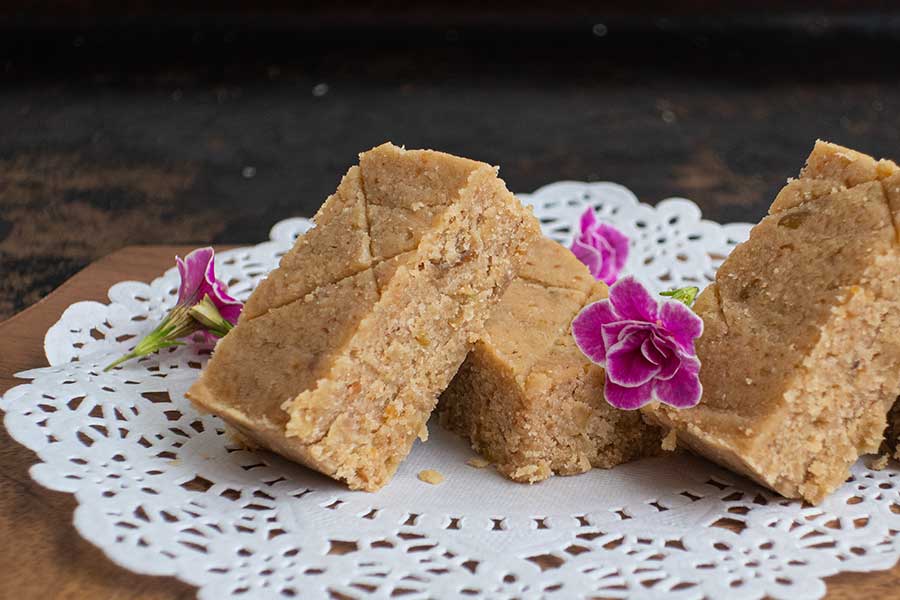
These No-Bake Apple Blondies are a staple when you need a wholesome snack without turning on the oven. By using a fresh, grated apple and coconut flour, you get a dense, fudge-like texture that is naturally sweetened and satisfying.

This recipe is built for speed: one bowl, five minutes of prep, and zero refined sugar. Whether you’re packing these in a lunchbox or grabbing one for a quick energy boost, they are rich in fiber and protein, and very tasty.
Why This Recipe Works
-
Zero Baking: A simple mix-and-chill process that keeps the ingredients raw and nutrient-dense.
-
Whole Food Base: Relies on fresh fruit, healthy fats, and grain-free flour.
-
Versatile: Easily swaps between honey or maple syrup depending on your pantry.
-
Dietary Friendly: Naturally dairy-free, grain-free, and refined sugar-free.
The Healthy Ingredients
-
One Large Apple: Grate it with the skin on for extra fiber and antioxidants.
-
Coconut Flour: This absorbent, low-carb flour provides the structure and keeps the blondies grain-free.
-
Creamy Nut Butter: Almond butter is my favorite pairing with apple, but any unsweetened nut or seed butter works.
-
Unscented Coconut Oil: Provides healthy fats and helps the bars firm up without adding a heavy coconut flavor.
-
Pure Vanilla or Cinnamon: Choose vanilla for a classic taste or cinnamon to lean into those warm, apple-pie notes.
Simple Prep
-
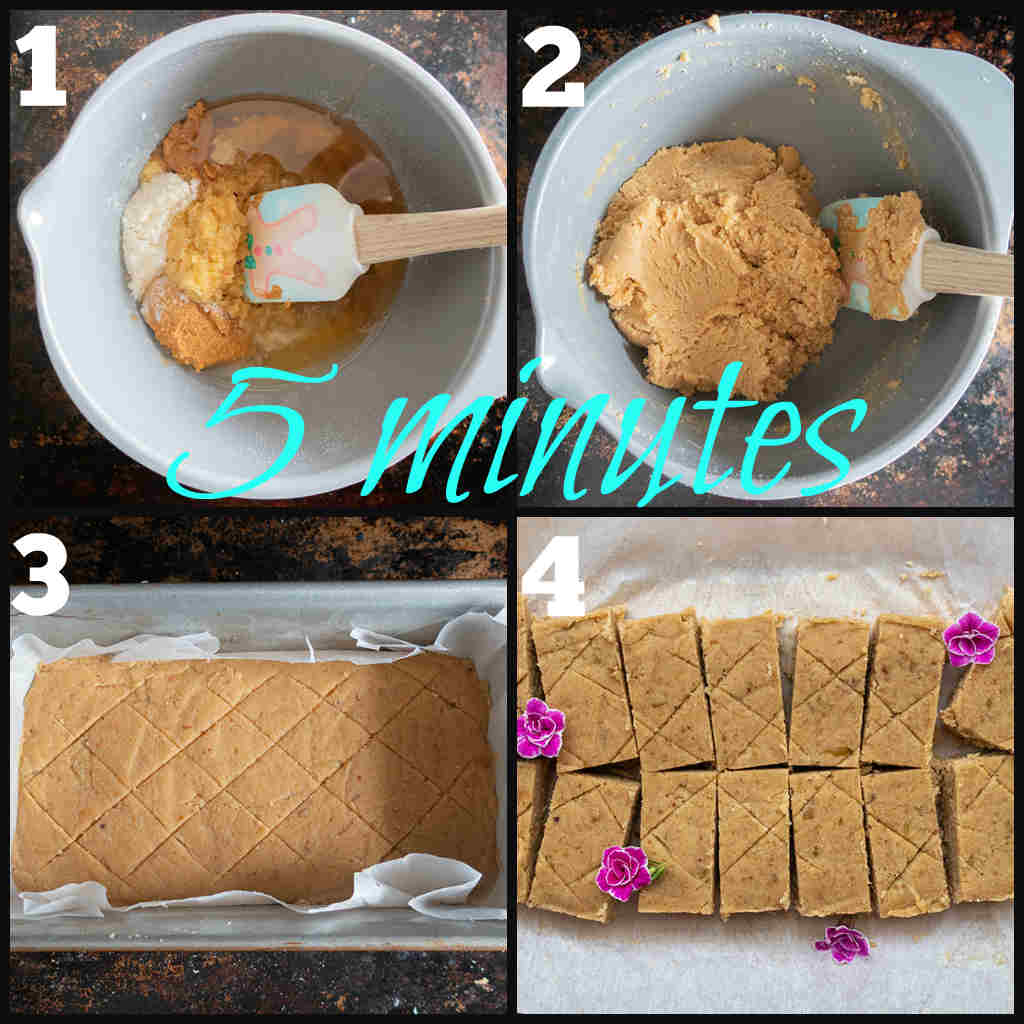
Combine: In a medium bowl, mix the grated apple, coconut flour, nut butter, melted coconut oil, sweetener, and your choice of flavor (vanilla or cinnamon).
-
Press: Transfer the mixture into a parchment-lined loaf pan. Use a spatula to press it down firmly and evenly.
-
Set: Chill in the refrigerator for at least two hours. For the best texture, let them set overnight before slicing.

Tips for the Perfect No-Bake Blondie
-
The Apple Moisture: If your apple is extremely juicy after grating, give it a very light squeeze before adding it to the bowl. You want the moisture for the flour to absorb, but you don’t want a puddle.
-
Pressing it Down: Use the back of a measuring cup or a flat spatula to press the mixture into the pan. The firmer you press, the better they will hold their shape once sliced.
-
Sweetness Levels: Since this is a raw recipe, you can taste the “dough” before you chill it. If your apple is tart (like a Granny Smith), you might want an extra teaspoon of maple syrup.
FAQ Common Questions For No Bake Gluten-Free Blondies
Can I make these nut-free? Yes. Sunflower seed butter is an excellent 1-to-1 replacement for almond butter if you need a nut-free option.
How should I store them? Keep these in an airtight container in the fridge. Because they contain fresh apple, they stay best for about 5 days.
Can I freeze them? Yes, they freeze beautifully. I recommend slicing them first so you can grab a single square whenever you need one.
Which apple is best? I recommend a firm, sweet variety like Fuji, Gala, or Honeycrisp to ensure the blondies have the best flavor and hold their shape.
More Grain-Free Inspiration
If you have a bag of coconut flour to use up, take a look at my other gluten-free coconut flour recipes for inspiration!
Tried this recipe?
If you enjoyed these no-bake gluten-free blondies, please leave a star rating and review! Your feedback helps others find these recipes. Be sure to FOLLOW US on FACEBOOK or, check us out on PINTEREST. And don’t forget to sign up for our newsletter. We always have something delicious coming next!
Many thanks!
Kristina x


Comments
alex
Would berries work in place of the apple?
this is a good question! I don’t know since I have not used them in this recipe. The finely grated apples provide moisture, I guess, if you mashed the berries it may work. If the dough is too sticky maybe add a bit more of coconut flour. Either way, let us know how they turn out. Thank you!
Ray
Have you tried apple flour?
no I have not, what is it like in comparison to coconut flour? Is it absorbent?
Pam
I had to add a lot more maple syrup, some melted butter and a cup of milk and it still doesn't resemble a batter! It's more like bread dough! It's in the fridge though so I'll see how it turns out.
they have to be chilled, you shouldn’t add milk. I hope they turn out for you. I make them often and they turn out perfect every time. Coconut flour is super absorbent, if you don’t spread the batter into the pan as soon as it is mixed it will stiffen up, and this is what probably happened. I will add a note to the instructions to spread the mixture in the pan as soon as it is mixed. Thank you for your notes.
Pam
The mix tasted amazing even if it was inedible in the end! It doesn't help that my house is quite chilly so everything kind of solidified before I could get things mixed properly. I'll try it again and make sure everything's a bit warmer!
Leslie
I just made these, they were so delicious, and my kids love them. Thank you. Your recipes never cease to amaze me.
kiki
I made these last week, they didn’t last very long lol, I doubled the recipe today and I added a few raisins, they turned out great. My family loves them, and they are so easy to make. Any recipe that doesn’t need baking is for me :-)
so happy to hear that, thank you!
what a great idea to add raisins, another tasty ingredient to add would probably be dried currants.